Tag Archives: local

Making Salt: A Winter Yield

Making salt in the winter makes a lot of sense for us, living on the Seacoast and heating with wood. We already try to take advantage of that heated stove top. If nothing else, we put a steamer pot on it to help offset the dry winter air. But, even better is to use it to decrease other energy needs. We cook on it, heat water for tea, dish washing, and some for clothes washing. My daily herbal infusion warms up there. And, now, we’ve learned how to make our own sea salt on it.

Humans gathering salt has a long, fascinating history going back thousands of years that shaped the world we now live in. It’s importance in human health, food preservation and as a trading commodity influenced where cities appeared, the establishment of trade routes, and the outcomes of wars. Did you know that the English suffix “wichoften indicates it was once a source of salt, some of the first roads were associated with the salt trade, and that salt was the focus on Gandhi’s first civil disobedience campaign in India’s struggle for independence from Britain?

Below I will walk you through the process with pictures to best tell the story. First, for answers to common questions we get asked:

Q; Do you get enough salt to make it worth bothering with?

A: Two gallons of salt water create 1 cup of salt. I’m pretty impressed with that!

Q: Aren’t the oceans too polluted now for this to be safe?

A: This is a hard one and I can’t say for sure. But – we have to ingest salt to survive and I don’t know why I’d trust sea salt in the store more than what I make myself. (Most commercial table salts are currently hydraulically mined inland. My research indicates this might not be as bad as other types of mining, but there are consequences.) We have poisoned the whole planet that we are a part of, so it’s not reasonable to think we won’t ourselves be taking some of that in. Maybe if we better connect to how we need the ocean, we’ll be more motivated to keep it clean. Really, when the oceans get so polluted we can’t trust them at all, I think the least of our worries will be can we make salt from them. We forget how critical oceans are to maintaining life on the planet. So… you will have to decide for yourself, and it might depend on what beach you have access to if you think it is safe or not.

Q: What if I don’t have a wood stove?

A: You can use an electric or gas stove to make salt, it just means you are adding that extra energy. Also, solar salt evaporation is worth exploring. Solar dehydrating of food is tough in our climate since microorganisms usually become established before the food dries enough. However, salt is not perishable that way, so it can take much longer to be finished with not worry about it spoiling.

Q: Does it have a different taste or color or texture?

A: I find it to be a little saltier and more complex than what I’ve bought at the store. I read that sea salt shouldn’t be very white… but mine does turn out that way. My method makes a coarse end product. It can be put in a food processor for further refining.

Q: Is it healthier?

A: Sea salt is less processed than rock salts, allowing trace minerals to remain and not introducing additives, which I think is positive. But, both are still mostly sodium chloride, which is critical to have in appropriate amounts – not too little or too much – for good health.  Also, note that your own salt won’t have added iodine so be sure to find other ways to get iodine into your diet, such as seaweed or dairy products.

The Process

The start – and maybe hardest part – of the process begins with gathering the sea water. We recommend it not be completely low tide (unfortunately, since that’s best for getting seaweed!), wear your tallest waterproof boots, and have smaller containers that you can fill and bring to a larger container in your car. You don’t need to worry too much about sand and seaweed bits in the water – you’ll be straining it later. A tight lid for the ride home is helpful.

Once I get it home, here’s what I do…
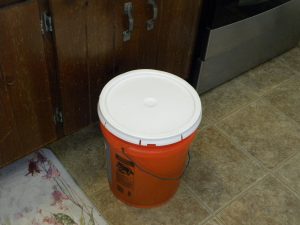
A five gallon bucket, filled to nearly the top, in the kitchen
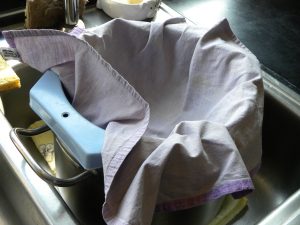
Straining through a tightly woven piece of cloth will catch sand, seaweed, etc.
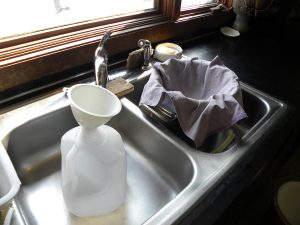
Set up in the sink – pot to strain it into, jug to transfer it to.
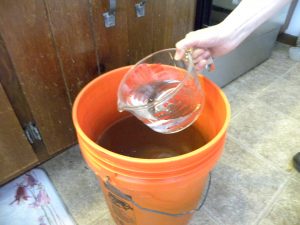
Take sea water from the bucket…
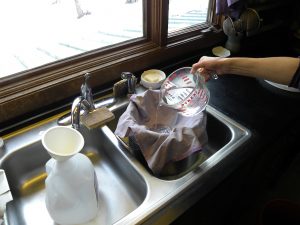
… and pour the sea water into the strainer.
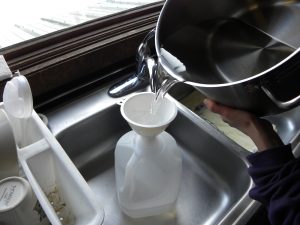
Pour the strained sea water into a non-metal container. Sea water will corrode metal quickly.
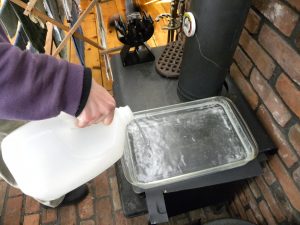
I put aside 2 gallon jugs and pour in what fits into the glass pan sitting on a trivet on wood stove. Top it off as the water level goes down.
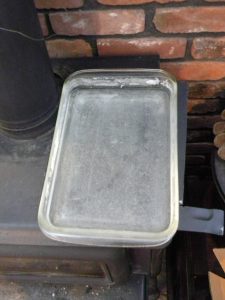
Close to the end of 2 gallons, the water begins to look cloudy.
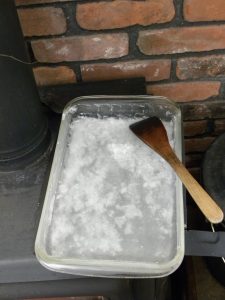
Salt starts to form!
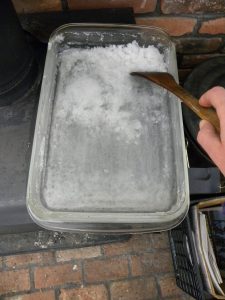
I find pushing the solids to the side facilitates continued drying. My original metal spatula for this showed signs of corrosion after just a few batches.
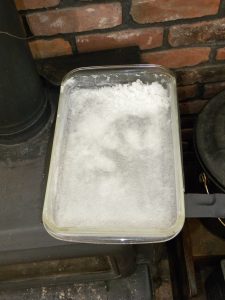
It’s getting close! Note that we don’t have this pan directly on the stove, but on a large, low trivet that Steve created from an old computer case side.
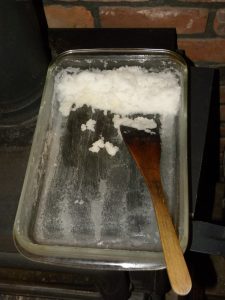
Pushing it to the slightly higher side lets it dry a lot. Then, letting it sit near but not on the stove in an open container for another day lets it really dry out.
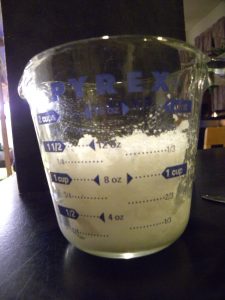
From the 2 gallon jugs, more than a cup of salt.

Store the salt in a tight container to keep it from absorbing moisture. Since you aren’t adding an anti-caking agent, it will be prone to do so and to clump. If that does happen, you can re-dry it near a wood stove or in an oven. It doesn’t go bad, just gets hard to deal with!

Leave a Comment

Filed under Food Preservation, Interdependence, Uncategorized

2020 on the Homestead

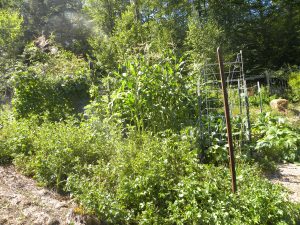
Gardens in August 2020

During our cold New England winters, I take time to review and assess the year that has passed. We just completed our harvest tallies, this is a good moment to reflect.

Many have been analyzing 2020 from multiple perspectives. From a homestead focused point of view, I have to title this the Year of More Drought (2016 was already the Year of Drought). Beyond that, I’d say it was a Year of Contradictions, when we felt both more isolated from people yet aware of how connected we all are and when we had a stronger sense of the importance of our work localizing food production even while weather conditions made it harder for us to succeed.

I’ll start with some overviews then share our totals with you. As in my 2018 and 2019 reviews, I’ll focus first on areas where we had problems this year or in the past.

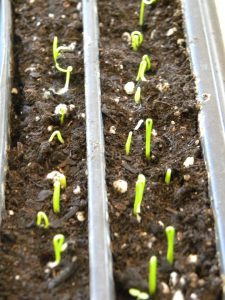
Leek Seedlings

Starting Seedlings

I am happy to report that we had another good seed starting year using the commercial but peat-free seed starting mix from Organic Mechanics. I still have a longer term goal of making my own very locally sourced mix but have let that go for the moment. The failures I did have were in the brassica category (broccoli, cauliflower & brussels sprouts) and those were due to my attempt to use up some older seed. Yes, I already ordered new seed of these for the 2021 growing season!

Rodents, Pests and Diseases

Our experience in 2020 was of moderate pest pressure. At first, there was very little, but as the drought continued, more creatures were driven towards us, and our plants were less able to defend themselves. Our summer squash was taken down early by squash vine borers, Colorado potato beetles began to get out of hand, and voles spent more and more time in our root crops. Also, a flock of goldfinches managed to open up and eat almost all of our corn (popcorn and dent corn). I could have brought the corn in earlier but didn’t realize what they were up to – we’ve not seen that here before.

Labor

Having enough time and energy to get tasks accomplished will likely always be a challenge. I did plant less of some labor intensive crops – especially snap beans – and I decided to be more willing to share with our animals if I was overwhelmed with produce. Honestly, what really helped was our reduced yields because of the drought and that I had extra food preserved from our great year in 2019 so didn’t need to do as much canning, freezing and drying.

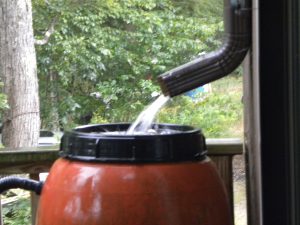
Rain Barrels Were Not Enough in 2020

Drought

The drought that began in early summer and extended through the fall was our biggest challenge.

We are grateful to have found and implemented permaculture methods that make us much more drought-tolerant especially by creating healthy soil… but there are still limits to that. We can water the garden to some extent, but not enough to make up for extended dryness. The rain barrels and ponds can keep us going for a couple of weeks, but after that we are drawing from our well which we also need for our house supply. You can see in our produce totals how yields were down in many categories, some from the lack of water.

We now have plans for more robust rainwater storage systems. Those 50 gallon rain barrels seem very undersized now that our climate is changing so fast.

One newer practice that really helped was our urine diversion system. The real point of it is to capture the nutrients in urine for a natural fertilizer for our landscape, while keeping those nutrients out of water bodies where they are damaging – but all that liquid was a huge bonus. The fields where we were most able to apply it stayed green and lush in comparison to other areas.

Animals: Bees

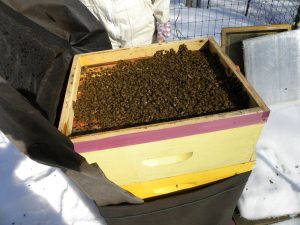
Strong Overwintering Bee Hive, Late Winter 2020

We were off to a good start as we moved towards the spring.  All 5 of my bee hives were alive and well and growing so fast I harvested some spring honey when I ran out of equipment. It was especially heartening to have such success as life in the wider world became scarier.

However, the bees are hit hard by drought leaving them without the amount or quality of forage they need.

I fed them sugar syrup to keep them going and allow them to stock up for the winter, but they have less chance of making it through the winter with sub-par food stored.

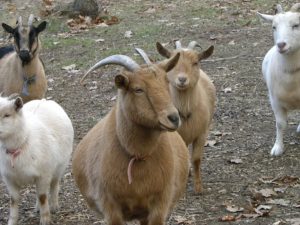
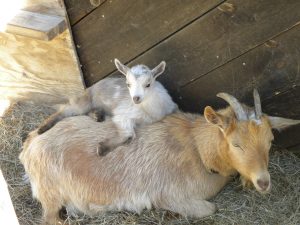
Goat Herd, Led by Honey

Animals: Goats

Unfortunately, we also had our first difficult birthing year with our goats, the one I’ve been dreading all along. We only had two pregnancies.  Georgia had no problems, Honey, however, had a kid get stuck and we could not manage to correct his positioning. We had a vet come to help us but he couldn’t save the two boy kids. Honey had a rough time recovering, but she pulled through and is back in charge of the herd, bossing the others around. I felt SO terrible and upset by the whole incident I seriously questioned whether or not we should keep doing this – maybe I am not skilled enough at dealing with problems to be keeping animals. My goat mentor had some encouraging words, though. She reminded me to consider the many days of healthy, happy living that we arrange for them, which commercially raised animals in this country almost never get a moment of, rather than only thinking about these few bad days. So, we bred again this fall (Cocoa, Luna & Lily) and expect three births in the spring. I’m already nervous! It’s tough – I believe that only people who feel deeply and will cry over animals should raise them – but it’s challenging to be that person.

Georgia & Baby, Re-bonded!

We did also have a situation with Georgia’s kid. At about a week old she fell into our swampy area. We didn’t want her to stay muddy and wet so we cleaned her up… but then her mother rejected her, we assume because she smelled “wrong.” She looked the same and sounded the same, but then Georgia would give her a sniff and shove her away. Steve did research and worked with them, holding Georgia still so baby could nurse.  This shifted her scent back to what Mom would recognize. It took about a week, but was a complete success! I have no interest in bottle feeding animals, so it was a huge relief.

Animals: Poultry

Ducklings, Days Old

This was the year we received a batch of Indian Runner ducklings in the mail again in order to acquire some new genetics for our flock. If they are being shipped there is a minimum order of 12 and that was a lot of ducks to raise in my tub! They did well and we now have 2 new drakes along with our 7 female ducks.

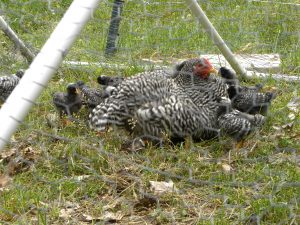
Our chicken hatching and raising also went well, although our drought-stressed pasture was having trouble recovering in time for the next rotation of birds. Also, we had significantly more roosters than hens hatch this year, which was disappointing for some friends who wanted to add to their flocks. Most of the hatching happened in the incubator as our broody girls had minimal success. One mom did sit long

Hen Raised Chicks

enough, but only 2 of those eggs hatched. At least I timed it properly so that I could slip some incubated chicks under her, allowing more to be raised outside by a mom.


Harvest totals

So, after putting in all that work, how much food did we get? The numbers are only part of the story as we think the quality of the food, the satisfaction of living this way, and the many ways this helps us live more ethically and lightly on the planet are a huge part of the reward. Still… we have to get energy back for the energy we put in. Here’s what we tracked (note that this is what came into the house to be weighed so misses what we directly tossed to the animals or what Steve ate in the field), with some comments added:

Alliums – garlic – 31# (160 heads); garlic tops – 142; leeks – 26# (and more leeks still in the ground for winter harvesting)

Beans & Peas – 31# snap beans; 14.5# dry beans; sugar snap peas – 3.5# (we purposely planted less snap beans and peas because of the labor involved in harvesting them)

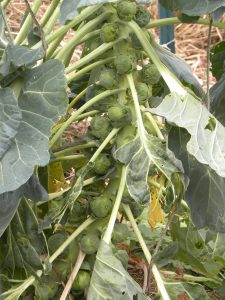
Brussels Sprouts

Brassicas – brussels sprouts – 36.25#; kale/collard – 25.5#

Corn, popcorn – 2# (all I rescued from the goldfinches)

Cucumber – 41# (more was fed to the chickens)

Eggplant – 13.5#

Greens – lettuce – 5#; nettles – 2#

Herbs – basil – 1.75#; dill – 1#

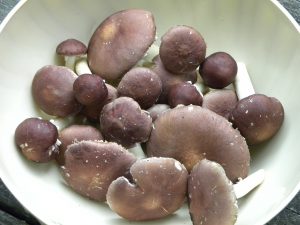
Winecap Mushrooms

Mushrooms, winecap – 3.6# (a new crop for us!)

Potatoes – 93.75# (they suffer in drought, so a small yield of 4.5 to 1)

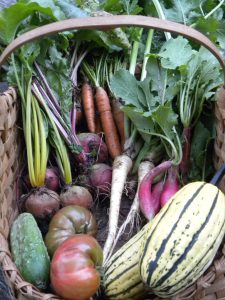
Roots – beets – 19.25#; carrots – 40.75#; parsnips – 39.5#; radishes – 244, rutabaga – 4#; parsley root – 1# (while germination was OK, the carrots were smaller in the dry weather and some were eaten by voles)

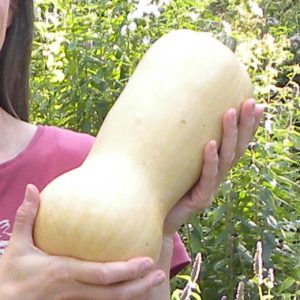
Butternut Squash

Squash – summer – 44.25#; winter – 784# (another great winter squash year)

Tomato – 59.5#

Fruit: crabapples – 50#; currants, clove – 16#; currants, red & white – 13#; elderberry – 6#; grapes – 8.5#; honeyberry – 1#; jostaberry – .5#; mulberry – 2#; peaches – 53.5# (our peach yield was down because our biggest tree had a main limb snap last year leading us to prune it back heavily for its future health); pears (gleaned from off-farm) – 249#; raspberry – 6.5#; rhubarb – 16#; strawberry – 12#; probably 100s of # of gleaned apples which we forgot to weigh

Sea salt – 6 quarts (dehydrated on our woodstove)

Honey – 50# (taken in the spring when they were bursting, before any sign of drought)

We brought in 103 gallons of goat milk and 22# goat meat.

Our poultry harvest came to: 1,751 (150 dozen) chicken eggs from 12 hens; 824 (68 dozen) duck eggs from 7 ducks; chicken meat of about 68#; duck meat about 2#.

Looking Ahead

2020 was a reminder of the limits of our control and even our ability to know what’s coming next in the world. However, planning is a critical skill in permaculture and farming. Timing matters, especially in a northern climate with a short growing season.

So… we are optimistically planning to repeat our routine of plant care and animal raising without many changes this season. We already put in our seed and tree orders with Fedco (good thing, since they now have waiting lists and already sold out of many items) including a few new crops to try. I’m attempting wheat again this year, we are going to try alfalfa as a cover crop, and I’ve ordered two new potato varieties: prada and satina. Improving our rainwater collection system will be the big project of the year.

I also intend to keep writing, so I’ll see you here again!

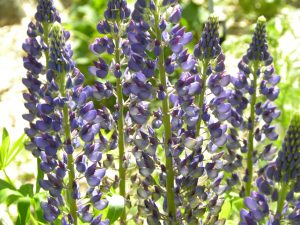
Lupines

3 Comments

Filed under Chickens, Ducks, Gardens, Goats, Honey Bees, Poultry, Uncategorized, Weather

Food Preservation: Lacto-fermenting

My last entry on the important art of food preservation focuses on lacto-fermentation, which is especially timely in this current moment of extreme cleanliness.

First, let’s define it. Lacto-fermentation harnesses Lactobacillus bacteria’s ability to turn sugars into lactic acid, a natural preservative that inhibits the growth of harmful bacteria. Along with extending shelf life, this process adds interesting flavors, makes plants safer to eat and easier to digest, and helps to boost the population of our microbiome when we ingest these foods.

Foods preserved this way still need to be stored in a cold, dark location and won’t last as long as canned, dried or frozen items.  It is the added taste and health benefits that most recommend this method. They are also traditionally often used as condiments, eaten regularly but in small amounts.

History, Including 2020

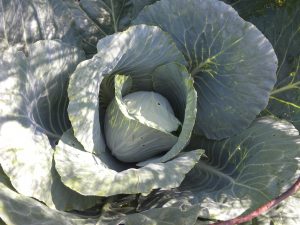
Cabbage for Sauerkraut

Lacto-fermentation has thousands of years of history all over the globe. Some foods you might recognize using this process are: sauerkraut, kimchi, and yogurt.

In the recent past of 2020, disinfecting and cleanliness became even more of a way of life for people – for good reason (although some are taking it too far – drinking bleach being a good example of that). During a pandemic, extra attention to appropriate anti-germ measures is a smart preventative measure. However, we don’t want to forget all that we’ve learned about the microbiome and the positive role it plays in our health (the happy news about mask wearing is that it prevents disease spread without harming your microbiome).

The truth is, keeping ourselves well populated with microbes helps us stay healthy. This is true for plants as well. In disease suppressive soilsit’s the presence of soil microbes that allow for plants to stay healthy or fight disease.

The vast majority of microbes do not cause disease and many actively help their hosts thrive. Which makes sense, right? Why would any creature want to harm what it depends on to live? It’s a lesson every species learns or eventually dies trying to.

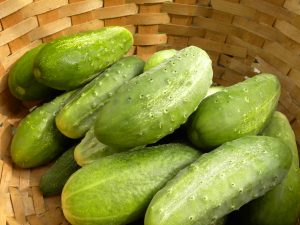
Cucumbers for Pickles

So, especially while we are in the midst of an epidemic of cleaning and have a dangerous new disease in our midst, nourishing our microbiome is especially important.


Personally…

I started incorporating fermented foods into my diet when I was in my 20s and having trouble with my digestive health. I had many tests, went on limiting, exclusionary diets, and even tried pharmaceuticals. All of which made me feel worse. Then, I went to a workshop with Susun Weed who sang the praises of fermented foods to keep our guts healthy. The next day, I threw out the pills and went shopping for yogurt and sauerkraut plus miso and tamari (which are fermented but not lacto-fermented to be precise). I made sure to eat one of those every single day and within a month I felt better than ever

Continuing to ingest these “friends” on a

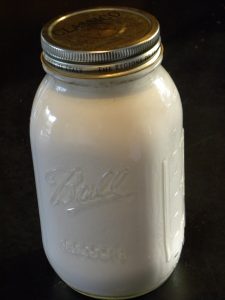
Homemade Yogurt

regular basis has been my practice for the nearly 30 years since then and seems to have served me well.  I do also eat a diet that otherwise feeds my microbiome and I avoid factors that harm it as much as possible (there include anti-microbials like: chlorine, food preservatives, cleaning supplies, antibiotics and essential oils).

The Process

Some people get super excited about lacto-fermenting, trying it with all kinds of veggies, and creating new recipes. While very committed to having these foods in my diet, I have been less adventurous simply because I don’t always love the taste. In my repertoire are: yogurt, cultured soft cheese, sauerkraut, cucumber dill pickles and a few experimental jars. Each has a slightly different process to allow the bacteria to get established and do it’s work before microbes that would cause food spoilage get a foothold.

The milk products need a starter culture to be most successful. I buy cultures for the soft cheese but find a spoonful from my current batch of yogurt gets the next one going. I invested in a good thermometer for cheese-making and am careful to heat and cool as the recipe calls

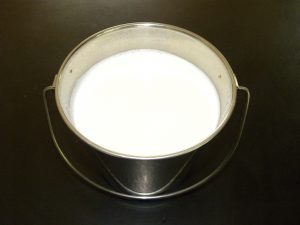
Nigerian Dwarf Goat Milk

for and allow it to remain warm for the appropriate amount of time. Soft cheese is strained, but I don’t need to do that with the yogurt which is thick and creamy because my Nigerian Dwarf goats make such rich milk.


The veggies all come with enough lactobacillus that none need to be added, the environment just needs to be set up to favor them. Usually this is accomplished by adding salt to the water covering the veggies. 

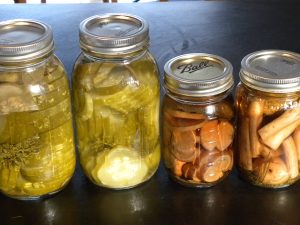
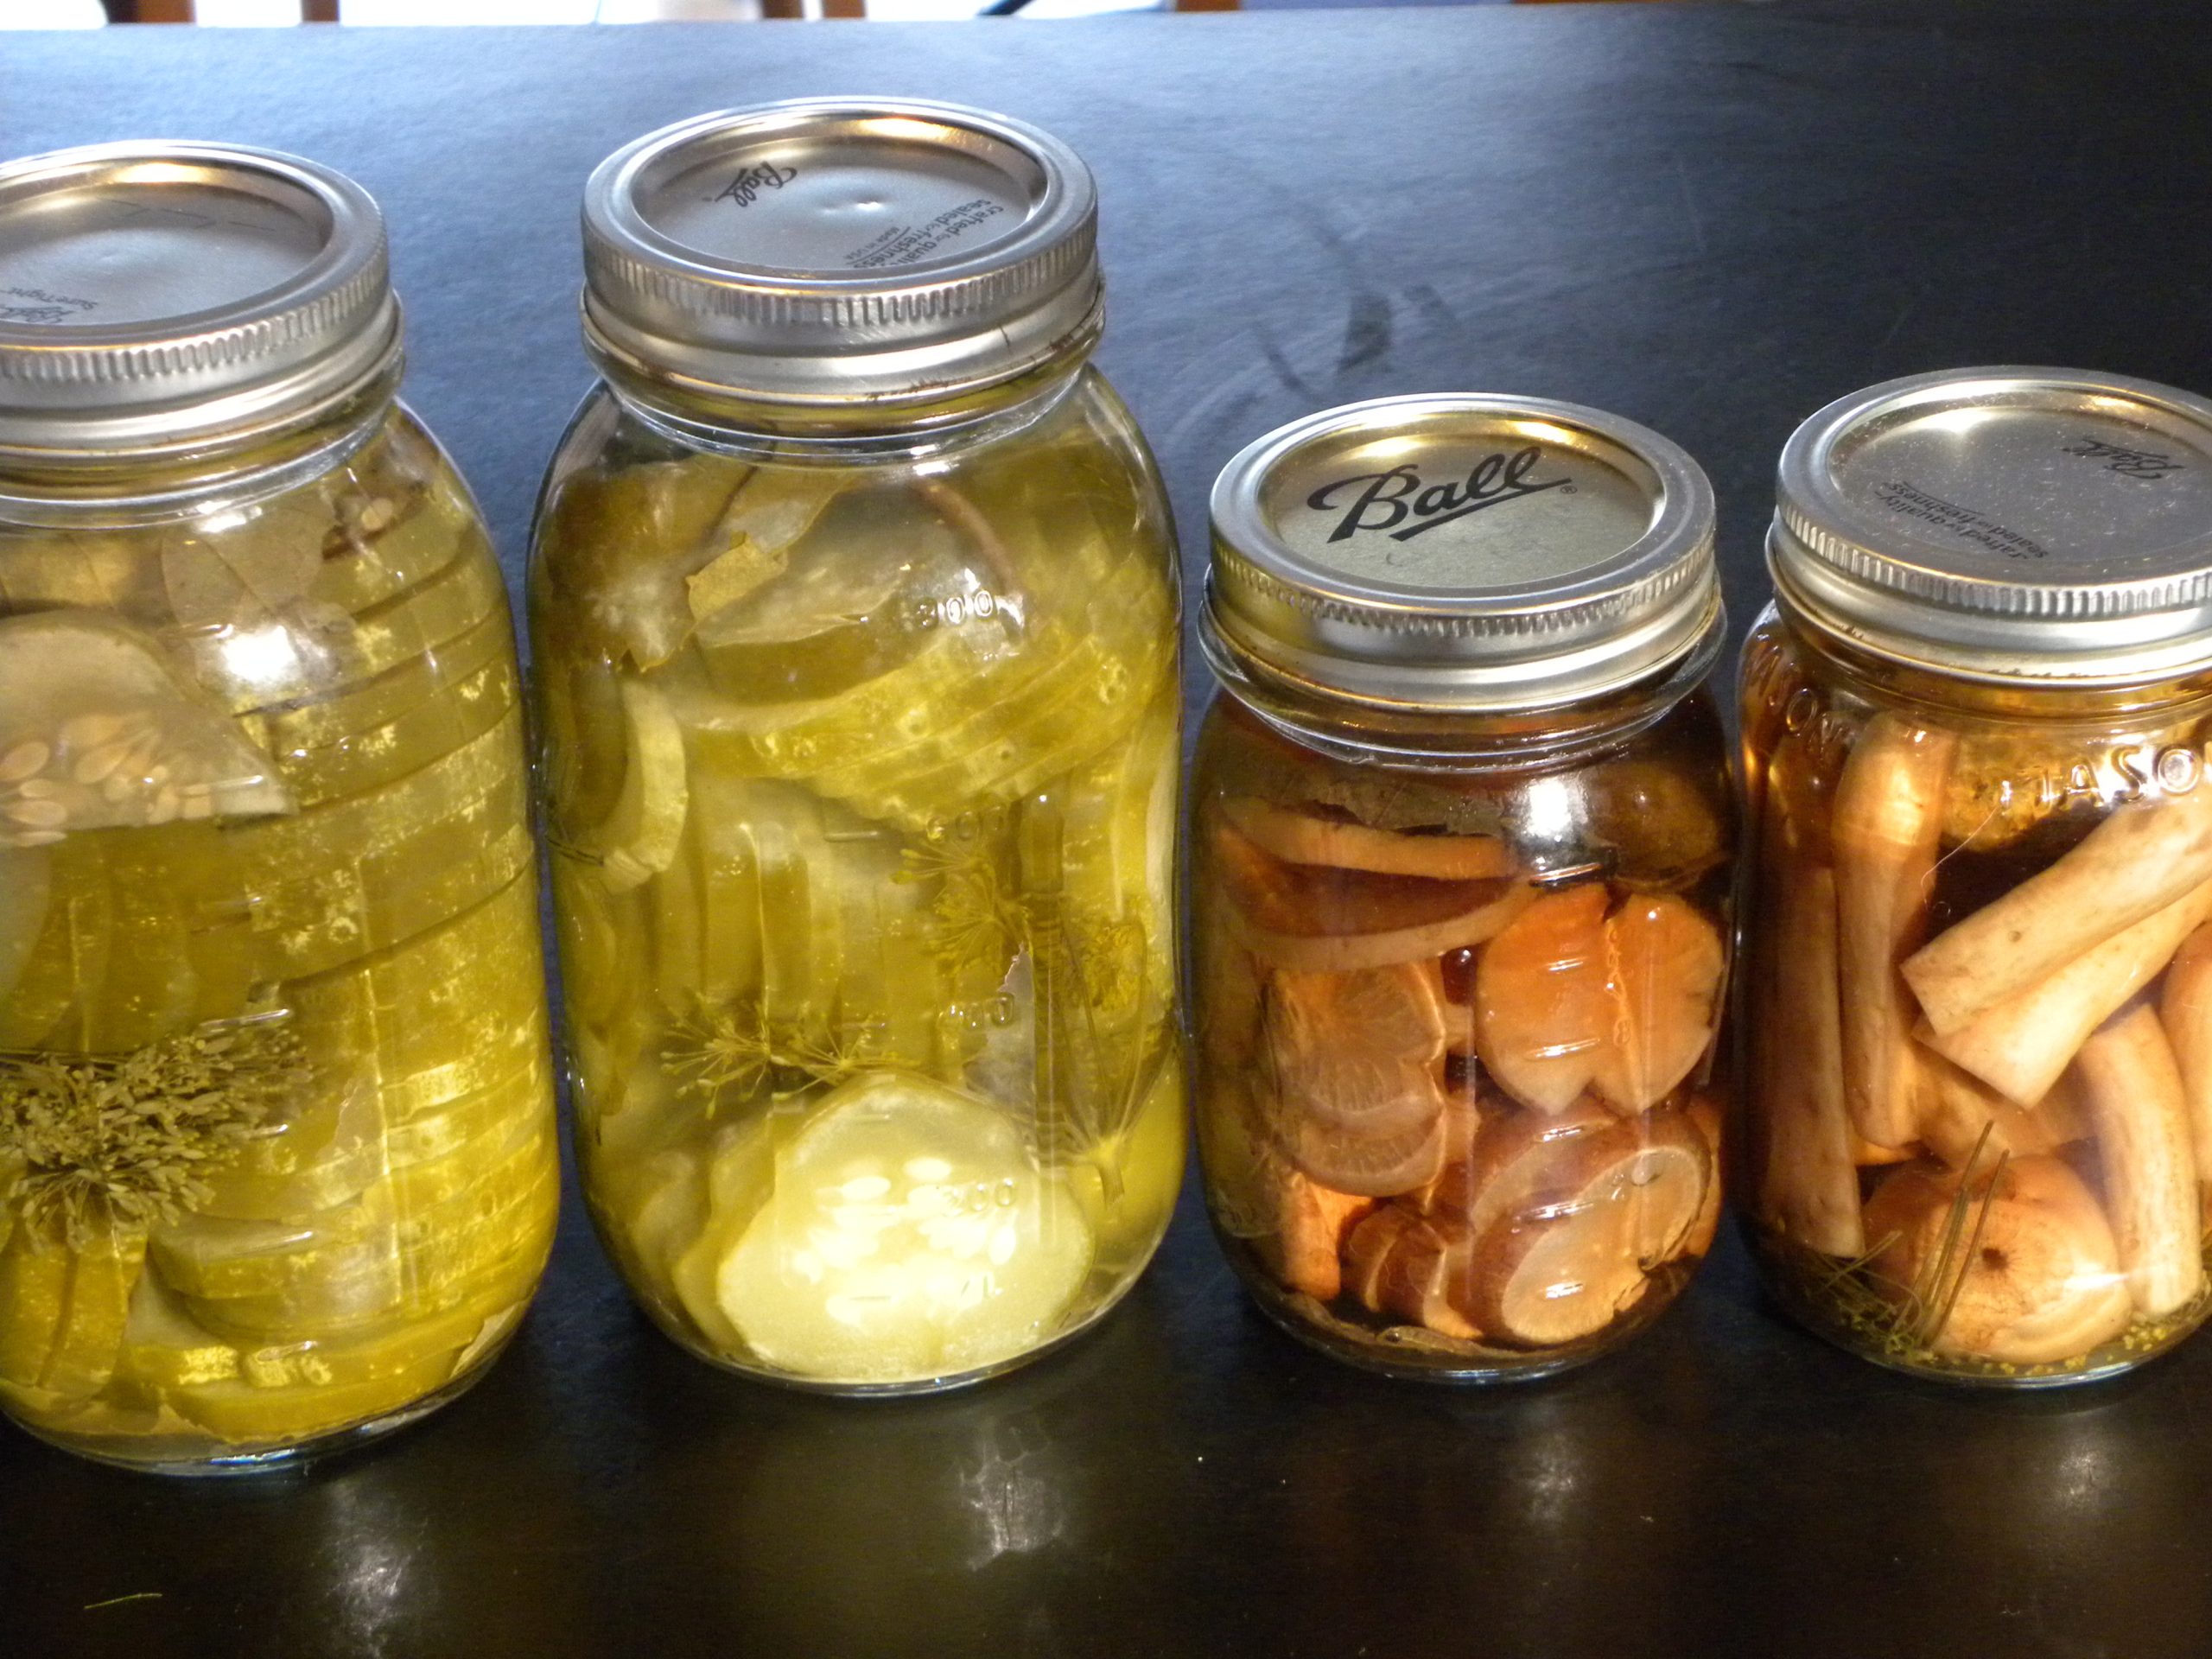
Lacto-fermented Veggies: Cukes, Radishes, Beans

I usually also add dill and garlic for taste and a grape leaf which has tannins that help the veggies stay crisp. Keeping the veggies under the water rather than having them float up is tricky. You can buy glass rounds to weigh them down from the top.


All these dishes can easily be made at home with minimal investment in equipment. I make them in or transfer them to canning jars for storage – in the fridge chevre cheese lasts a week, yogurt 4-6 weeks, a veggie recipe up to a year, although some will get weird sooner.

A big plus of this method is that food safety is not hard to achieve. The environment in one of these preparations will be acidic, filled with bacteria and often salty, all conditions not conducive to Clostridium botulinum, the bacteria that causes botulism. If some other rogue bacteria or yeast does take over your ferment, it will be clear – smell, taste, or texture will not be appealing. Your own senses will warn you, just listen to them.

If you are interested in more deeply exploring and trying lacto-fermentation I refer you to Sandor Ellis Katz’s books, online writings and classes.

Wrapping Up My Food Preservation Series

I’ve spent more than a year discussing how to preserve food with you all as a way to continue to eat locally in the north year-round. These are critical skills that have been developed over human history and that we can now dust off and use again. It’s a great way to build community resilience, so let’s keep the practices alive!

Lacto-fermented Pickles

Leave a Comment

Filed under Food Preservation, Gardens, Goats, Uncategorized, Weather