Tag Archives: fruit

Food Preservation: Cold Storage

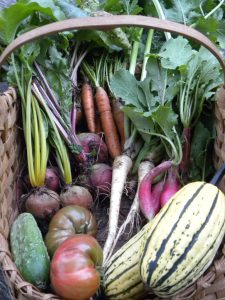
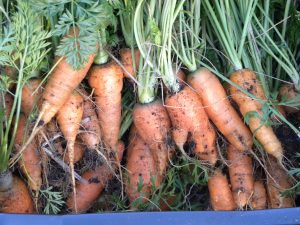
Carrot Harvest

The bulk of the food we store for winter we do so in cold storage, either in a cool room in the house or in our root cellar. Most of the work filling those spaces happens late in the season, so it is one of my last entries on food preservation methods despite how important it is to us.

The beauty of this ancient technique is that there is no electrical energy needed. No boiling water, no heating element, no freezer. Instead it uses the stable temperature of the ground and the colder times of year to extend the lives of veggies and fruits that already tend towards longevity after picking. For us, these are: garlic, potatoes, winter squash, pears, apples and roots (carrots, parsnips, beets).

What it does require from us, is choosing varieties that are known to keep well, appropriate spaces, and some care in how we handle and pack the produce. A cool room or closet in a house works great for some items. Others need a lower temp along with a moist environment like a root cellar provides. Basement root cellars can be made reasonably easily and cheaply and are right there in your house. We do not have a basement, so we had to do the slower, harder work of creating an outdoor root cellar.

In-Home Cool/Cold Storage

First, let me tell you about the foods we are able to preserve in our house. Because building our root cellar took years, even foods that I thought needed that real root cellar I went ahead and tried in the house. A number of these worked better than I expected. Plus, I (and the cats) can protect foods inside better from rodents – an important bonus!

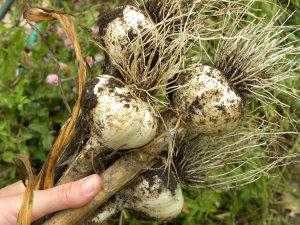
Garlic – Garlic is harvested in late July, then cured on our breezy porch until the leaves all die. I trim them up, weigh and label them, put them in paper bags and move them downstairs to a dark, somewhat cooler closet. I grow four different varieties of garlic and we eat them in the order of least long-lasting to most: Red Russian, Music, Phillips and NY Extra Hardy. They do not seem to be bothered by sitting in our non-air conditioned house through some heat in the late summer and fall, and the drier environment makes the house a better choice than the root cellar. With this system, we have garlic all the way into the next summer. By the time the NY Extra Hardy is starting to dry up or have brown spots, we are harvesting the next crop. We save our own garlic seed, too, so now are totally garlic independent! By the way, for a year’s supply of garlic to eat and seed garlic, I grow 120 heads.
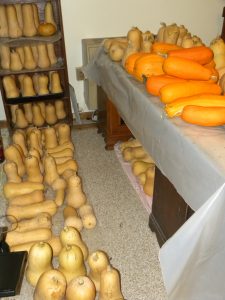
Winter Squash, Stored Indoors

Winter Squash – Over the years, we have settled on some favorite kinds of winter squash out of the wide number of choices: Butternut, Delicata, Long Pie, Seminole and Long Island cheese. Lots of nice, sweet flesh, a reasonable size and long storage are three criteria I have used. Again, some last longer than others, with the Seminole being the best keepers – I have 5 here from Fall 2019, an experiment in seeing how long they will last. We grow a lot of winter squash because we also feed it to our animals over the winter months, especially to keep goats on the milking stand. This year our total was 749.5#. Since they like warmer and drier conditions than our root cellar, we have a storage room set up that they dominate this time of year. Harvest generally runs from September through October, or until the first frost. Then we “cure” them in a hot, humid spot (for us, a greenhouse) for 2 weeks to harden their skin. After curing, they come in to the cooler set up we have for them. I can keep an eye on them, pulling any showing signs of spoilage first.

Potatoes
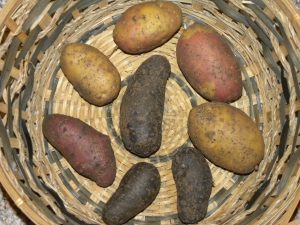
I was not a huge fan of potatoes until we started growing them ourselves and thus could choose from an amazing array of colors and textures! Purple Magic Molly, red Amarosa, red/yellow Pinto, Adirondack Reds and Blues, to name a very few of the myriad of options available as seed potatoes. Potatoes aren’t simple to grow, there are a variety of challenges. They are loved by other critters, especially potato beetles and voles, and they are very sensitive to drought or even inconsistent rains. They need to be hilled, then dug/forked up, which takes more human strength and soil disturbance than any other crop I grow. But, in a good year, it is worth it! We’ve had yields as high as 20 to 1 (for every pound I planted we harvested 20 pounds). We dig them a couple of weeks after the green tops have died, then I sort them, unwashed, into “will store” and “use soon” piles. The ones in good condition I lay out in trays on a shelf and floor of a dark downstairs closet then cover them with paper bags. I have read conflicting advice on how to cure potatoes (so, I don’t really), perfect storage temperature and humidity. So, I just keep trying slightly different systems and seeing what happens. I estimate that they are generally around 55F, which is a bit too warm, and 60% humidity, which seems about right. Laying them out on trays takes up a lot of room, but really helps me keep an eye and pull any that are rotting and use the ones threatening to sprout first.

Fruit

Pome fruits – especially pears and apples – can last for months in cold storage.  In fact, most pears should ripen off the trees, but need the time inside to reach maturity.
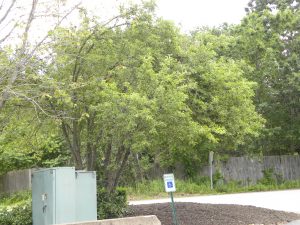
Old, Untended Apple Tree Between Parking Lot and Road

I have not planted apples here, since I don’t like them enough to deal with all the diseases and pests they have. We have put in 8 pear trees but they are not old enough to bear yet. However, we have great success gleaning both these crops. The apples we bring home from untended trees in public places are completely organic, but often are low quality in terms of taste and pest damage. Our goats, however, have yet to reject a single one! And there’s always enough good fruit for us to make
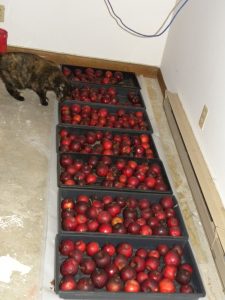
Bella Guarding Apples

a batch of applesauce and many apple pies. Usually I can pick up drops from August until November and we’ll all be eating them into January. They are in buckets and trays in our cool lower floor which is closer to 50F rather than the ideal temps of 36F otherwise we could keep them even longer.

Pears are intended for us humans, although we share them with the goats. Laying them out in trays around 50F gives me about a month when they can ripen. During that time we eat them, make nice pear dishes (here’s a great one we found, just substituted in wheat flour and maple syrup), and do at least one round of canning and/or dehydrating to stretch the season. November is a time when I can heat canning water on the wood stove and am glad for the extra heat and moisture from either method.

Root Cellar
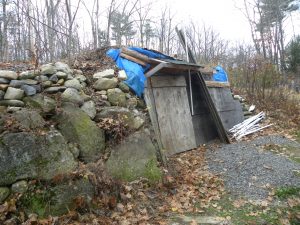
Our Root Cellar

When we bought a house without a true cellar (obviously we have a lower floor, but it is not situated under ground level), we knew we would have to put in extra work to achieve this sort of storage. There are many clever options for burying trash cans and coolers and even vehicles.
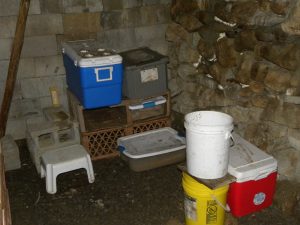
Inside the Root Cellar

But I wanted it to be convenient enough that we can actually use it, even as we get older. Having to dig snow and ice off and unbury it for access didn’t appeal to me. So, we hired a neighbor and his excavator to dig into the slope next to our house. Then, over the next few years, we took rocks from all over our property plus some concrete blocks we found and constructed the walls. A very robust roof was made, covered with a pool lining we found at the dump, and heaped over with soil. Perfecting the drainage, air flow and temperature regulation will continue, but it is working! It has never frozen, but we have some trouble keeping it cold enough. Again, we’ll keep learning about it as we live with it over time.
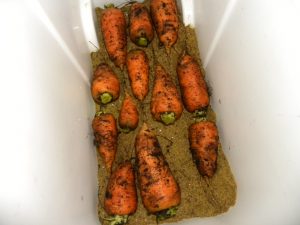
Packing Carrots for Storage

What we use it for is simple: roots! Carrots, beets, and parsnips so far. I make sure to pick varieties known for storage prowess, and need to time my planting so they are ready at the correct moment. Having carrots and beets ready to store in August isn’t helpful – the cellar isn’t cold enough and if I leave them in the ground, they might get too big and tough or be eaten up by voles.
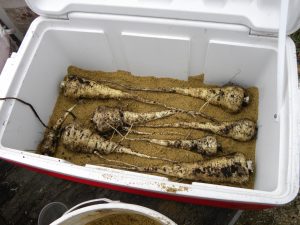
I will continue to try other kinds of roots now that we have it, such as parsley root, winter radishes, skirret, and salsify.

I pack the roots in damp clean sand for storage. You don’t want treated, salted sand offered free at your dump. Maybe you have sand around your home you can dig up, or you can buy clean sand from a gravel pit. If you end up with rotted veggies, you’ll need to dig out and no longer use the material around those, but we are otherwise reusing sand. We let it dry out in the sun over the summer to keep microorganisms in check.

They biggest challenge is protecting against rodents. Currently, I am using old coolers that I picked up from the dump or Good Will which have some extra insulation to moderate temperature changes and I hope are too tough for critters to gnaw through.

With this system, we were eating our own roots up until May last time around. This year we had more trouble with our crop (the drought hindered germination and growth, and we had a late season vole problem) so likely will have eaten most before that late in Spring 2021.

I am pleased to be having so much success and continuing to develop our capacity for cold storage, a low-electricity, time-honored way of greatly extending our harvests into the least productive time of year.

2 Comments

Filed under Food Preservation, Gardens, Uncategorized, Weather

Food Preservation: Freezing

Our lives and society continue to be marked by uncertainty and worry, but let’s keep talking about food preservation as one part of re-localizing and building real security.

I admit that I don’t find freezing as fun and interesting as the other preserving techniques. While natural freezing in cold climates has a long history, what we’re talking about is using a modern device that requires technology and electricity. That’s not that exciting to me and not

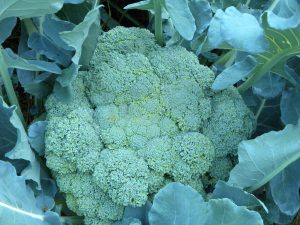
Homestead Grown Broccoli

necessarily sustainable. However, it works so well for a lot of foods, and makes more sense than shipping products all over the globe. So, while we have a reliable energy grid, we use it to keep eating from our own homestead much longer.

My approach is to lean more on the other preservation methods, but turn to freezing in cases where other options don’t satisfy me.

Meat is at the top of my list for freezing. I don’t enjoy dried or canned meat. Other methods of curing and storing meats are not easy for a novice to do. There is a reason “butcher” is an important specialized craft. Years ago I was a vegan. When it became clear that was detrimental to my health and I went back to animal products I vowed to try to be involved in raising them to ensure that they had good lives. The ability to freeze our harvest means I can eat almost exclusively meat from animals that we have raised and processed.

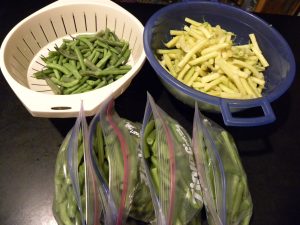
Some veggies I prefer to freeze are eggplant, broccoli, and cauliflower. None of those rehydrate well after drying in my experience. Vegetables do

Blanching and Packing to Freeze

best when blanched before freezing. Blanching deactivates the enzymes that are slowed but not stopped by freezing in their breaking down of the food which can lead to mushy veggies once they thaw. I tend more towards actually cooking the veggies before freezing them often. Otherwise I’m blanching them – which is like cooking them a little bit – then freezing, then cooking again once thawed. Why not do more of the

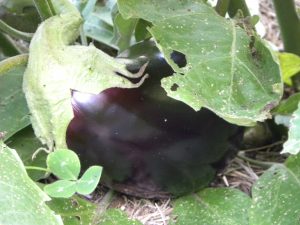
Eggplant Fresh in the Garden

cooking just once up front in the process? This is how I process eggplant – we pan fry them for later eggplant parmesan or cube and cook them to use in a great eggplant enchilada recipe I have.

For the broccoli & cauliflower, I go ahead with the steaming method of blanching and use them later in quiche.

Other items I put in the freezer are: pesto, chevre, salsa, and frozen berries to use later in baked goods.

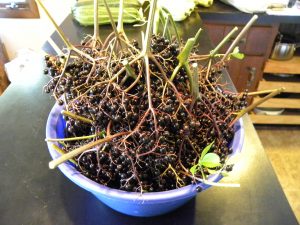
I also often freeze smaller fruits over the summer as I pick them. Then I can do my canning when I have amassed all the blueberries or currants

Elderberries Headed to the Freezer

or elderberries I am going to, and even wait until it’s colder and the heat and steam in the house is a positive side effect. Fruits don’t need blanching.

Energy Efficiency

We have both an upright and a chest freezer.  Honestly, they were both given to us so I can’t say we were very purposeful in those choices. But – I have ended up liking how this works for us. Since the freezer fills over the fall then empties as we get to summer, we can consolidate and unplug one as we go along. Chest freezers are better insulated so use less energy. However, things can get lost in there and sometimes all my unpacking and digging around for an item doesn’t seem great for retaining cold. So, if it’s big and we have a lot of it, like meat after fall harvesting, I can stack it in boxes that are easy to move around. For the smaller products that I might not have much of, being well organized in the upright means that I actually find what I need quickly and nothing gets lost for years and never eaten.

Both of our freezers are manual defrost, which saves energy, and I don’t mind doing a yearly thaw and clean out of each of them.

Containers for Freezing

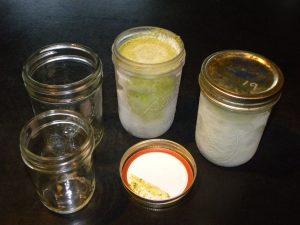
Freezing Pesto in Glass

One concern that came up for me was that everything was being frozen in plastic containers. When plastics are frozen there is evidence that they can leach chemicals such as BPA, PVC, and Pthaltates into the food they are touching.  So, I have been slowly transitioning to using glass. I was initially afraid of it breaking,

Another Container Safe to Freeze in

but a little research and using the right containers really works.  Straight sides and some room at the top of the jar are all that I’ve needed to avoid breakage.

I have never tried vacuum sealing, which sounds like more trouble and expense than it would be worth since I’m happy with how my system is working now.

Note that “freezer burn” is not a safety risk, but can affect taste. To avoid it, use well-sealed containers and let blanched or cooked foods cool before freezing.

Shelf Life

According to The National Center for Food Preservation, “foods are safe indefinitely while frozen“. However, most charts and information out there recommends eating frozen food within a year, so we aim to freeze only what we can use in that time period.

Thawing

It is important to properly thaw foods to keep them safe to eat. The easiest way to do this is put them in the refrigerator ahead of time. Don’t leave your frozen food at room temperature to thaw! 

Consistent Power Availability

Where we live, power outages are not unusual and there have been instances when they last for days. When that happens, my thoughts turn to my freezer full of carefully grown, harvested, prepared and stored nourishment. The CDC states that a full freezer can hold its temperature for 48 hours. So, the question is – do we buy a generator big enough to power this appliance? We haven’t yet… we’ll see what the future brings in terms of increased storms and power issues.

4 Comments

Filed under Chickens, Food Preservation, Gardens, Uncategorized

Food Preservation: Canning

August is Harvest Time Here in NH

I found it challenging this month to write about food preservation in the midst of multiple, converging US and world crises. However, this is a truth we always live with: at the end of the day, while so many large scale happenings shape the world, we still have to eat, and how we do that further influences the larger whole. So… back to food preservation!

When I started canning, it was considered weird. I would go to my local hardware store to ask for supplies and they would laugh, goodnaturedly, and say: “aren’t you a little young, by, say, 50 years, to be canning?” (I was in my 20s). Then they would have to special order whatever I needed. Now, there are whole sections of stores dedicated to canning, even grocery stores have at least bands and lids. It really made a comeback!

Compared to drying as a preservation method, canning is a modern invention. It’s development was largely inspired by war-time needs in Europe and then the US beginning 200 years ago. More recently it has been a way to store food in uncertain times when supply chains might break down or when people want economical ways of eating (versus going out to eat). Along the way, it has also become a great way for homesteaders to stock up on food when it is abundant for leaner times and to allow for local eating year-round. Here, that means canning in the summer for consumption the rest of the year.

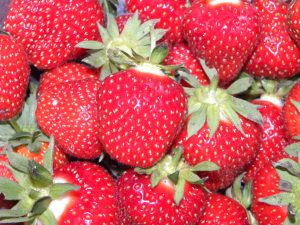
Strawberries, a High PH Food

I exclusively practice water bath canning which is simpler than pressure canning but can only be used with high-acid foods and recipes. That includes most fruits and tomatoes, plus veggies in vinegar solutions.

Botulism is the big concern when canning. Clostridium botulinum spores are all over the place causing us no problems, but when they grow a toxin is produced. Canning works by creating an environment without oxygen, which most microorganisms cannot live in. However, botulism actually needs to have low oxygen to thrive. The heat level in a water bath canner or by boiling the food ahead of time is not enough to kill the spores, so choosing food with enough acidity to stop spore growth is critical.  The high acidity (which means a low ph) doesn’t kill Clostridium botulinum but it stops it from growing, thus no toxin is produced.

There are also mixed reports about whether or not sugar helps prevent botulism. White sugar has a neutral ph, so that doesn’t help. I personally would not depend on sugar to stop botulism. I also don’t eat processed white sugar, so have only used honey when making jams and jellies that call for extra sweetener, following recipes from Pomona’s Pectin. Again, it’s choosing high acid foods that provides the check on botulism.

What’s tricky about botulism is that there isn’t an obvious bad smell or visual clue that it has grown. With all other methods of preserving, it’s obvious when it’s gone wrong. That inability to know through our own senses is kind of creepy and turns folks off from trying. To me, it just means that I take seriously the recommendations and recipes provided.

The USDA’s National Center for Home Food Preservation is a great resource for “research based” recipes and information so you can be sure you are canning safely.

Beyond safety, research continues to find that canning is a good way to keep nutrition and make it bio-available.

To get started there is some equipment needed. The investment is very much worth it if you like it and do it for years. You’ll need: a big pot to cook in, another big pot with a canning rack inserted to hold the jars, canning jars, lids and bands, a timer, plus a set of helpful tools that might not be necessary but are worth getting: wide-mouth funnel, ladle, jar lifter, magnetic lid lifter, and bubble popper/head space measurer.

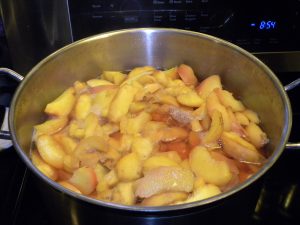
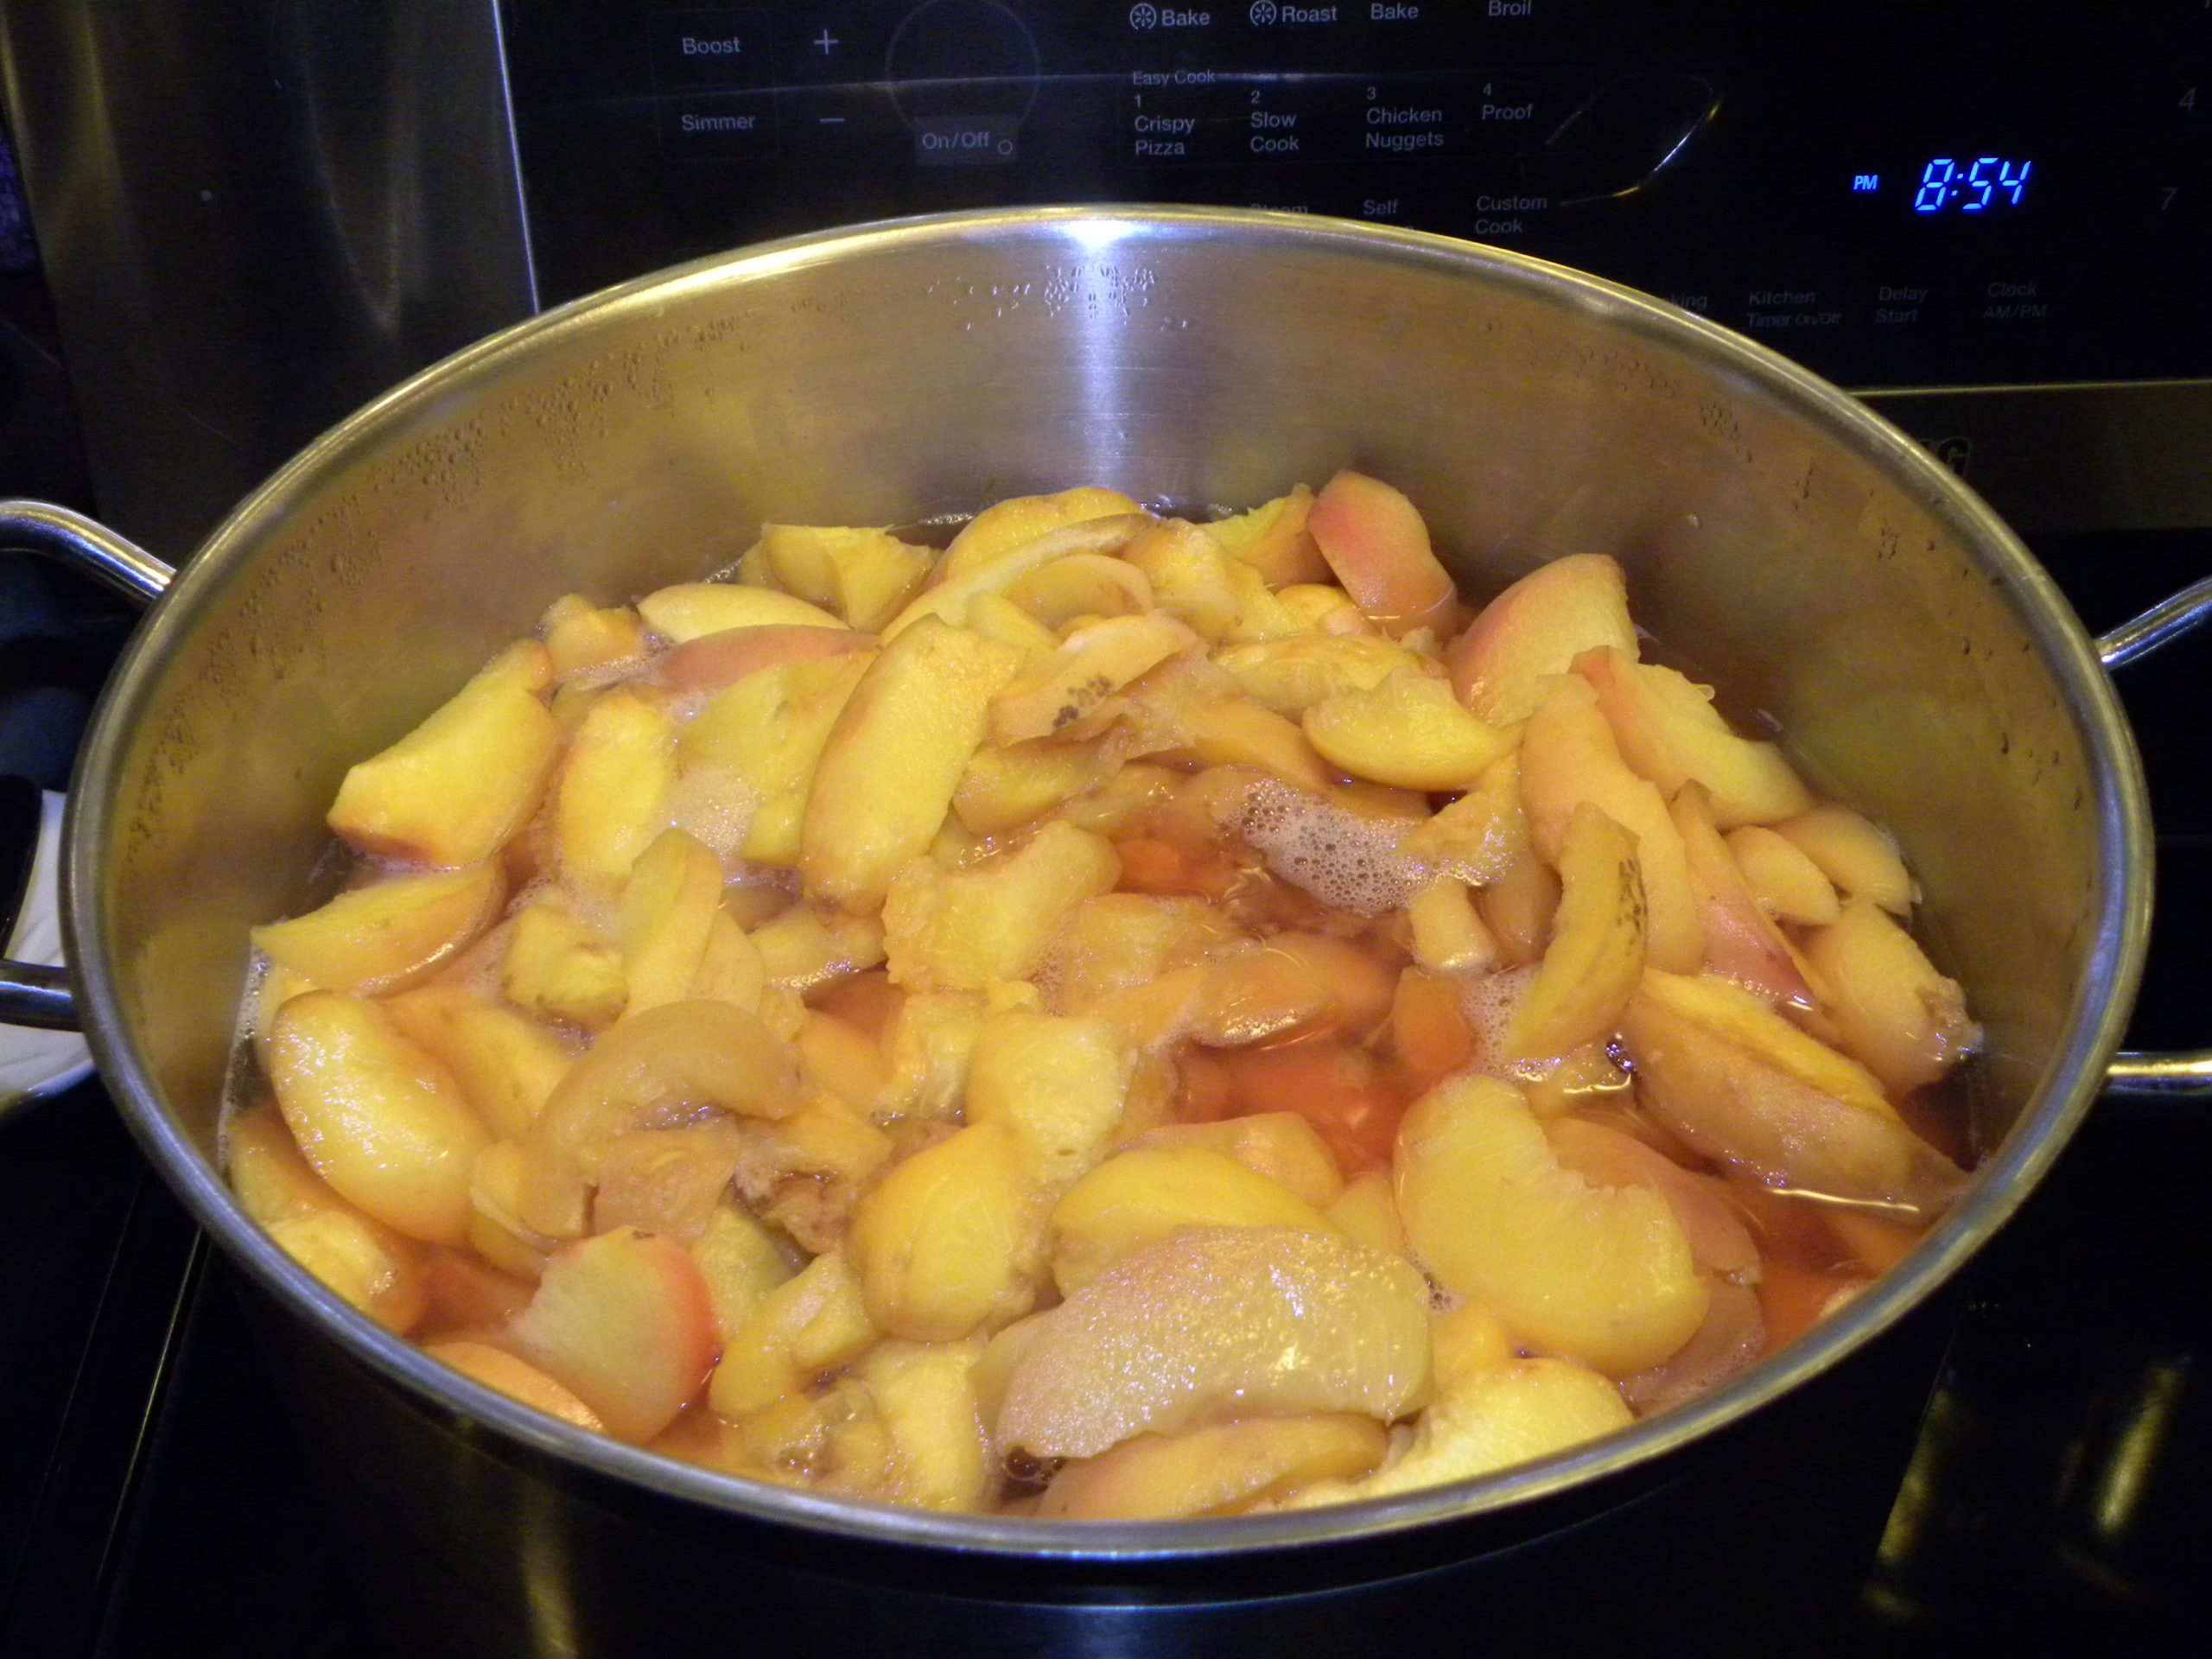
Cooking Peaches

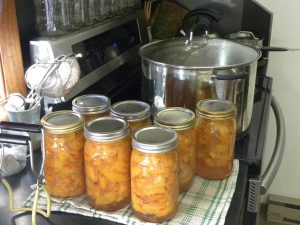
For the bulk of my canning, I cook fruits like peaches, blueberries or strawberries in their own juices (I start with a little water to cover the bottom of the pot to keep it from burning initially) and can them from there. The peaches are sweet enough to eat straight from the can as one of my favorite winter-time desserts. I also add the peaches and berries to yogurt smoothies that I make and can add some honey then if I feel it needs it. I generally aim for 75 quarts of canned fruit a year. I often end up with extra juice after processing, so turn that into smaller jars of jelly. I make my jam and jelly with Pomona’s Pectin which has honey sweetened recipes included. 

Canned Peaches

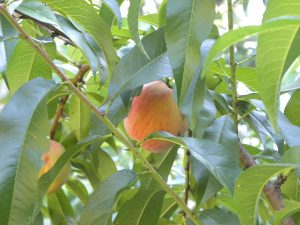
One of Our Peach Tress

A few notes on peach canning, which I have done a lot of: I slice them but I do not bother to peel the peaches. If they are not organic, I do wash them in a baking soda solution. If you have any land, I highly recommend growing your own peaches. It’s very difficult to grow them to look good enough for market without a lot of chemical treatments, but you can grow them for yourself organically and you will not mind the cosmetic imperfections once you taste them! It has lately been shown that white peaches may not be acidic enough for safe canning, so stick to the orange varieties. I dry my white peaches instead – yum!

My biggest complaint with canning is that I am boiling a lot of water during the hot summertime making the house less comfortable. Some folks actually have outdoor kitchens for canning, but I have not gone that far. There are some items such as blueberries that I will freeze as I pick them, then wait until it cools down in the fall to process them.

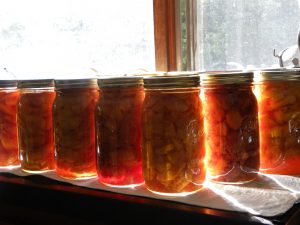
The reason it is worth going through all the work is that you end up with a great, ready to use, shelf-stable for a year or more product which I don’t have to worry about in power outages. Plus, opening a can of peaches in January is like experiencing a little bit of summer when I really need it!

Canned Peaches

Canned Peaches, Full of Summer!

Leave a Comment

Filed under Food Preservation, Gardens, Uncategorized, Weather