A couple months into the COVID-19 pandemic, the importance of food preservation is even clearer to me. More people are gardening now, and learning how to make that harvest last is so empowering. In past blogs, I talked about food preservation generally, then focused on nutrition issues. This time I will look specifically at one technique: Dehydrating.
Drying is the oldest known method of food preservation by humans, dating back at least 14,000 years. It was applied to meats, fruit, herbs, eggs and more. This method works by removing moisture from the food, historically using air, sun, wind or smoke, which stops microorganisms from growing in the food (Water is Life, remember!).
I’ve dried herbs for a long time, but I only expanded to other foods a few years ago after coming across one of those small circular electric dehydrators at Good Will. I have also recently circled back to another group of foods that can air dry. I’ll discuss all of these.
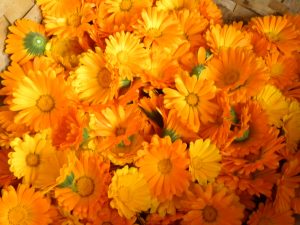
Calendula Blossoms
Air Drying Herbs
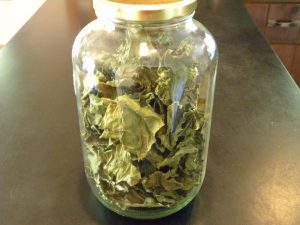
I’ve dried herbs for making infusions, salves and oils for a couple of decades now. Herbs generally are low in moisture already so I didn’t need added electricity. When I worked at Mill Valley Farm in Stratham NH we added dried herbs to our products one year. The owner of the farm built screened racks to set up in his attic. It was uncomfortably hot for us up there, but worked beautifully. On my own, even in tiny apartments, I had great success laying out my nettles (Urtica dioica), red clover blossoms (Trifolium pratense) or calendula flowers (Calendula officinalis) in a paper bag (to avoid direct sunlight hitting them) and hanging that in a sunny window or putting the bags in the car.
Electric Dehydrators
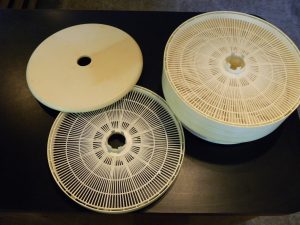
My First Dehydrator
But for foods with higher moisture content, I needed a more active approach. A friend of ours built a number of solar dehydrators, which probably work great in a dry environment. However, here in humid New England, the process took too long, and molds started to move in before we got out enough water. (Anyone reading this have a solar option that works in New England – I’d love to hear about it!)
So, when I found the electric dryer, it was my chance to give that a try. I figured I could dry anything, but I didn’t know if I would like the end product or have a good way to use it. So, I just started experimenting, trying: kale, collards, summer squash, eggplant, tomato, radish, snap beans and any seedless fruit I came up with. Not everything was a hit. Here’s what I now know I like:

I Made Raisins!
-Fruits. I’ve long been a big fan of dried fruit, raisins and much more. To me, dried fruit usually tastes even better than the unprocessed fruit does. Often what I find commercially is from far away, like papaya and mango. Doing it myself gives me the opportunity to expand my options with what I can grow here: peaches, pears, hardy kiwi and more. I made my own raisins last year – delicious! A friend just shared dried watermelon with me – amazing! I look forward to trying persimmons and pawpaws once those are established here. The learning curve with fruit centers around how to dry it enough to be unfriendly to microbe growth, but still moist and chewy. At least that’s how I like it – you can try it and discover what you like. It can take a full day, depending on how small you’ve cut it up and what the weather is so start early!
Dried Kale
-Leaves. Kales and collards have been a great success. I cut out the stem and cut the leaves into pieces, which can be dry in just a few hours on a good drying day. They could be eaten as is, but I tend to put them into soups, stews, and braised vegetable dishes. They re-hydrate nicely.
-Tomatoes. Everyone knows about sun-dried tomatoes, and I think doing it in the dehydrator tastes just as good. At least that’s what my partner says since tomatoes don’t sit that well with my stomach. He can pop them into his own bowl of soup, or have them on his side of a pizza, or toss them in his salad bowl or pasta dish.
-Other. I will usually dry other items if I happen to have a lot. Last year I did some summer squash and radishes. For us, if we don’t end up loving them, we can always share them with our goats!
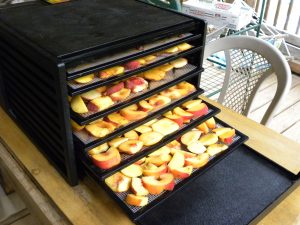
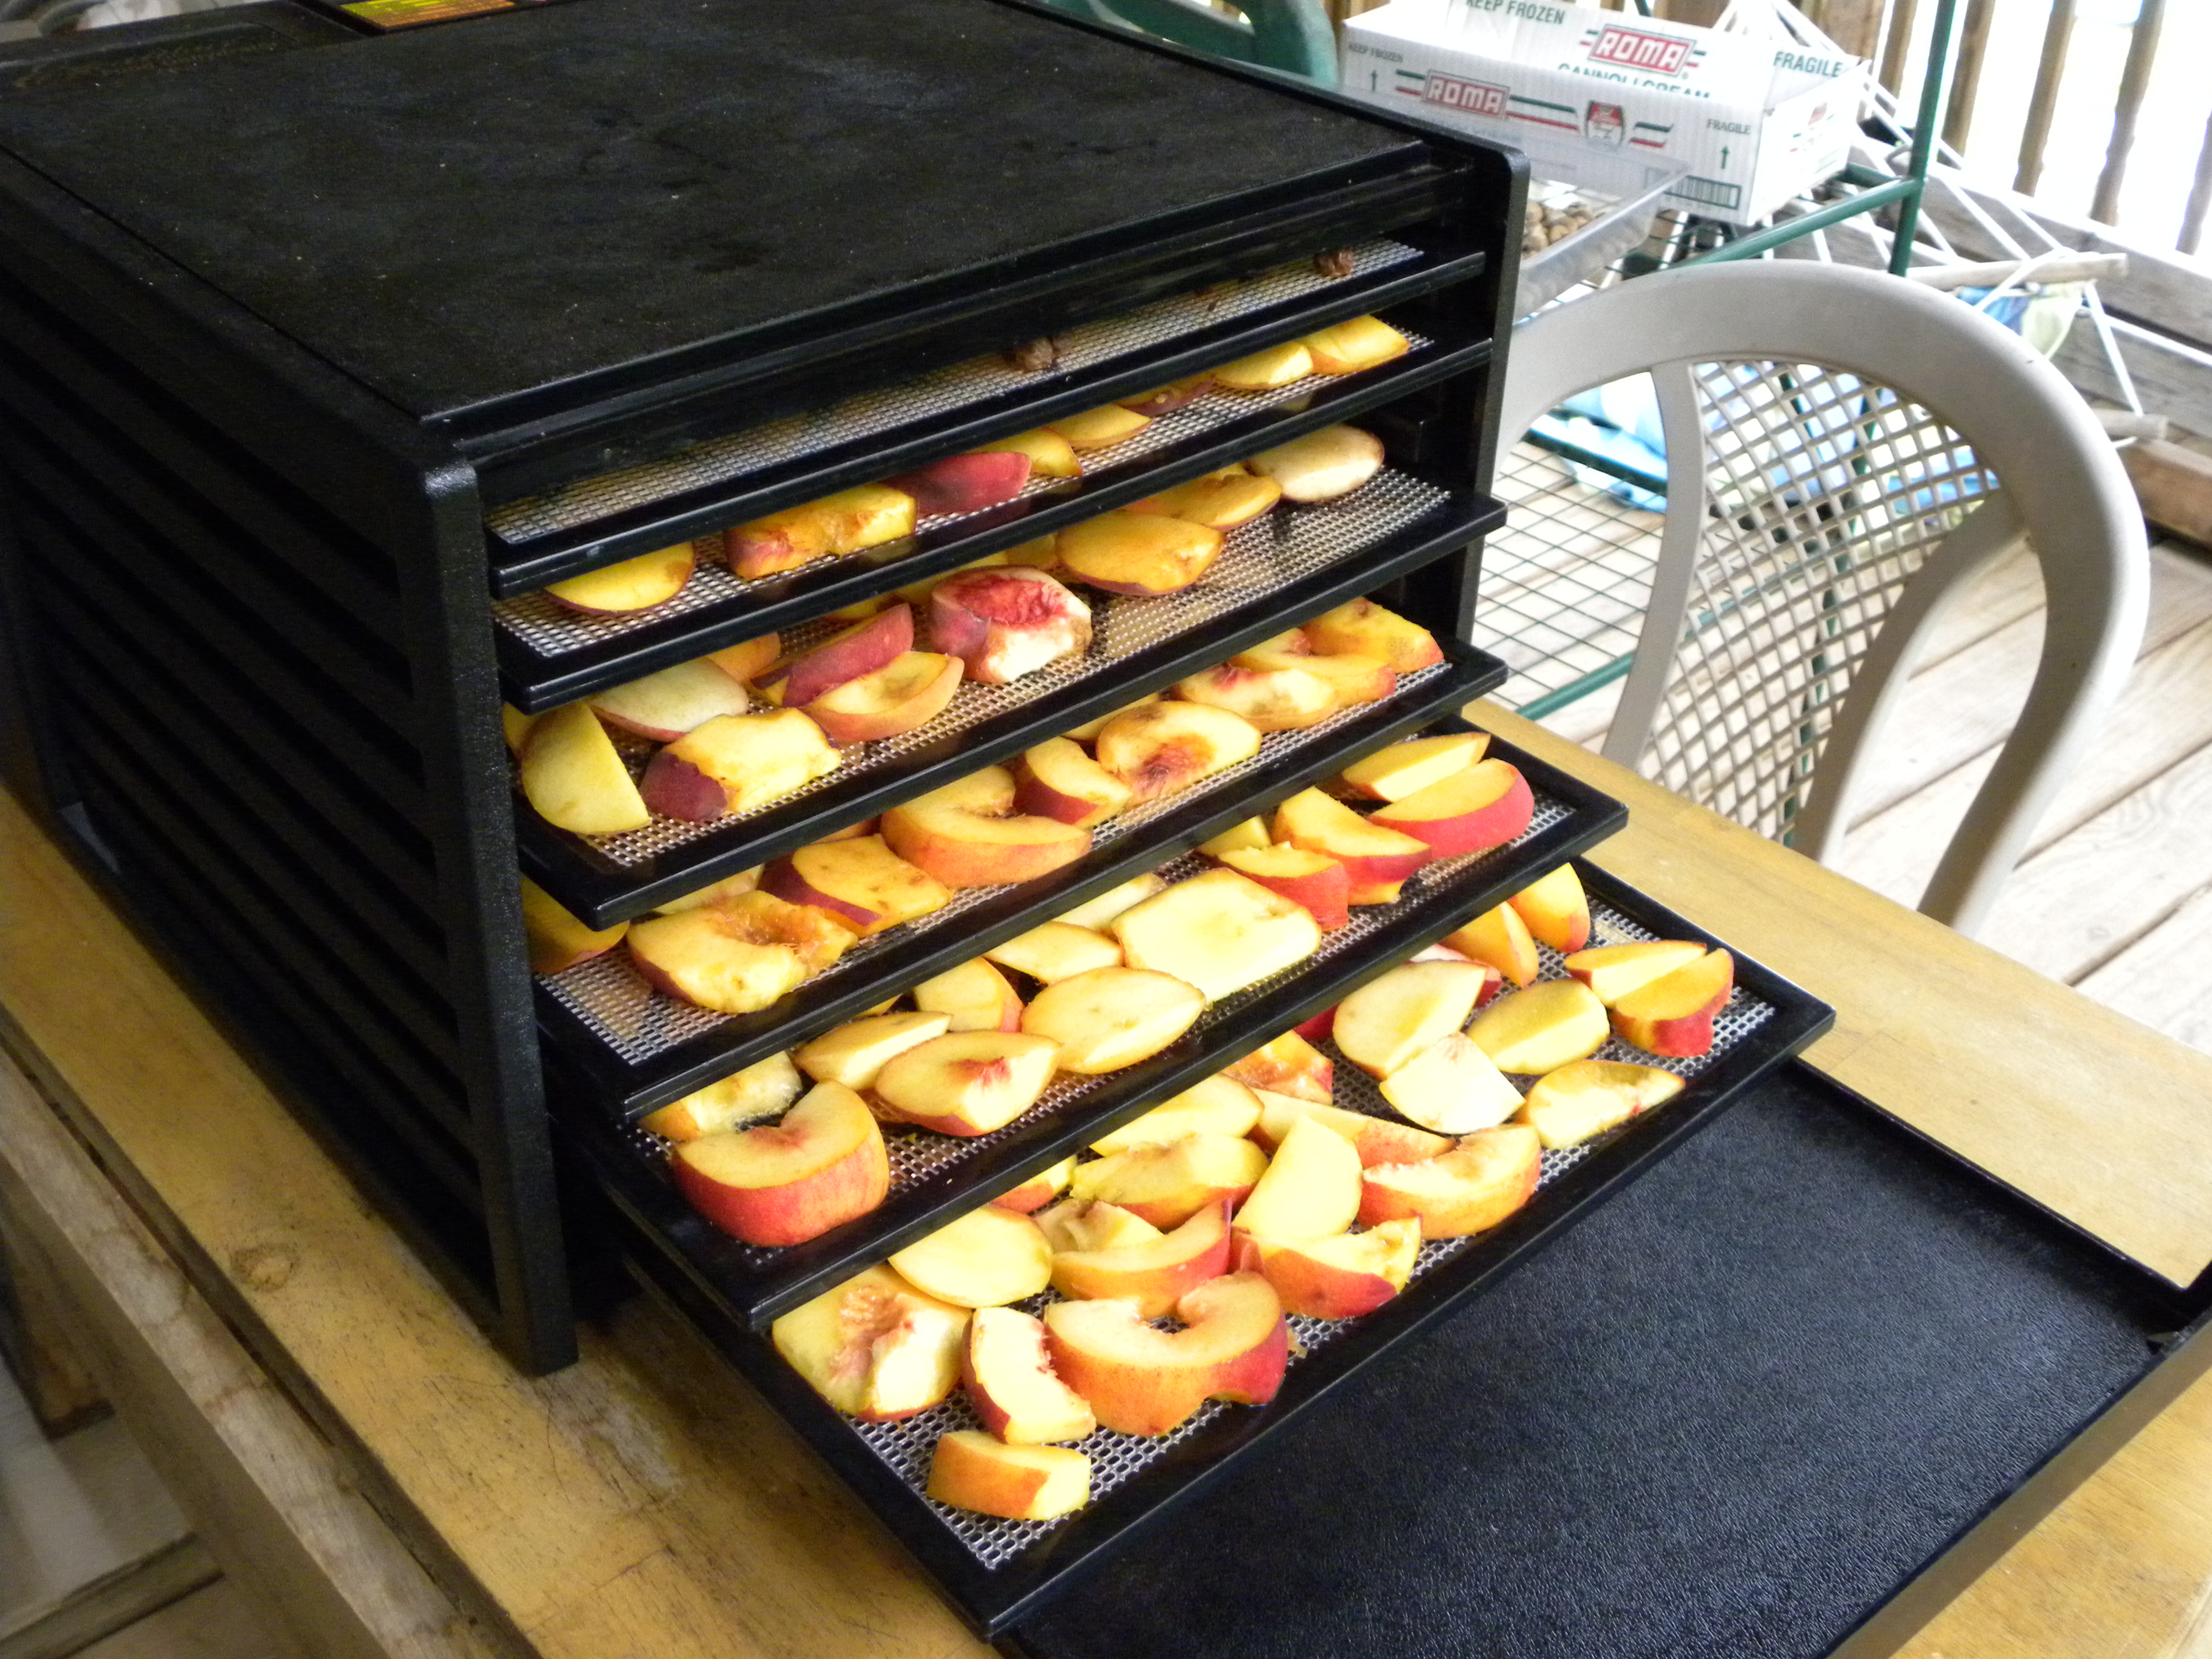
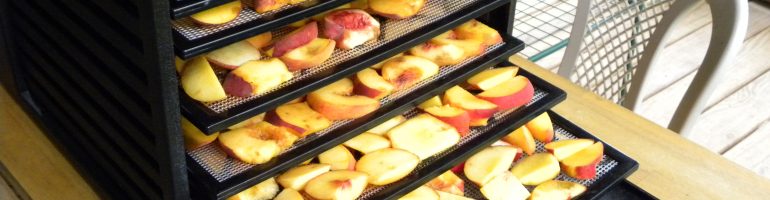
Drying Peaches in the Excalibur
Once I was sure I liked it, I bought myself an Exacalibur Dehydrator, complete with thermostat, timer and fan for air circulation and later add stainless steel trays. Less fussing (moving the trays around, turning over the food) is needed with this model and I get a more consistent end product.
Usually when I am drying, the weather is hot and humid so I am lucky to have a screened porch where running the dehydrator won’t add heat to our house. Ideally, I will set it up on a sunny morning so it’s working when there is the most heat and least humidity already.
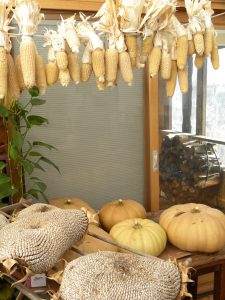
Popcorn, Sunflowers & Winter Squash
Expanding My Air Dry Options
As my available garden space expanded, I wanted to try new things, especially long lasting staple crops like drying beans and grains. Not many people grow these for themselves, I think because the processing seems daunting. It did to me at first. But I came to realize that at the home-scale I could do much of it by hand.
These are crops that start drying on the vine or stalk, then just need some time in a relatively dry, airy place to finish up. We have a high ceiling in our living room and strung some rope for suspending corn cobs and paper bags of beans. Once dry, I can remove the dried pods from the beans or twist the kernels off the corn which sitting by the fire watching something fun. I now grow 6 varieties (there are SO many kinds!) of dried beans (True Red Cranberry, Jacob’s Cattle, Good Mother Stallard, Pinto, Turkey Craw and Dolloff), popcorn, and dent or flint corns for grinding into cornmeal. We already had a grain mill since I have been grinding grain for myself for years. I tried to grow wheat one year, but the
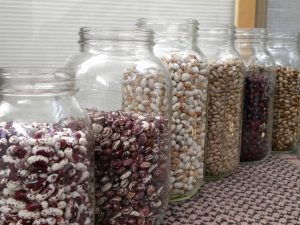
Dried Beans
birds harvested it for me. I will try again – maybe even this year! The sunflowers are for the chickens in mid-winter. I especially love the beans… this is a plant that feeds the soil while providing a yield, will climb up a fence for easy later harvesting, and is full of protein – a super-food-crop in my opinion!
What I love about drying is what a long shelf life these foods have (if you keep them dry) with no added energy after the initial processing. I don’t have to worry about a power outage like I do with my freezer. Also, the prep time is not as extensive or heat generating as canning or freezing can be during our hottest season.