August is Harvest Time Here in NH
I found it challenging this month to write about food preservation in the midst of multiple, converging US and world crises. However, this is a truth we always live with: at the end of the day, while so many large scale happenings shape the world, we still have to eat, and how we do that further influences the larger whole. So… back to food preservation!
When I started canning, it was considered weird. I would go to my local hardware store to ask for supplies and they would laugh, goodnaturedly, and say: “aren’t you a little young, by, say, 50 years, to be canning?” (I was in my 20s). Then they would have to special order whatever I needed. Now, there are whole sections of stores dedicated to canning, even grocery stores have at least bands and lids. It really made a comeback!
Compared to drying as a preservation method, canning is a modern invention. It’s development was largely inspired by war-time needs in Europe and then the US beginning 200 years ago. More recently it has been a way to store food in uncertain times when supply chains might break down or when people want economical ways of eating (versus going out to eat). Along the way, it has also become a great way for homesteaders to stock up on food when it is abundant for leaner times and to allow for local eating year-round. Here, that means canning in the summer for consumption the rest of the year.
Strawberries, a High PH Food
I exclusively practice water bath canning which is simpler than pressure canning but can only be used with high-acid foods and recipes. That includes most fruits and tomatoes, plus veggies in vinegar solutions.
Botulism is the big concern when canning. Clostridium botulinum spores are all over the place causing us no problems, but when they grow a toxin is produced. Canning works by creating an environment without oxygen, which most microorganisms cannot live in. However, botulism actually needs to have low oxygen to thrive. The heat level in a water bath canner or by boiling the food ahead of time is not enough to kill the spores, so choosing food with enough acidity to stop spore growth is critical. The high acidity (which means a low ph) doesn’t kill Clostridium botulinum but it stops it from growing, thus no toxin is produced.
There are also mixed reports about whether or not sugar helps prevent botulism. White sugar has a neutral ph, so that doesn’t help. I personally would not depend on sugar to stop botulism. I also don’t eat processed white sugar, so have only used honey when making jams and jellies that call for extra sweetener, following recipes from Pomona’s Pectin. Again, it’s choosing high acid foods that provides the check on botulism.
What’s tricky about botulism is that there isn’t an obvious bad smell or visual clue that it has grown. With all other methods of preserving, it’s obvious when it’s gone wrong. That inability to know through our own senses is kind of creepy and turns folks off from trying. To me, it just means that I take seriously the recommendations and recipes provided.
The USDA’s National Center for Home Food Preservation is a great resource for “research based” recipes and information so you can be sure you are canning safely.
Beyond safety, research continues to find that canning is a good way to keep nutrition and make it bio-available.
To get started there is some equipment needed. The investment is very much worth it if you like it and do it for years. You’ll need: a big pot to cook in, another big pot with a canning rack inserted to hold the jars, canning jars, lids and bands, a timer, plus a set of helpful tools that might not be necessary but are worth getting: wide-mouth funnel, ladle, jar lifter, magnetic lid lifter, and bubble popper/head space measurer.
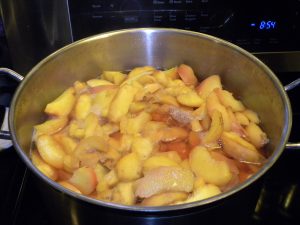
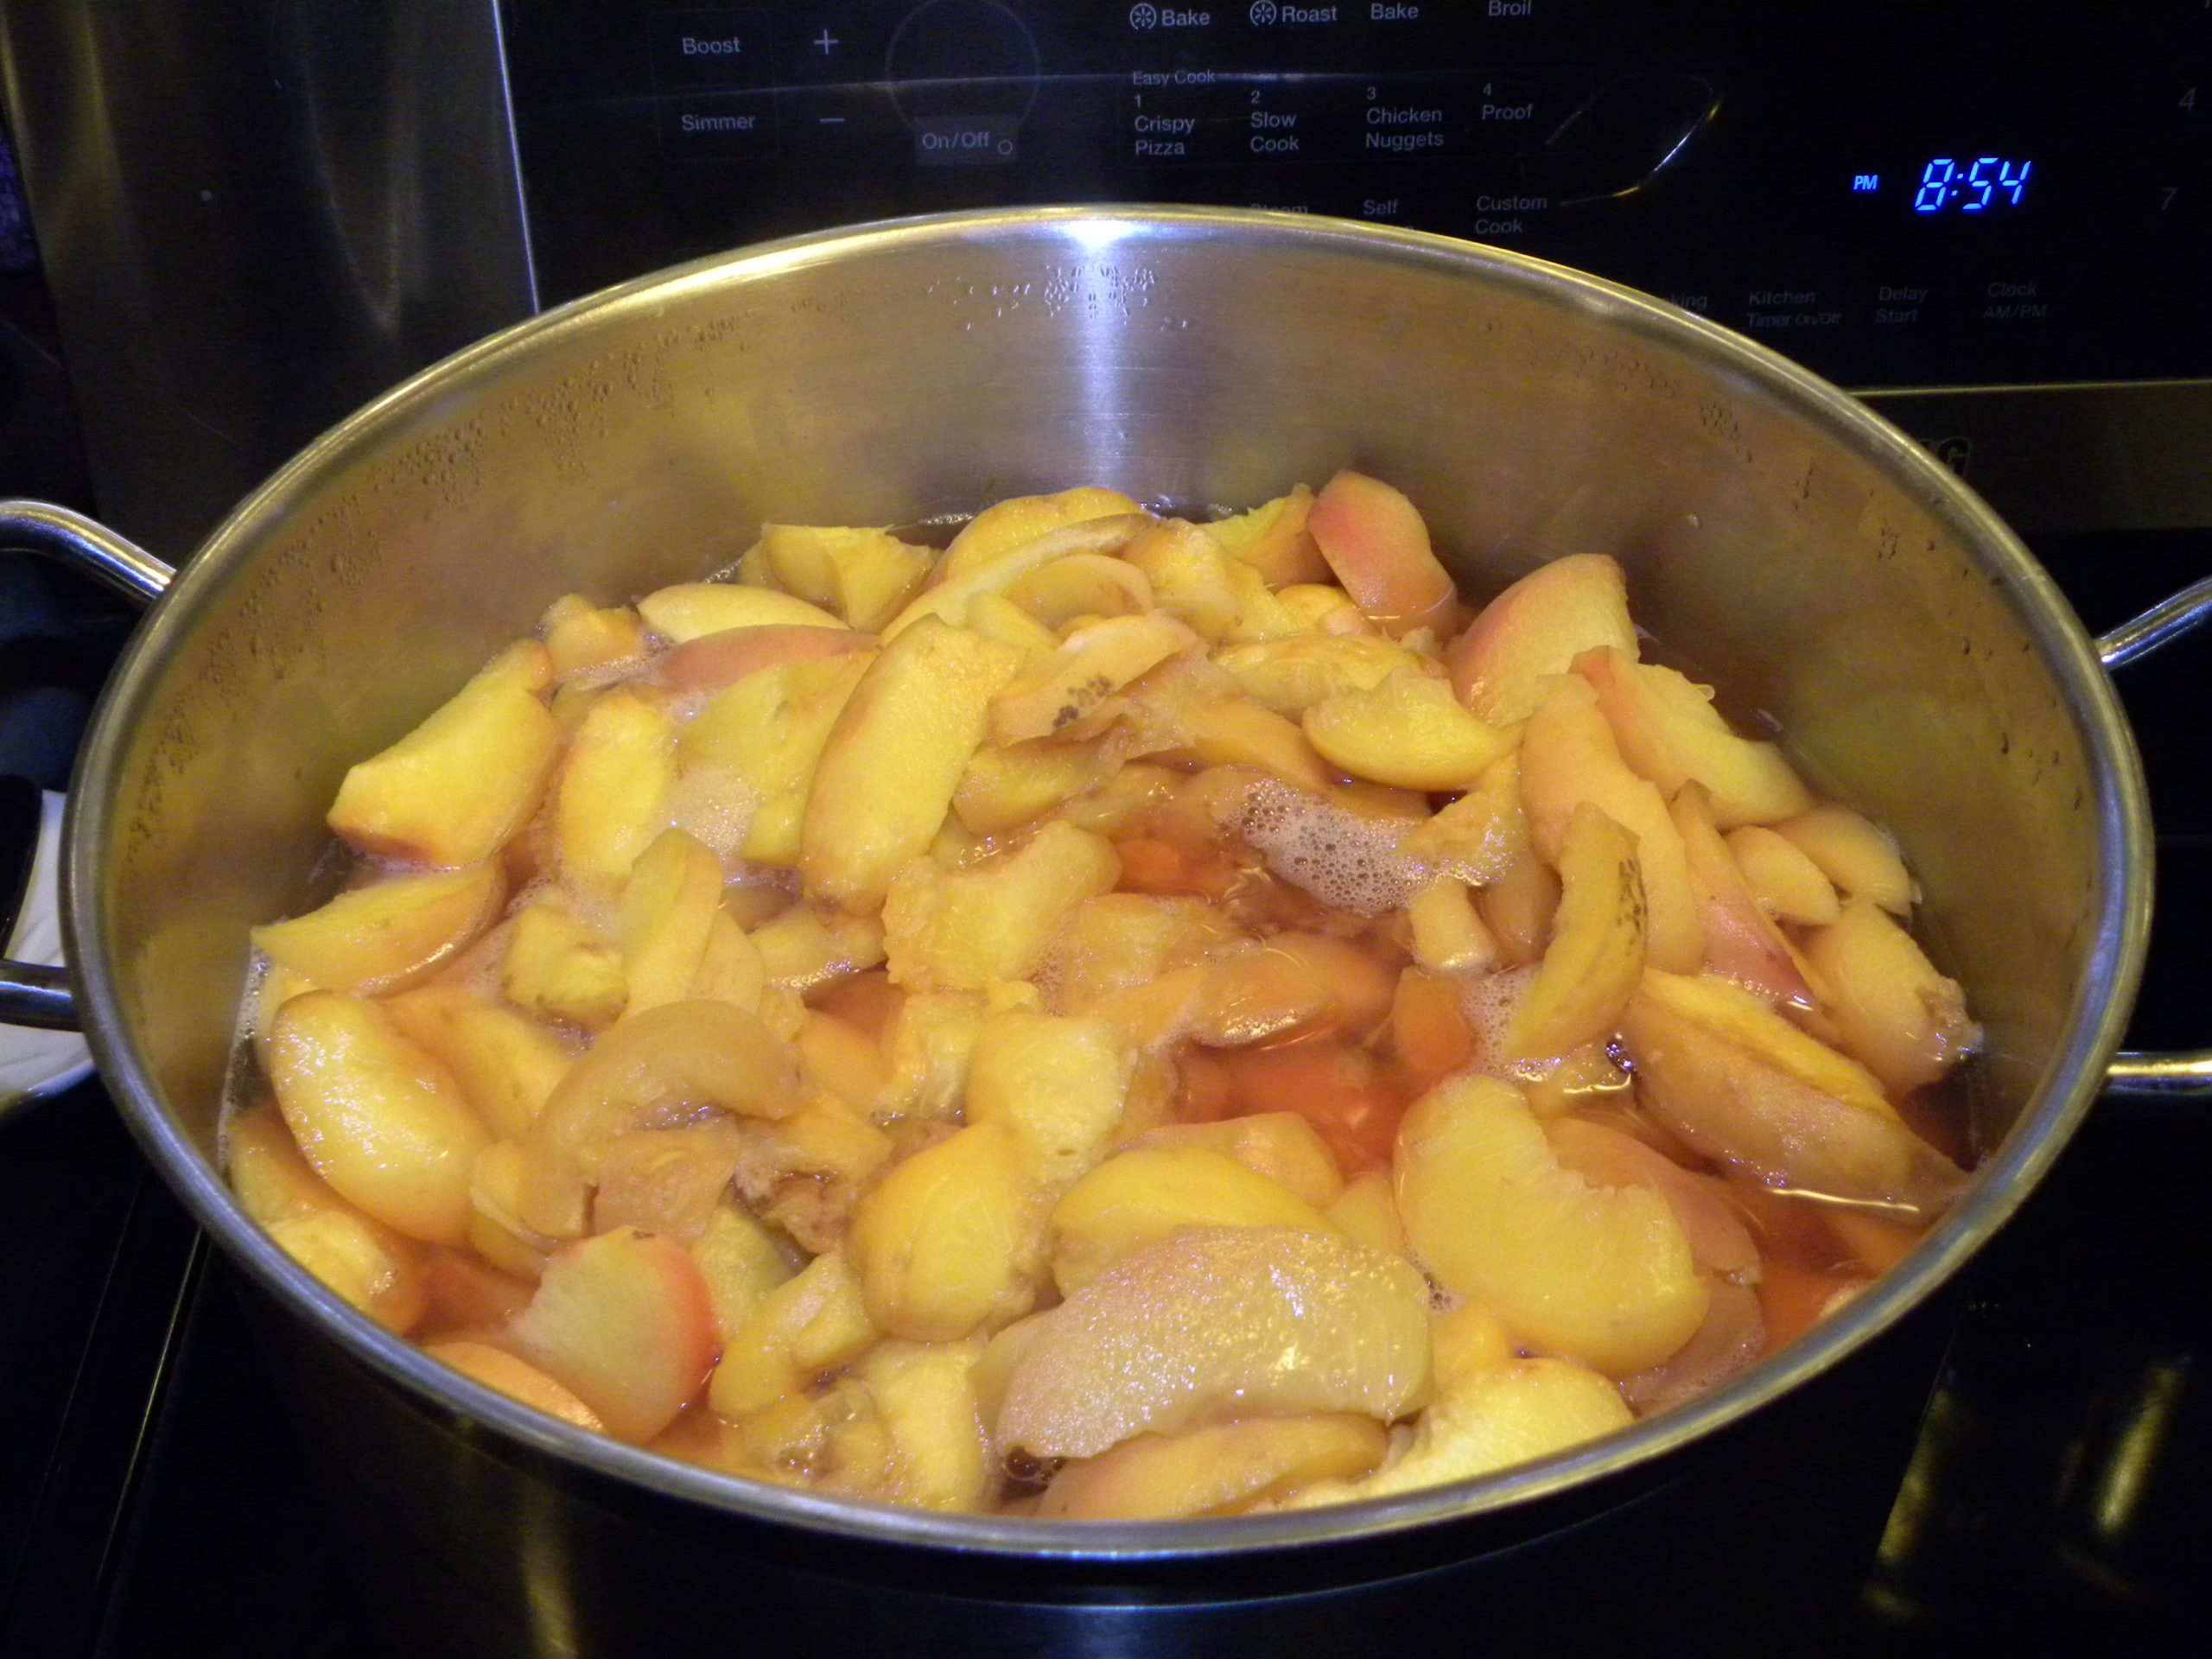
Cooking Peaches
For the bulk of my canning, I cook fruits like peaches, blueberries or strawberries in their own juices (I start with a little water to cover the bottom of the pot to keep it from burning initially) and can them from there. The peaches are sweet enough to eat straight from the can as one of my favorite winter-time desserts. I also add the peaches and berries to yogurt smoothies that I make and can add some honey then if I feel it needs it. I generally aim for 75 quarts of canned fruit a year. I often end up with extra juice after processing, so turn that into smaller jars of jelly. I make my jam and jelly with Pomona’s Pectin which has honey sweetened recipes included.
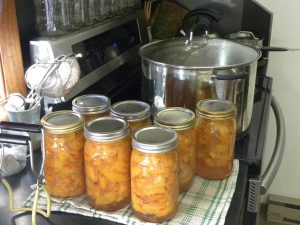
Canned Peaches
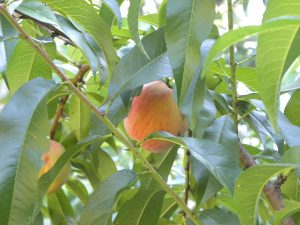
One of Our Peach Tress
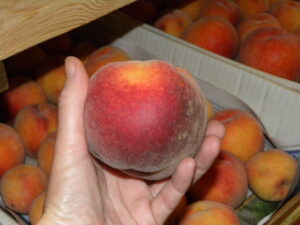
A few notes on peach canning, which I have done a lot of: I slice them but I do not bother to peel the peaches. If they are not organic, I do wash them in a baking soda solution. If you have any land, I highly recommend growing your own peaches. It’s very difficult to grow them to look good enough for market without a lot of chemical treatments, but you can grow them for yourself organically and you will not mind the cosmetic imperfections once you taste them! It has lately been shown that white peaches may not be acidic enough for safe canning, so stick to the orange varieties. I dry my white peaches instead – yum!
My biggest complaint with canning is that I am boiling a lot of water during the hot summertime making the house less comfortable. Some folks actually have outdoor kitchens for canning, but I have not gone that far. There are some items such as blueberries that I will freeze as I pick them, then wait until it cools down in the fall to process them.
The reason it is worth going through all the work is that you end up with a great, ready to use, shelf-stable for a year or more product which I don’t have to worry about in power outages. Plus, opening a can of peaches in January is like experiencing a little bit of summer when I really need it!
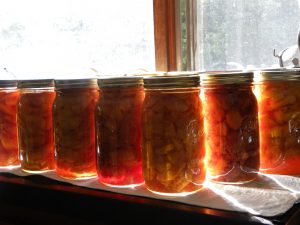
Canned Peaches, Full of Summer!

