Making salt in the winter makes a lot of sense for us, living on the Seacoast and heating with wood. We already try to take advantage of that heated stove top. If nothing else, we put a steamer pot on it to help offset the dry winter air. But, even better is to use it to decrease other energy needs. We cook on it, heat water for tea, dish washing, and some for clothes washing. My daily herbal infusion warms up there. And, now, we’ve learned how to make our own sea salt on it.
Humans gathering salt has a long, fascinating history going back thousands of years that shaped the world we now live in. It’s importance in human health, food preservation and as a trading commodity influenced where cities appeared, the establishment of trade routes, and the outcomes of wars. Did you know that the English suffix “wich” often indicates it was once a source of salt, some of the first roads were associated with the salt trade, and that salt was the focus on Gandhi’s first civil disobedience campaign in India’s struggle for independence from Britain?
Below I will walk you through the process with pictures to best tell the story. First, for answers to common questions we get asked:
Q; Do you get enough salt to make it worth bothering with?
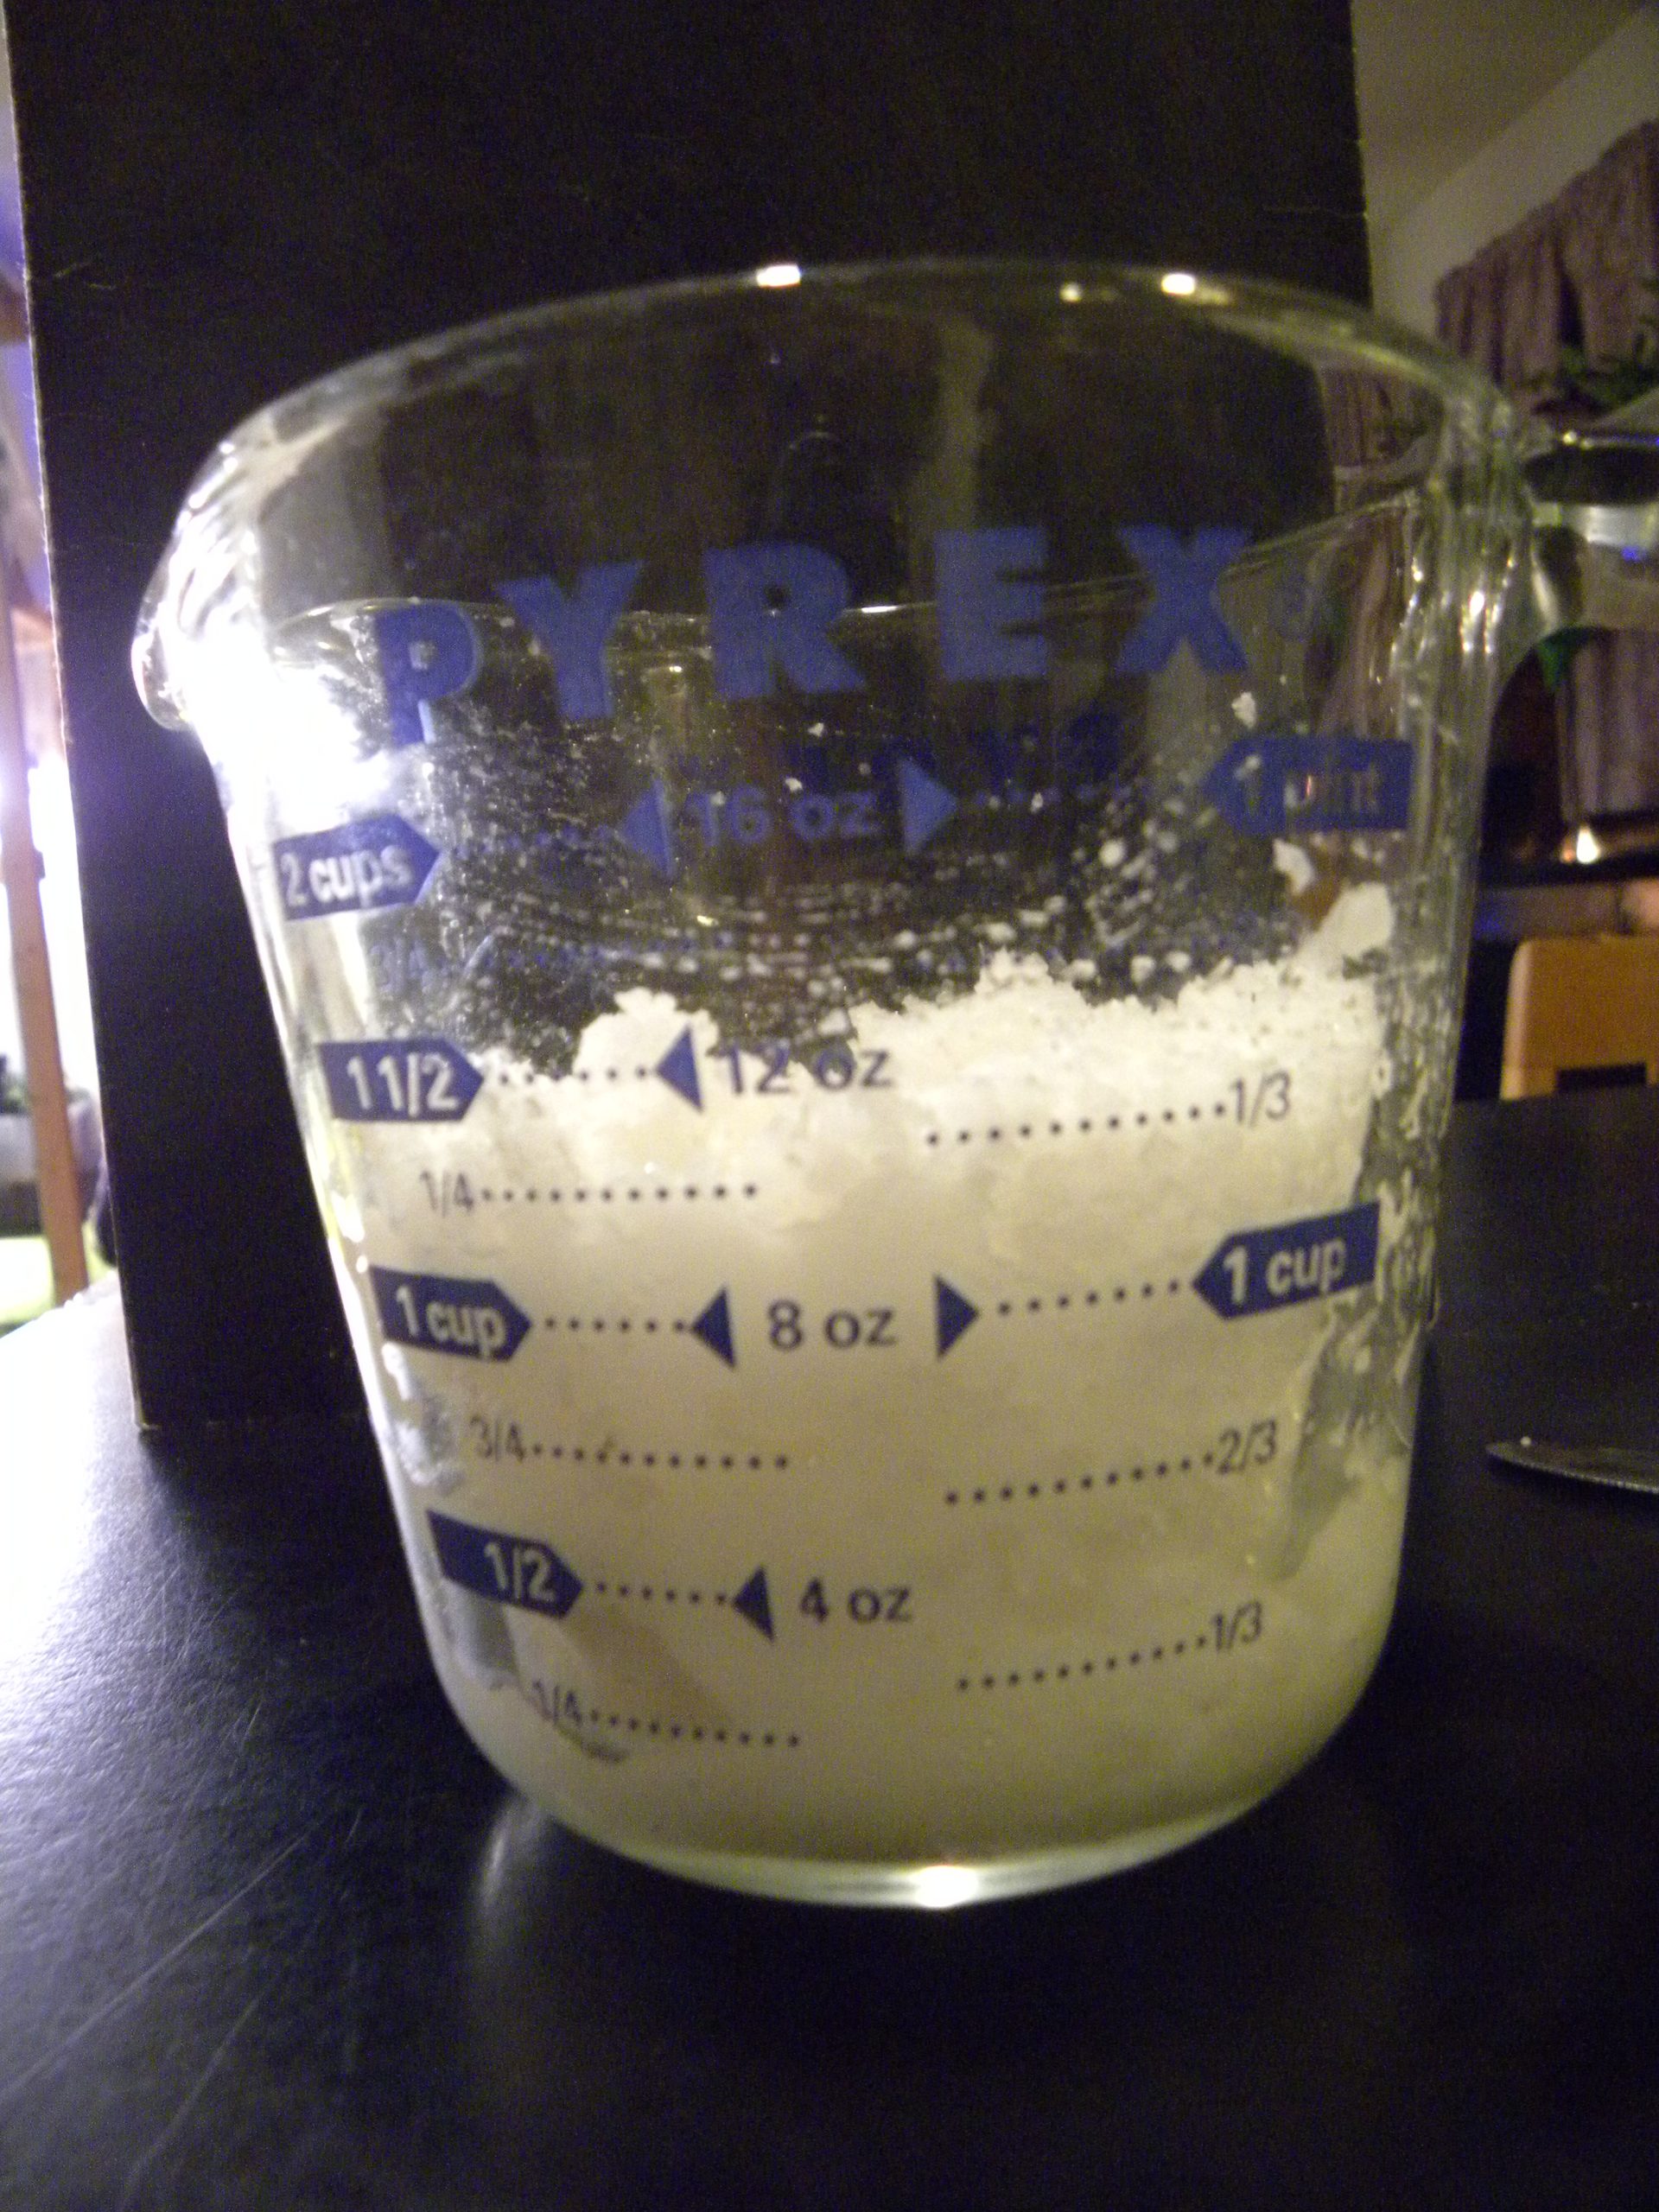
A: Two gallons of salt water create 1 cup of salt. I’m pretty impressed with that!
Q: Aren’t the oceans too polluted now for this to be safe?
A: This is a hard one and I can’t say for sure. But – we have to ingest salt to survive and I don’t know why I’d trust sea salt in the store more than what I make myself. (Most commercial table salts are currently hydraulically mined inland. My research indicates this might not be as bad as other types of mining, but there are consequences.) We have poisoned the whole planet that we are a part of, so it’s not reasonable to think we won’t ourselves be taking some of that in. Maybe if we better connect to how we need the ocean, we’ll be more motivated to keep it clean. Really, when the oceans get so polluted we can’t trust them at all, I think the least of our worries will be can we make salt from them. We forget how critical oceans are to maintaining life on the planet. So… you will have to decide for yourself, and it might depend on what beach you have access to if you think it is safe or not.
Q: What if I don’t have a wood stove?
A: You can use an electric or gas stove to make salt, it just means you are adding that extra energy. Also, solar salt evaporation is worth exploring. Solar dehydrating of food is tough in our climate since microorganisms usually become established before the food dries enough. However, salt is not perishable that way, so it can take much longer to be finished with not worry about it spoiling.
Q: Does it have a different taste or color or texture?
A: I find it to be a little saltier and more complex than what I’ve bought at the store. I read that sea salt shouldn’t be very white… but mine does turn out that way. My method makes a coarse end product. It can be put in a food processor for further refining.
Q: Is it healthier?
A: Sea salt is less processed than rock salts, allowing trace minerals to remain and not introducing additives, which I think is positive. But, both are still mostly sodium chloride, which is critical to have in appropriate amounts – not too little or too much – for good health. Also, note that your own salt won’t have added iodine so be sure to find other ways to get iodine into your diet, such as seaweed or dairy products.
The Process
The start – and maybe hardest part – of the process begins with gathering the sea water. We recommend it not be completely low tide (unfortunately, since that’s best for getting seaweed!), wear your tallest waterproof boots, and have smaller containers that you can fill and bring to a larger container in your car. You don’t need to worry too much about sand and seaweed bits in the water – you’ll be straining it later. A tight lid for the ride home is helpful.
Once I get it home, here’s what I do…
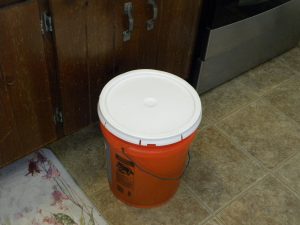
A five gallon bucket, filled to nearly the top, in the kitchen
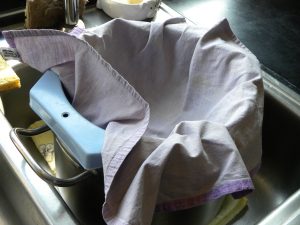
Straining through a tightly woven piece of cloth will catch sand, seaweed, etc.
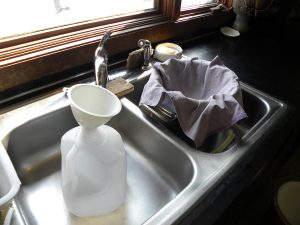
Set up in the sink – pot to strain it into, jug to transfer it to.
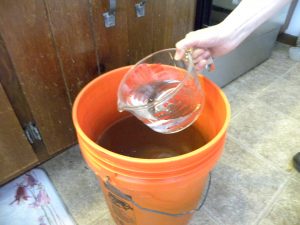
Take sea water from the bucket…
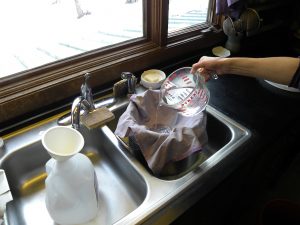
… and pour the sea water into the strainer.
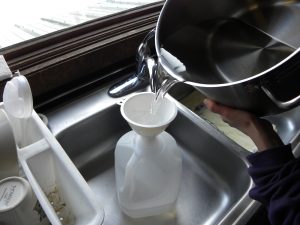
Pour the strained sea water into a non-metal container. Sea water will corrode metal quickly.
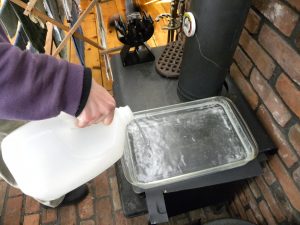
I put aside 2 gallon jugs and pour in what fits into the glass pan sitting on a trivet on wood stove. Top it off as the water level goes down.
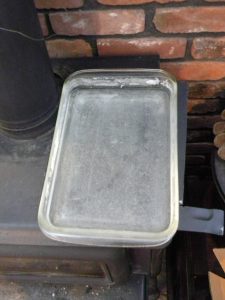
Close to the end of 2 gallons, the water begins to look cloudy.
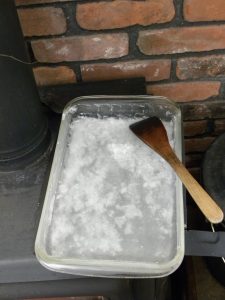
Salt starts to form!
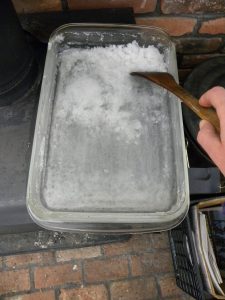
I find pushing the solids to the side facilitates continued drying. My original metal spatula for this showed signs of corrosion after just a few batches.
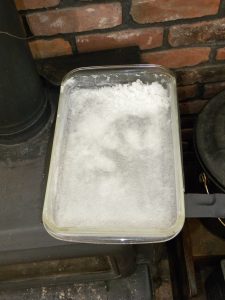
It’s getting close! Note that we don’t have this pan directly on the stove, but on a large, low trivet that Steve created from an old computer case side.
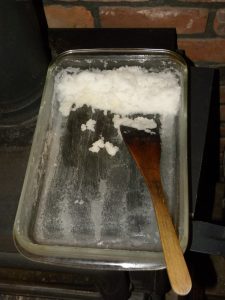
Pushing it to the slightly higher side lets it dry a lot. Then, letting it sit near but not on the stove in an open container for another day lets it really dry out.
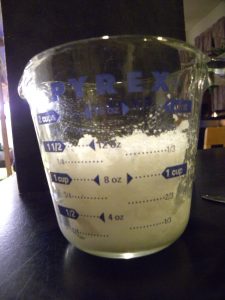
From the 2 gallon jugs, more than a cup of salt.
Store the salt in a tight container to keep it from absorbing moisture. Since you aren’t adding an anti-caking agent, it will be prone to do so and to clump. If that does happen, you can re-dry it near a wood stove or in an oven. It doesn’t go bad, just gets hard to deal with!
