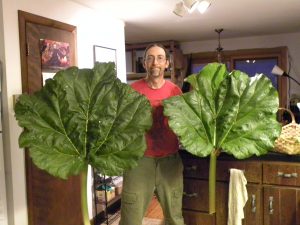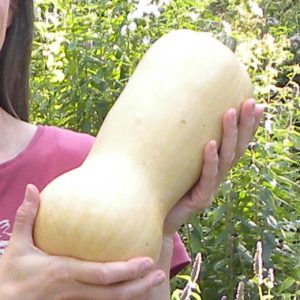
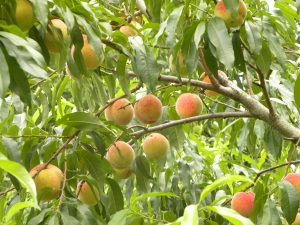
Our Best Peach Year So Far
As 2021 ends, I’m taking a moment to reflect and share about our year – to “observe and interact” as we permaculturists say.
Globally, it was another tumultuous and historic year. While the scary moments are what tend to be reported on, there were positive developments as well. I believe in facing problems in order to deal with them, but more and more I see the value in noting progress made, too, as it inspires me to continue working hard in the world and on the homestead (which is in the world, of course!).
Locally, in our homesteading adventures it was a solid year of growing for plants and animals here, details coming up. For consistency and building knowledge, I will comment on the same subjects as in previous year-end reviews, plus add new developments.
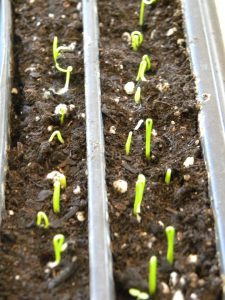
Starting Seedlings
I continue to have great results using the peat-free seed starting mix from Organic Mechanics. I mixed in some of our worm castings as well, so I have to buy less of the bagged product and to help with feeding the baby plants. I have also improved my ability to let go of old seed packets so, indoor or outdoors, my seeds are coming up more reliably.

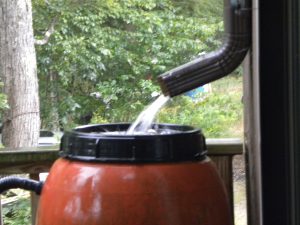
One of our new “rain barrels”
Water / Weather
The 2020 drought continued through spring 2021, finally breaking in July. The rain was a welcome relief and great help, decreasing our work load and helping our plants thrive. Not all crops bounced back from the spring drought, though. We did get a much bigger water catchment system installed, with four 275 gallon totes. The rain water is also better for the animals to drink (especially goats), whether we are having a water shortage or not.
Rodents, Pests and Diseases
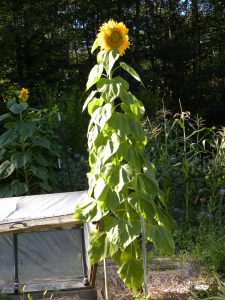
Sunflower Before Chipmunks
Rodents were back in force this year. Specifically, we had voles who took more than their fair share of our root crops – carrots, beets, parsnips and potatoes. There were also extra chipmunks eating in the garden (they loved the sunflowers, climbing up the big stalks to hang off the flower heads), and mice or rats going after the poultry feed. Two mild winters in a row and two oak mast years may have created a population boom. Likely there will be a rise in rodent-eaters to help balance this out. 2021 was not a mast year, so fewer acorns should curb populations, too. That’s the normal, healthy cycle at work!
We didn’t have many other pest or disease issues. There were squash bugs, potato beetles, cabbage worms… but not enough to take down yields significantly. I expect as the drought eased the plants were able to keep up their defenses to coexist with these other organisms.
Labor
Every year my belief in community land management grows as I experience how the individual, private property systems are so hard to manage and so much less fun. I miss the days of working on a farm crew that talked, laughed, and helped each other as we accomplished so much. But, as we figure out how to move back towards more commons-based living with land trusts, cooperatives and more, and while a pandemic limits group activities, we keep at it here, sometimes tiring myself out in the growing season. I have gotten smarter about what to focus on and what to let go, but in a good year, there is a lot of harvest to process.
On this issue, the pandemic has been a teacher. I now see that I was doing too much off-farm work in harvest season. Being able to attend meetings and offer classes on Zoom, thus eliminating all the driving around, is a great help.
Animals: Bees
As I had feared, I did lose many hives over the winter. I’m sure there are various reasons, but I continue to see a pattern of heavy losses in drought years. I did keep a couple hives going that look strong and healthy and I hope will live through this winter and get back to making us some honey.
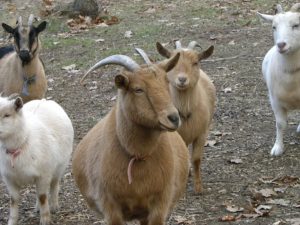
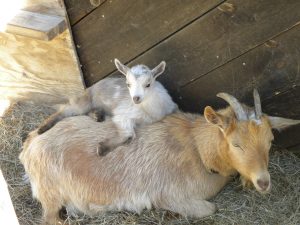
Animals: Goats & Pasture
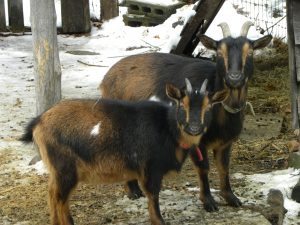
Diana with her Mom, Luna
We had a great year with the goats. After Honey’s difficult birth in spring 2020, I worried as our three bred does approached their due dates. Happily, all three kidded with twins when expected with no problems. Phew! We are keeping one of the doelings for our herd: Diana, daughter of Luna who is proving to be an exceptional animal with a calm personality, excellent health, easy breeding and birthing, and strong milk production.
This year we got more serious about rotational grazing. As we have removed trees to open up our land to more sun, we have grasses springing up creating actual pasture that needs management for the health of the plants and animals. Our electric fencing was in full use finally, and we saw serious improvement in keeping the pasture plants alive and covering the soil. This was especially important with the torrential rain storms we had, which caused erosion problems in any ground not protected, highlighting the benefits of perennial plantings, and appropriate animal management. This is a huge topic I plan to say more about in a future post.
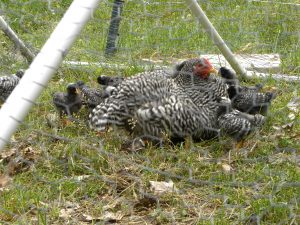
Animals: Poultry
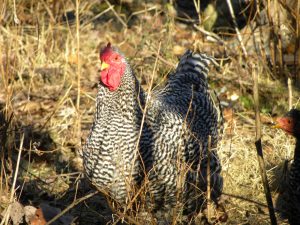
The New Rooster
We had a slow start to our chicken flock expansion in the spring as our rooster was getting older and less fertile. Between other local chicken keepers and an order to a hatchery (something we try to avoid) we were able to raise new stock, including a new rooster.
A friend of ours had amazing results incubating some of our Indian Runner duck eggs (15 out of 16 hatched!) and we welcomed back two girls to take the place of a couple older females. I am more seriously managing the duck breeding with two males here, so I will be able to keep this flock going with less in-breeding or need for outside animal genetics for quite awhile.
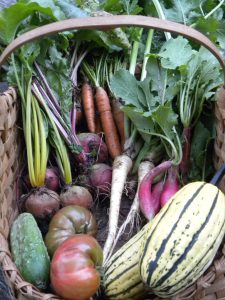
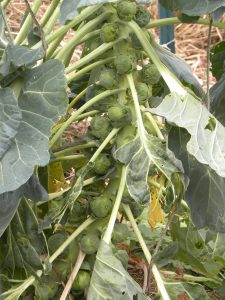
Harvest totals
Here’s what we recorded (note that this is what came into the house to be weighed, so misses what we directly fed to the animals or what Steve ate in the field), with some comments:
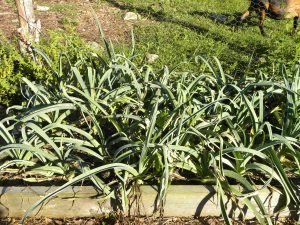
One bed of Leeks
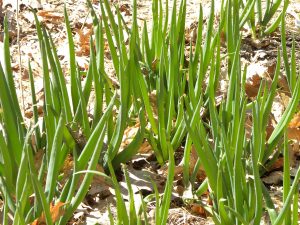
Alliums – garlic – 35.25 pounds(#) (173 heads); garlic tops – 150; leeks – 41.75# (and more leeks still in the ground for winter harvesting), perennial onions – 10#
Beans & Peas – 45# snap beans; 12.5# dry beans; sugar snap peas – 7#
Brassicas – broccoli – 8#; brussels sprouts – 17#; kale/collard – 18# (there are at least 10# of brussels sprouts still outside for us to pick)
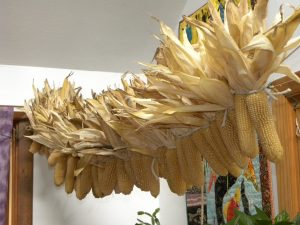
Popcorn, drying in the living room
Corn, popcorn – 7#
Cucumber – 30.73# (many, maybe more, went straight to the animals – the chickens LOVE overgrown cukes!)
Eggplant – 17.5#
Greens – lettuce – 7.75#; nettles – 3#
Herbs – basil – 6#; dill – 1# (it was an excellent basil
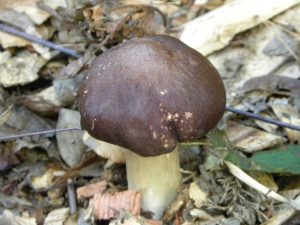
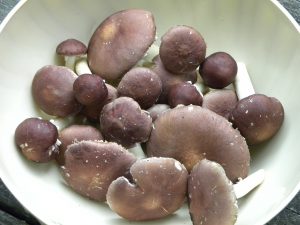
Wine Cap mushroom (Stropharia rugosoannulata)
year)
Mushrooms, winecap – 5.75#
Potatoes – 129# (which broke down to 6# per 1# planted – it would have been much better if the voles hadn’t taken so many)
Roots – beets – 21.5#; carrots – 20#; parsnips – 14#; radishes – 87 (the carrots were especially decimated by voles, and parsnip seed germination was poor)
Squash – summer – 36.25#; winter – 712# (butternut, delicata, long pie and Seminole)
Tomato – 42#
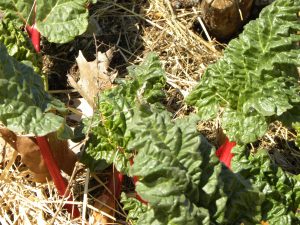
Fruit: crabapples – 10#; currants – 6.5#; elderberry – 1.75#; grapes – 18#; honeyberry – 1#; mulberry – 1#; peaches – 347.5# (from 4 trees); rhubarb – 27#; strawberry – 2#; 100s of # of gleaned apples which we didn’t weigh
We brought in 104 gallons of goat milk and 117# goat meat.
Our poultry harvest came to: 1,549 (129 dozen) chicken eggs from 12 hens; 840 (70 dozen) duck eggs from 7 ducks; chicken meat – 74#; duck meat – 15#
Food Preserving
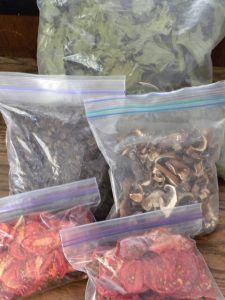
Dehydrated Foods
Some of the food we ate when it was ready, but preserving for the off-season is important to me. Here’s a summary of what I put up:
Canned: 87.5 quarts peaches, 7 pints pickled beets, 21 pints of strawberries & 12 pints strawberry jelly from berries picked at East Wind Farm
Dried: 7 gallon bags kale/collards, 2 pounds nettles, 1 pound wine cap mushrooms, 1 pound raisins, 1 pound tomatoes
Refrigerated: 10 quarts lactofermented cucumber pickles
Frozen: 5 pints peach juice, 5 pints tomatoes, 10 pounds of snap beans, 10 pounds of eggplant, 12 pints basil/garlic pesto, 8 gallon bags of other fruits I will pull out of the freezer to can soon, 10 pints chevre cheese, a few pounds of mozzarella cheese and most of the meat.
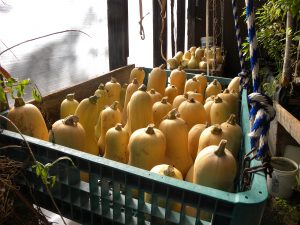
Butternuts spend a couple weeks in a warm place before coming in to our house
Also, there are many crops we are storing that didn’t need to be preserved exactly, just handled and stored properly: garlic, potatoes, carrots, beets, parsnips, winter squash and apples.
Looking Ahead
I don’t make New Year’s resolutions but I do make plans. Given the high demand the past couple years, I have already put in my seed and tree orders, a commitment to next year’s gardens.
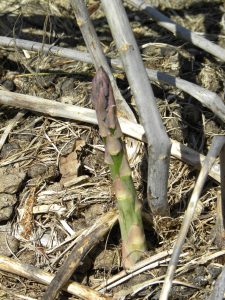
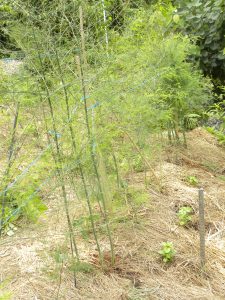
We have a new area where we have worked on soil improvement for a few years which I will plant this spring when my Fedco order comes in: fruit trees & bushes, perennial veggies like asparagus, and grapes.
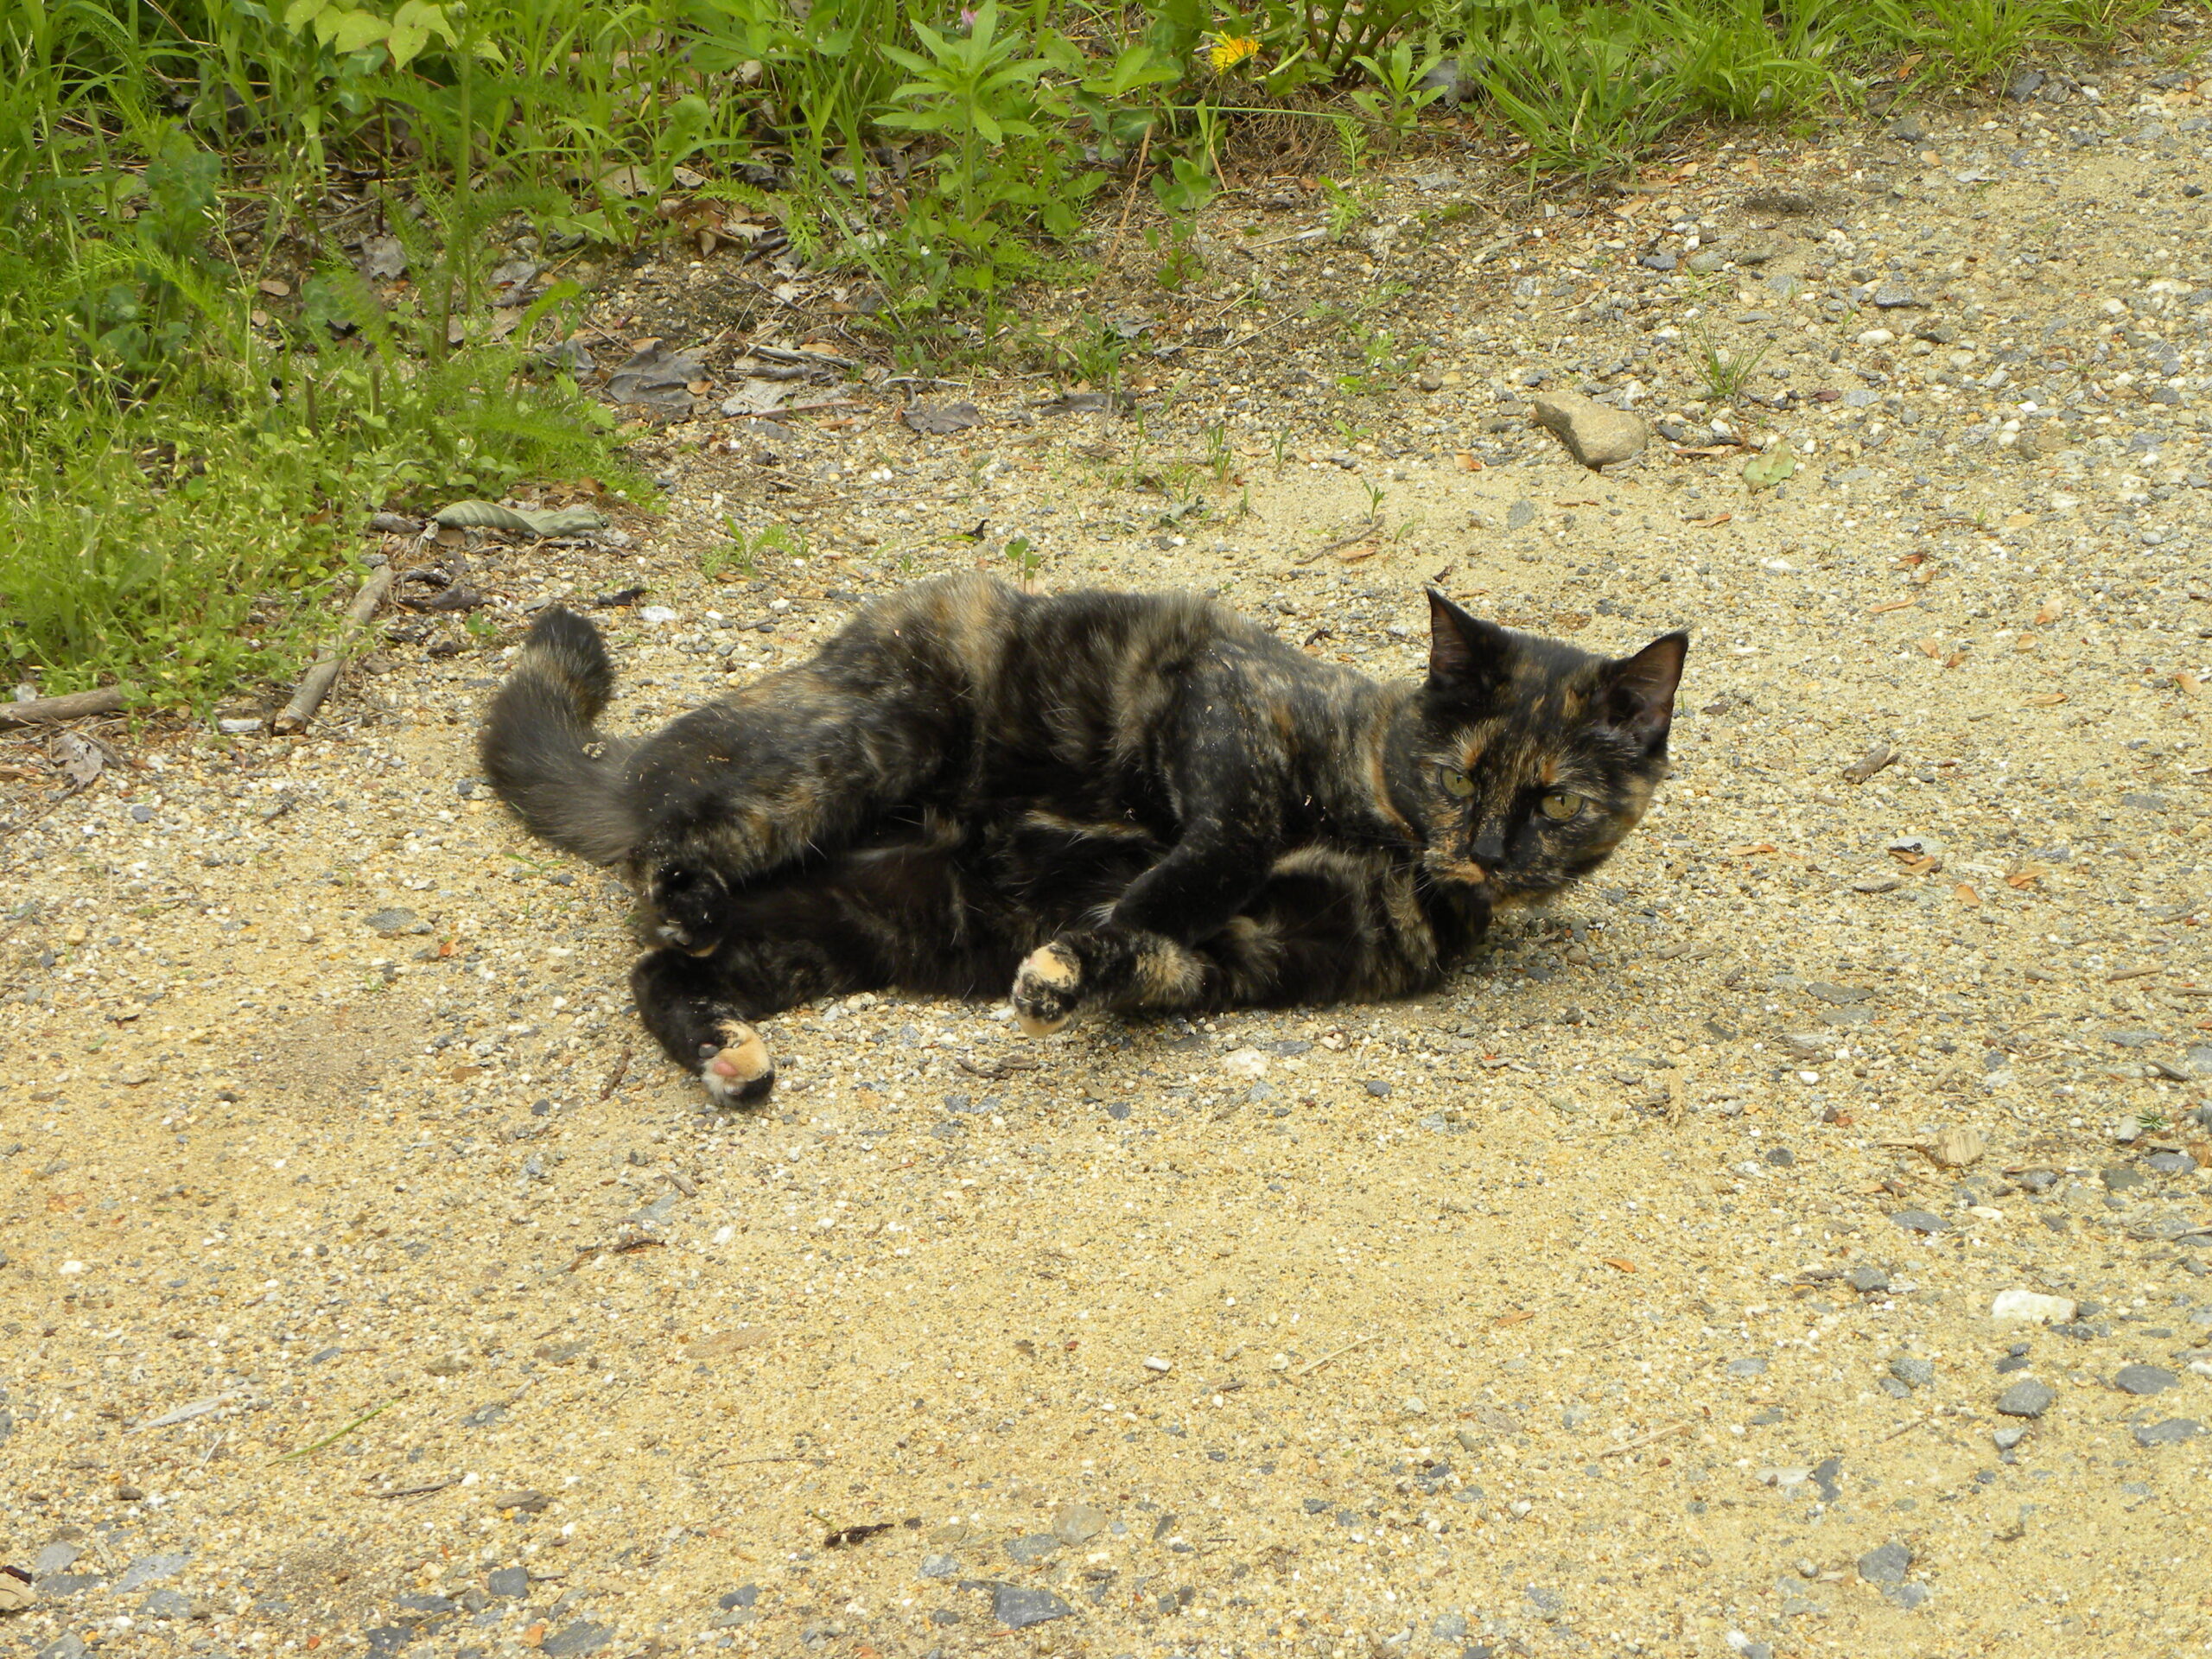
In an effort to bring down the vole numbers I am going to try planting fewer root crops and moving them completely out of my annual garden up to the orchard area by the house. I hope they will have trouble finding them and that our huntress cat will have a better chance of catching them closer to her regular patrol area.
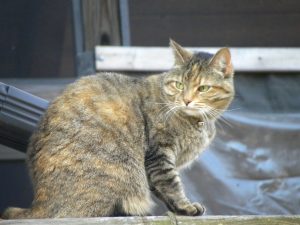
The bell on her collar protects birds from becoming her prey so she focuses on rodents
I plan to keep writing, too, a challenging task for me to find time for, but staying connected to folks beyond our borders is important. Many thanks to you for being one of those people!