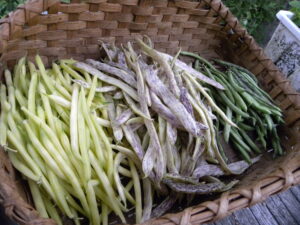
I may have planted too many beans this year!
During growing and harvest time, its easy for me to feel overwhelmed. I have systems and plans and projects that are bursting with life as I’d hoped – but not always going quite as I had planned. Control is elusive… ok, impossible. I suppose the whole experience is a good lesson in how much control is an illusion (or delusion) of the human mind. At the same time, to have any success as a farmer/gardener is to be organized and proactive about taking care appropriately and with good timing.
It feels like a contradiction: I should not try to control life, but I can’t lose control. That edge is really uncomfortable. But, I have been trying to be more accepting of contradiction after hearing author John O’Donohue’s opinion of it: “We should allow the different sides of what is contradictory inside of us to come close and meet each other. There is a secret life in contradiction… it’s always a place of fecund energy. And where there’s energy, there’s life. The force of energy within your own contradictions can actually bring you to a new level of growth and possibility.” Permaculture principle 11 does ask us to Use Edges and Value the Marginal for that same reason: “The interface between things is where the most interesting events take place. These are often the most valuable, diverse and productive elements in the system.”
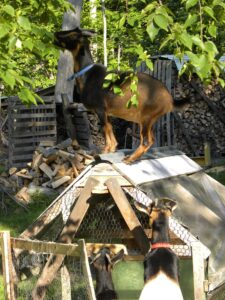
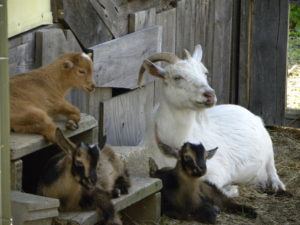
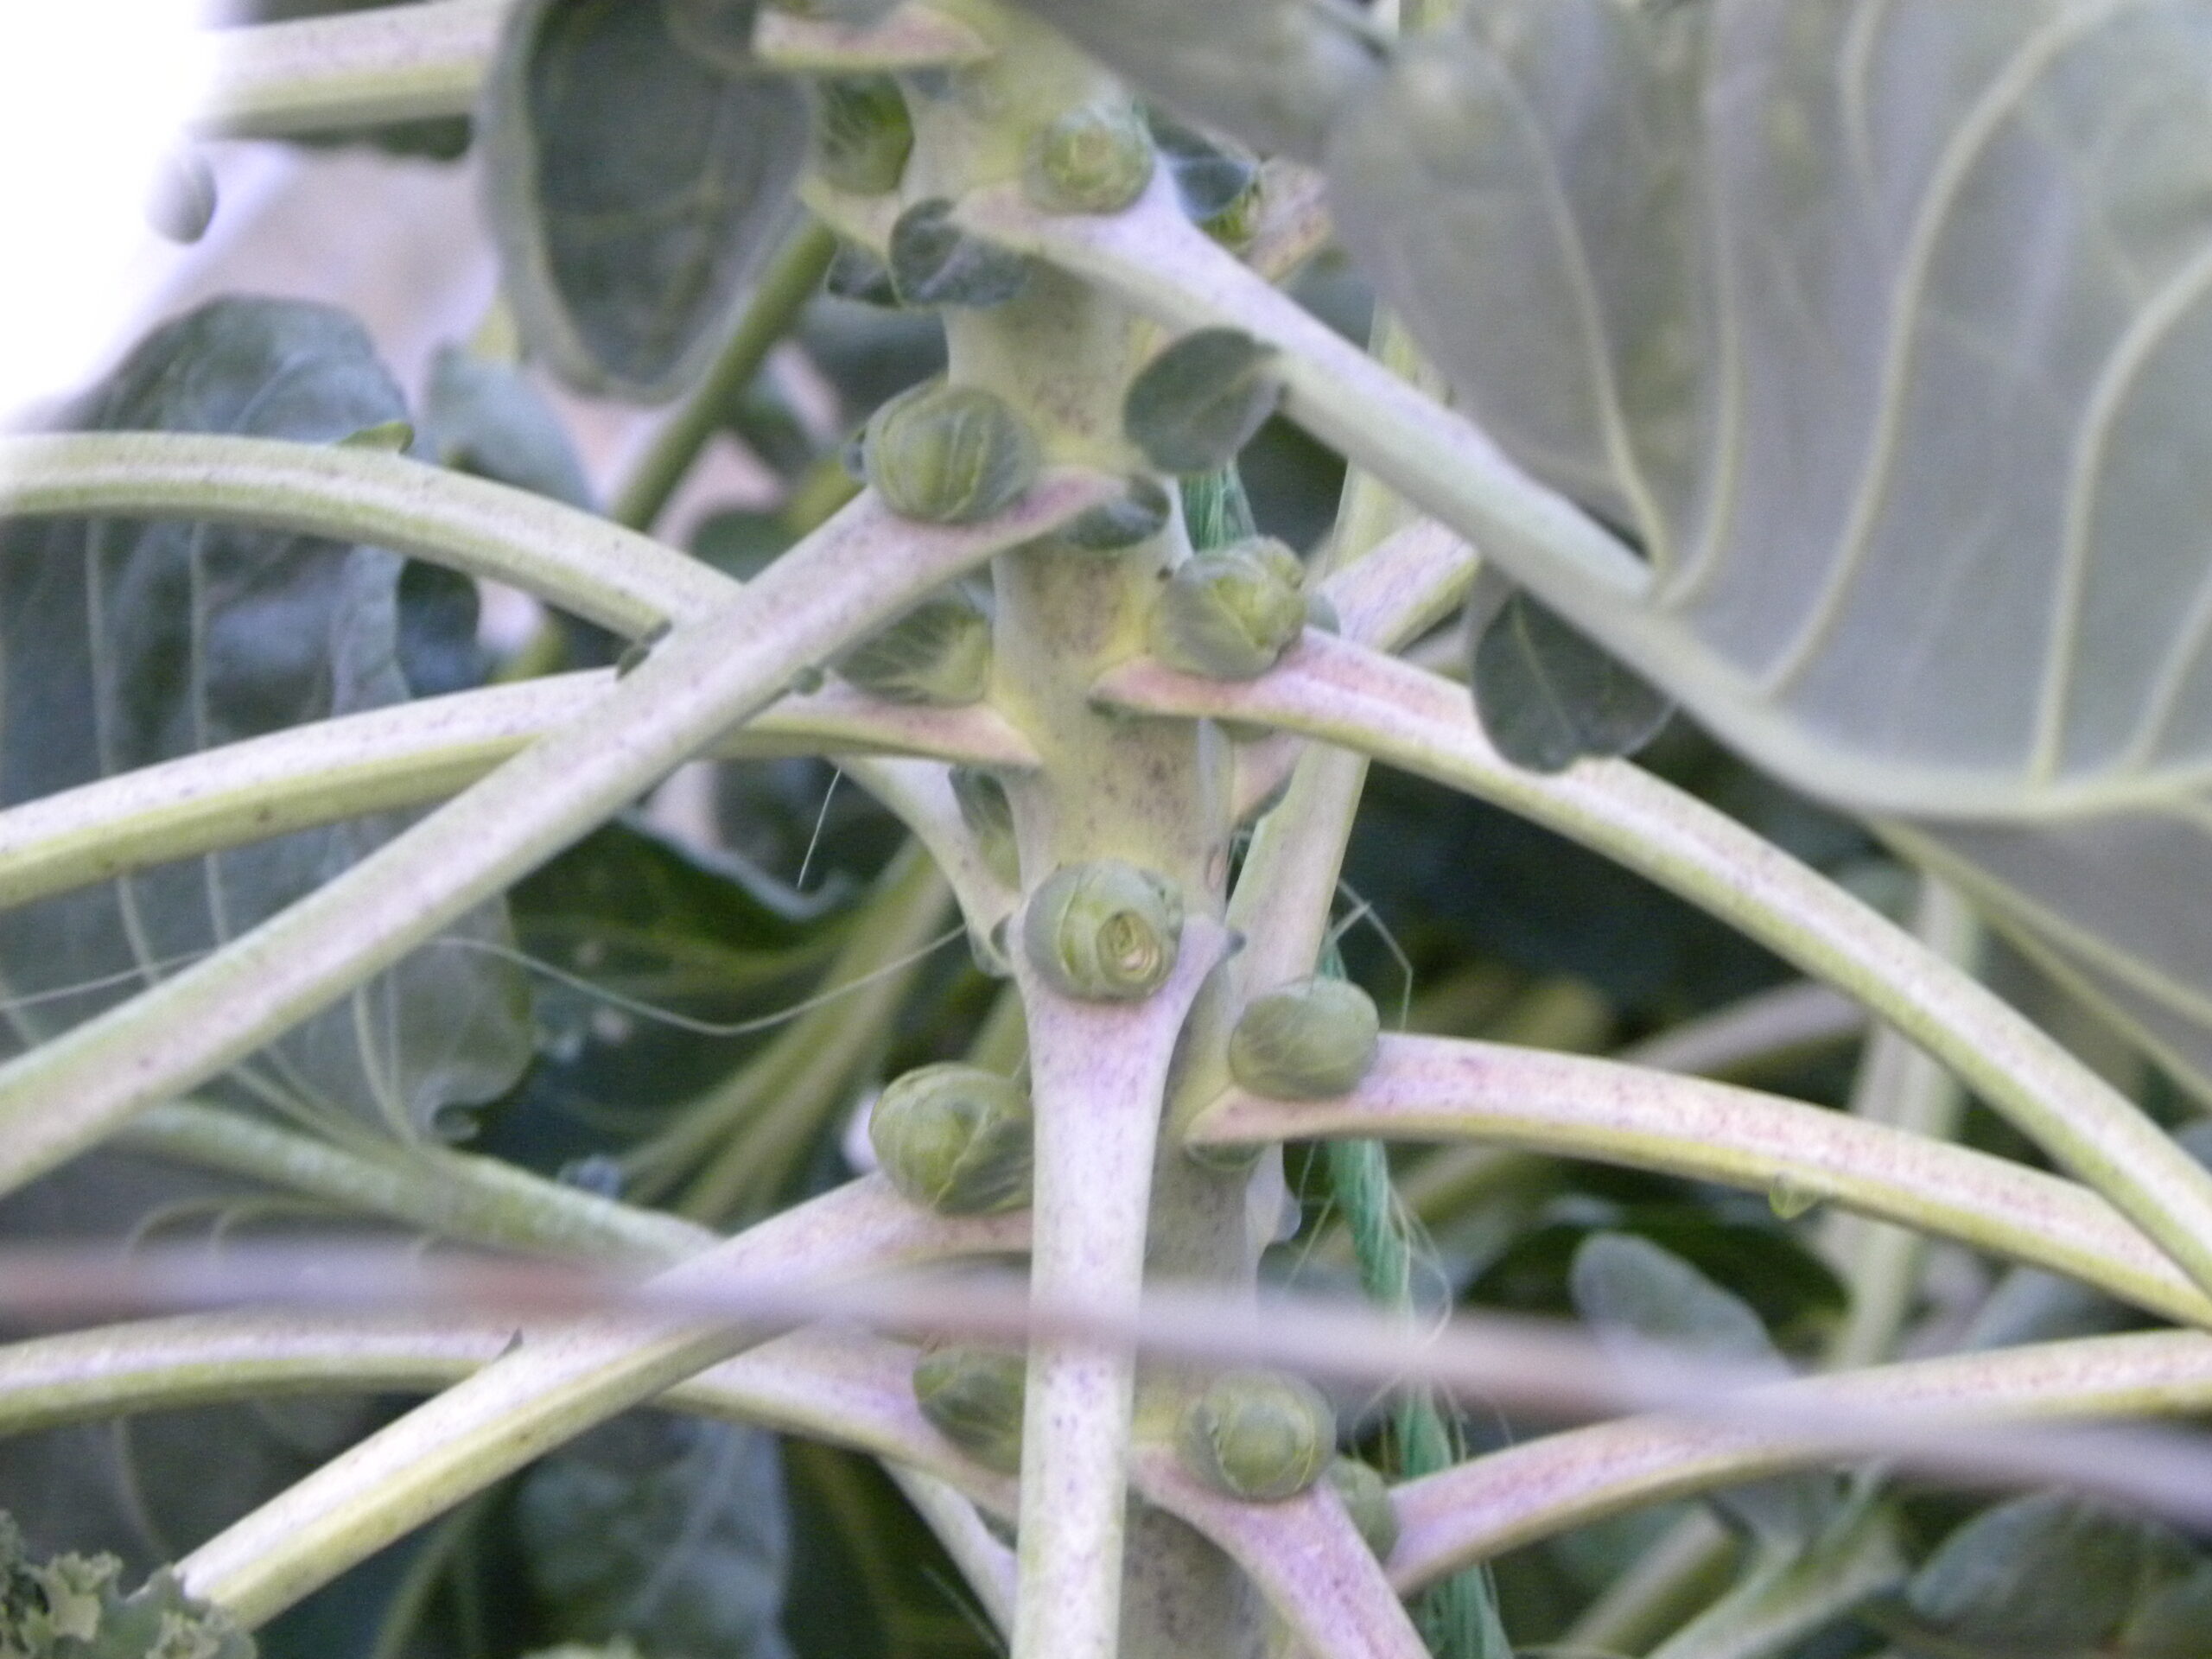
Goats love to climb – it’s just who they are!
As I think about it, the goats are good at teaching me the difference between control and appropriate action. First of all, accepting that our land was not suited for the Jersey cow I had dreamed of was a way of listening to reality rather than imposing my will. Then, we heard so many distressing stories about the bad behavior of goats when we first started keeping them. Everyone wanted to tell us about how they escape, eat your garden or poisonous plants that kill them, violently butt people, scream all day, etc. We did have a few escape incidents early on. But we studied goat behavior, talked to others, and through trial and error we created systems that properly channeled their normal goat tendencies in ways that help rather than hurt them and our homestead. It was a practice of observe, interact, accept feedback, self-regulate and respond to change (more permaculture principles). We learned how to channel the flow instead of fight against it.
So… what has kept us busy this year?
Our spring planting season was manageable, although we did have an extensive tree order arrive during April. At least it was raining back then.
It was when the drought settled in that we began to struggle to keep up.
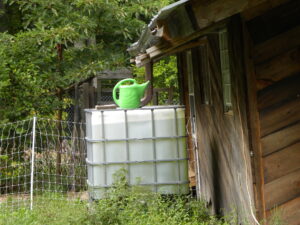
Serious rain collection for a changing climate
That started in mid-June, adding daily (sometimes 2x a day) watering to our list of tasks. In what we used to think of as a “normal” year, we did almost no watering after plants were established in the spring. In the new climate of droughts here in New England, this becomes a necessity. We were grateful to have installed a robust rainwater collection system last year, able to hold over 1,000 gallons. We got towards the bottom of the supply a few times, but it rained enough to have continuous use of them through the summer.
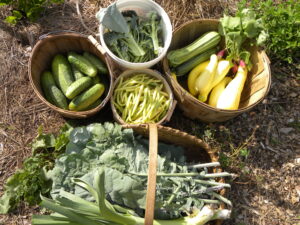
Harvest time!
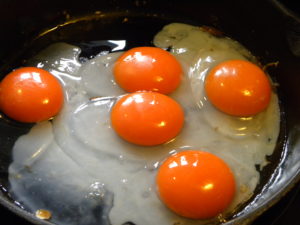
Being able to keep up with watering did lead to a prolific harvest for most of our crops. I had an especially good season for summer squash, snap beans, cucumbers, leeks and basil. Nearly every day I put something up for winter, which led to my next round of excess activity. I dehydrated peaches, apples, pears, grapes (raisins), kale,
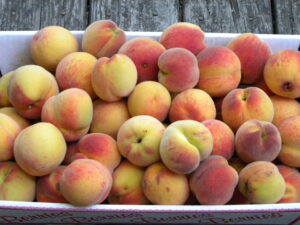
Peaches! Not as many but super sweet in the drought.
summer squash, and winecap mushrooms. I froze beans, eggplant, summer squash, cheese, and pesto. I canned peaches and froze a lot of other smaller fruit that I will can now that it’s not so hot: strawberries, blueberries, grapes, currants, and elderberries.
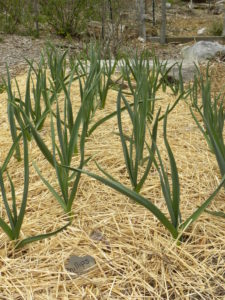
As autumn settles in we fill our cold storage – garlic actually comes in earlier, then apples and pears, with the winter squash curing in the greenhouse first, and the roots are packed up for the root cellar.
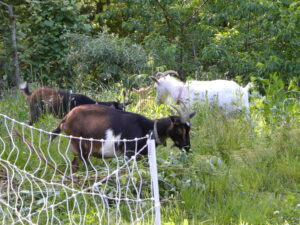
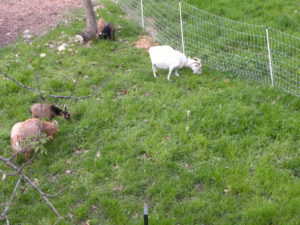
Rotational Goat Grazing
There is always animal care to be on top of. Happily, that went smoothly for the most part. The goats had a good birthing season and our rotational grazing system is working well. I kept up with the heavy summer milk production by making (and freezing) mozzarella along with my usual yogurt and soft cheese. We had solid planned poultry hatches, and a surprise batch of 14 that one of our hens orchestrated out in the field without our noticing. We are now in poultry harvest and processing season, which is a lot of work, physically and emotionally. I took the year off from the bees which did free up some time for me.
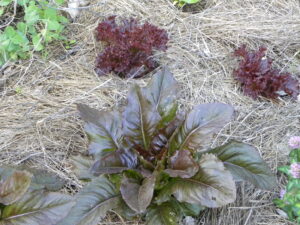
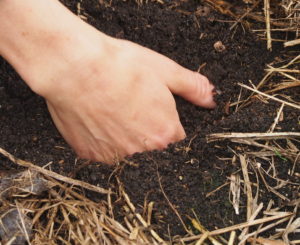
The well-mulched annual garden needs very little weeding
There was weeding to do in the orchard and pasture areas, which is not a job I love and is always needed at the hottest time of year. Our annual garden system with my heavy mulching needs almost no weeding and that’s how I like it. But in other larger areas I am encouraging a mix of plants, mostly groundcovers or animal forage and still need to be on top of pulling out the plants that I don’t want there.
It’s really not until mid-October that I notice the pace slowing – and have time to start catching up on writing, reading and rest!
This year I had the added complication of deciding to continue extra off-farm work. Most years I suspend a lot of activities – True Tales Live takes a summer break, my drumming classes stop, Seacoast Permaculture offerings slow down, and I step back from activist work. However, this season I felt called to stay more connected to my work with NH Peace Action and the Friends Committee on National Legislation as it was an important moment in the struggle to end US involvement in the Yemen War – a war causing a terrible famine. So, I’m a little more behind than usual, but I am glad I did it. Underpinning all of our work here is the desire for a more peaceful and just world, and growing a little less of our own food to help others get any food at all was the right choice.
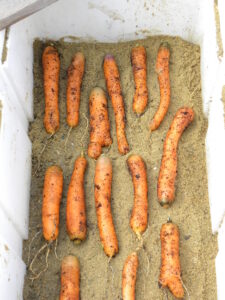
Packing carrots for the root cellar
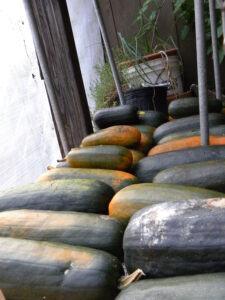
Long Pie winter squash curing. We eat year-round from our garden with long-lasting crops and food preservation.