Before the 2023 growing season starts, I am taking some time to pause and assess last year on the homestead, in our permacultural ‘observe and interact’ way.
As an overview, I would say it was a tough year due to yet another drought, but that we managed to have a respectable harvest anyway due to adaptations we made. As always, some crops thrived while others did not. For consistency, in this blog I have kept the same topic headings as in previous years – plus a special section on new projects including our experiment with wheat growing!
Starting Seeds
Starting Seeds Indoors
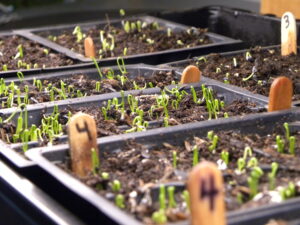
My growing season got off to a solid start in March with indoor seed starting. I continue to be satisfied with the peat-free seed starting mix from Organic Mechanics mixed with our worm castings.
Sticking with newer seed and storing it well has kept my germination rates high the past few years. I am also doing more of my own seed saving, which means a yearly refresh of my supply. Some seed saving is easy, like flowers, herbs, and beans. Other types require more thought but are accessible, like lettuce, radish, and tomatoes. Still others are challenging, like squash, and biennial roots. My strategy is to add one or two types of seed to my repertoire every year rather than overwhelm myself by trying to do it all right away.
Weather and Water
Unfortunately but not unexpectedly, serious droughts are coming more frequently (‘abnormal dryness’ and ‘moderate’ droughts do come and go here somewhat regularly). In 2016 it felt like a shock after nearly two decades of normal precipitation. It was a relief when that ended, but an even worse dry period hit us in 2020. That one barely let up before another started in mid 2022.
Rain Water Storage
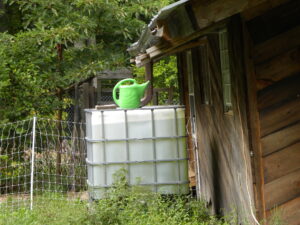
So, we relied on the upgraded water catchment system we installed last year, with four 275 gallon totes. Watering is not as thorough as rain, and it’s a lot of work, but it did save our plants and allow for a decent harvest.
Rodents, Pests and Diseases
Rodents continue to be a problem for us, especially voles. Now, I am aware that small mammals are critically important in our ecosystems and that populations are collapsing in some places (examples include China and England). Loss of biodiversity is a dangerous and heartbreaking phenomenon, so I really don’t want to complain too much about healthy numbers of critters! However, the voles are taking too much of my root crops to be ignored.
I think there are two main reasons my preferred strategy of waiting for their predators to bring numbers back down is not working. First, our milder winters allow more of them to survive and breed. Second, because we have extensive fencing to protect our animals from predators, our gardens from deer, and now our orchards from porcupines we’ve created an especially safe haven for the furry little ones.
Raised Beds for Root Crops
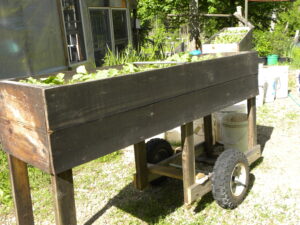
So, we are starting to institute more drastic measures for crop protection. Last year I moved these crops out of the annual garden, but the voles just followed me. Friends gave me two very raised garden beds when they moved last year and they grew some
Carrots from the Raised Beds
awesome, not-at-all-chewed-up carrots. We’ll be building more, although we will put them on the ground with metal hardware cloth under them and see how that works.
We are considering growing our potatoes in large plastic barrels. I avoid plastic as much as possible and would rather grow everything directly in the ground, but I need to try something.
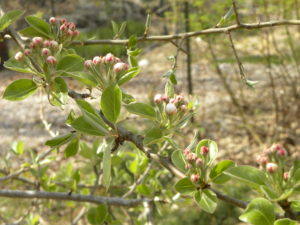
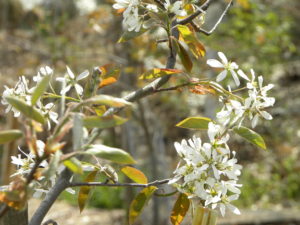
We have attracted the attention of porcupines. I find these animals adorable and love the sounds they make. They were, however, starting to do some real damage in our orchard. They especially love young pear trees. Deer are always an issue as well, so we did a serious fencing expansion that should keep both species at bay without our having to become more aggressive with them. We’re hoping that good fences will make good neighbors in this case (although I am much more a supporter of ‘tear down the walls’ actions in human interactions)!
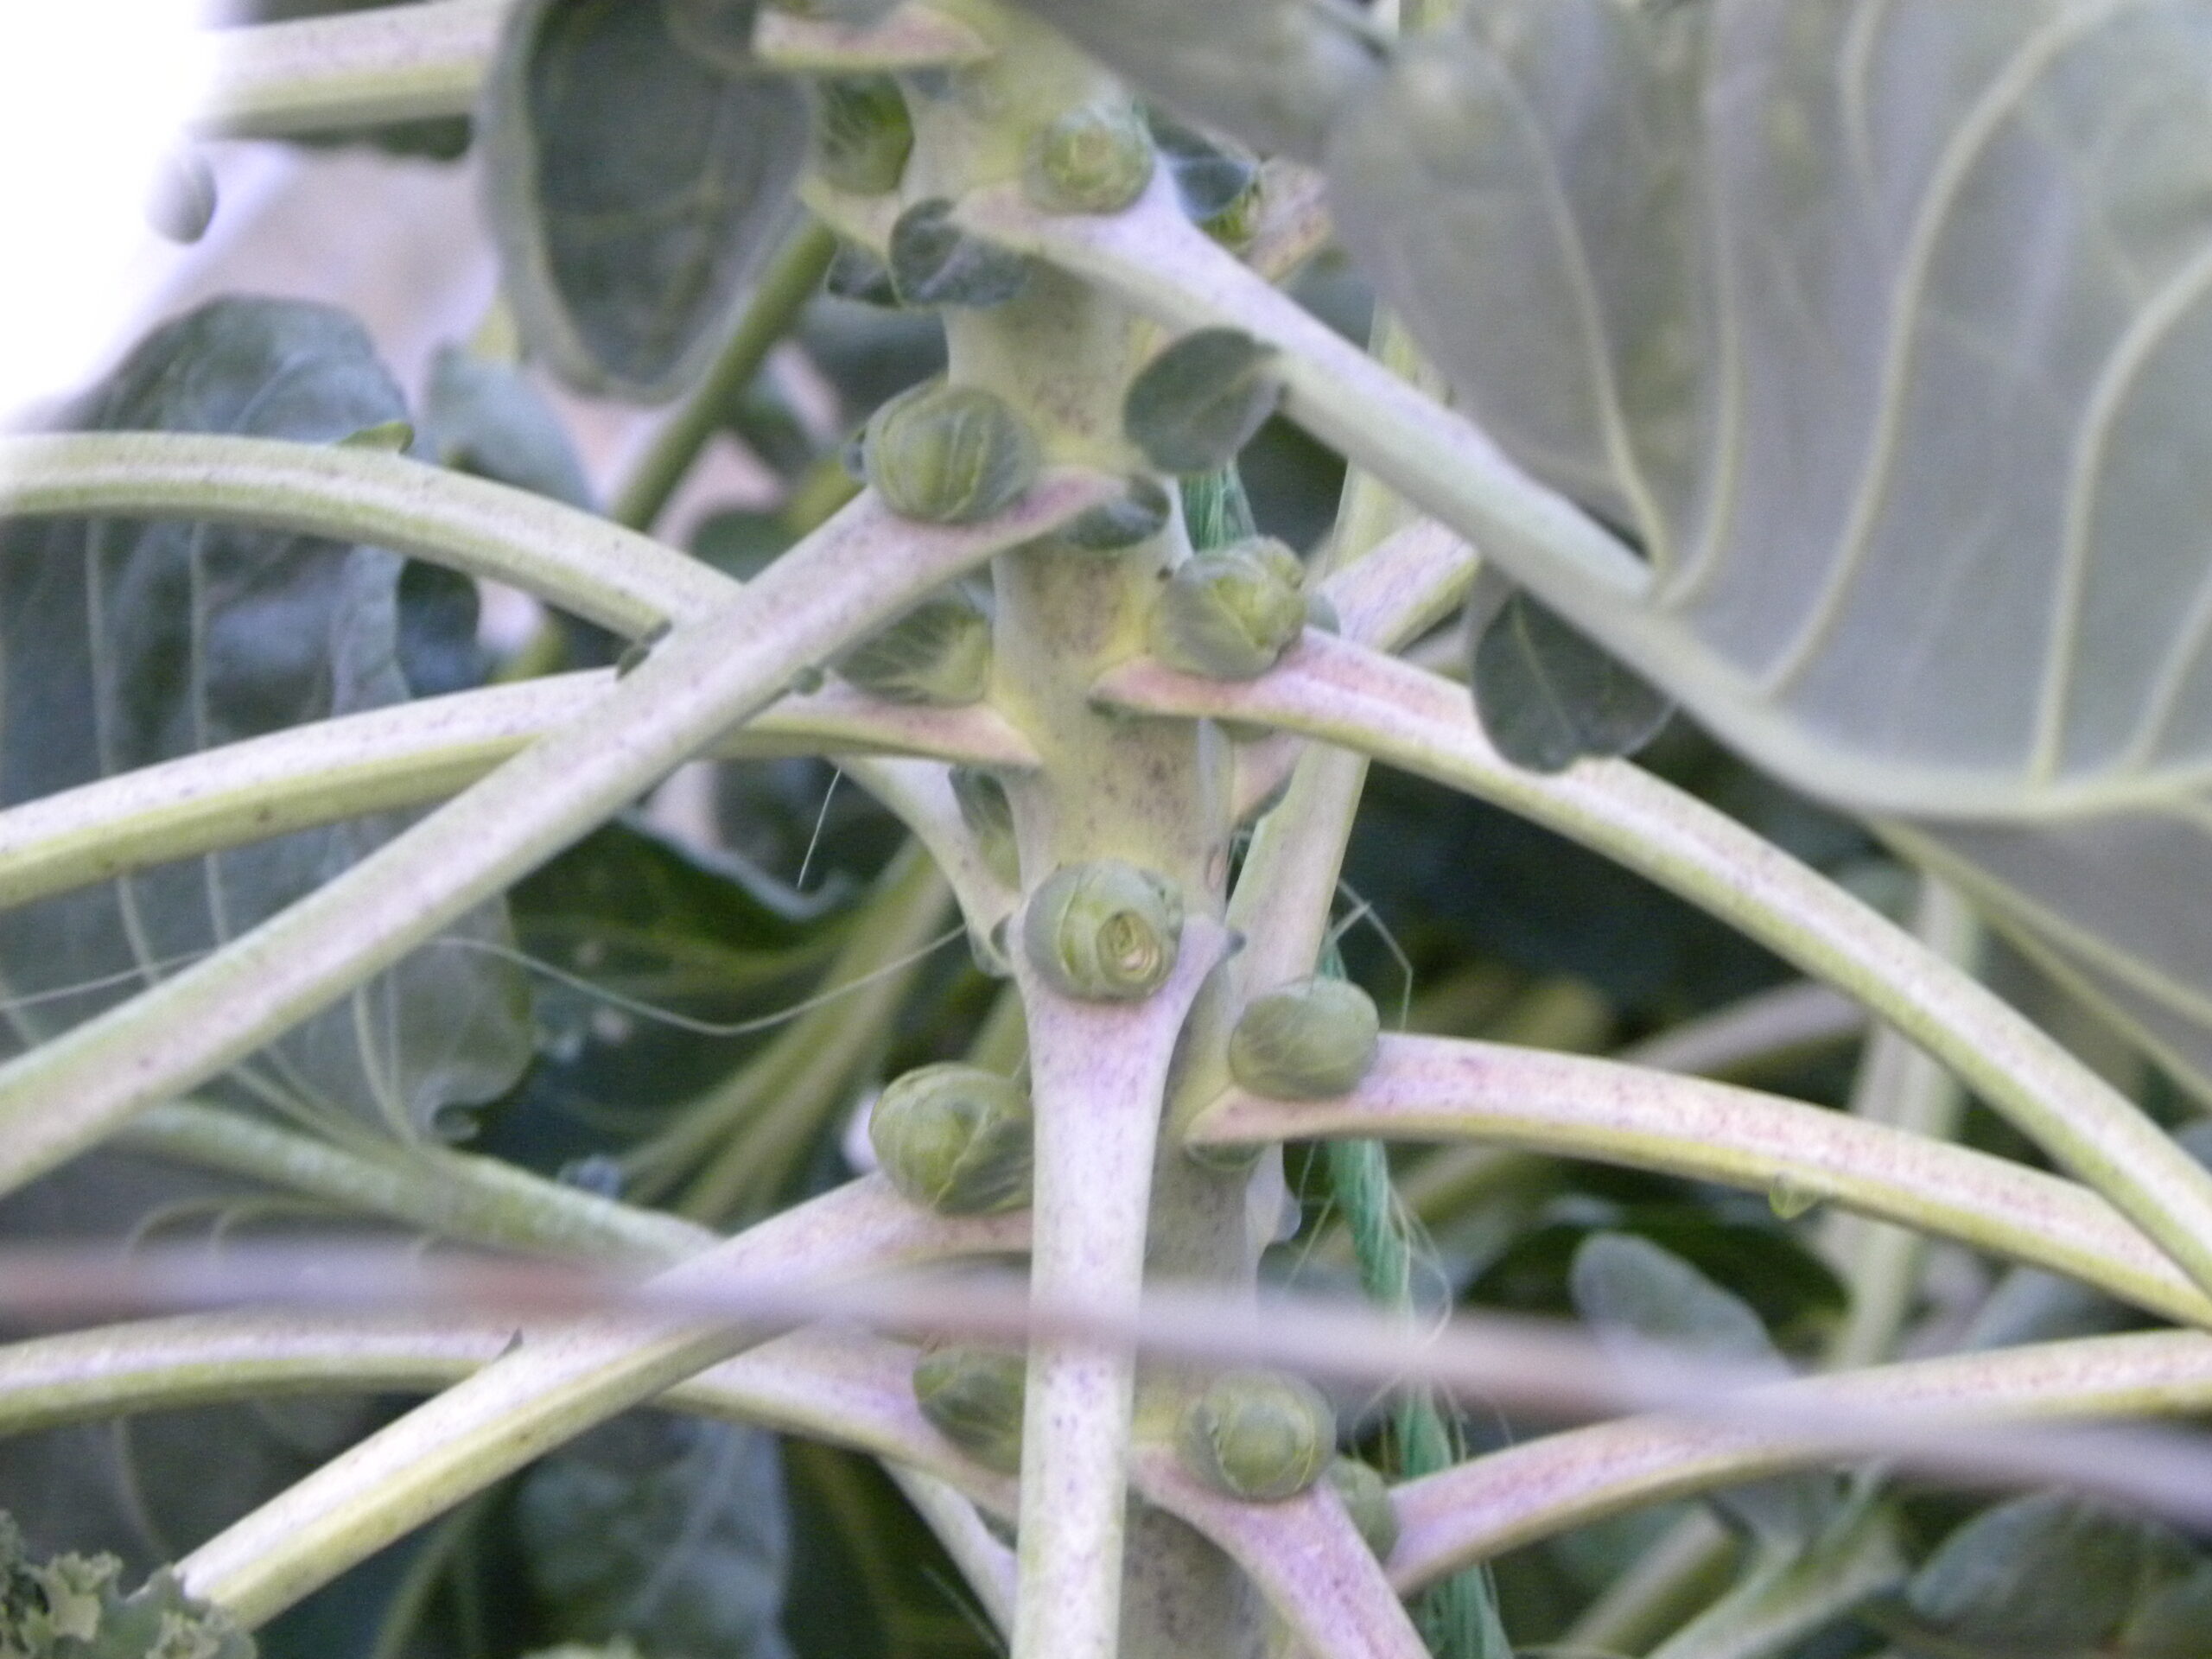
Otherwise, we didn’t have major pest or disease outbreaks, which surprised me during such a stressful drought. In fact, there were so few vine borers we had the best summer squash harvest of our lives! I did have my usual struggle with caterpillars in the brassicas, which row cover and hand picking mostly kept in check. The Brussels sprouts were a little bit overrun, with all those nooks and crannies that the critters can hide in.
Labor
I continued my new pattern of driving to events less and using Zoom more thus having a little more time to keep up with the work here. I also did cut back in a few areas because I have been dealing with tendonitis in my arm, which made my workload more realistic. Which brings me to…
Animals: Bees
I have decided to take a break from beekeeping. My arm injury was definitely being exacerbated by the particular stress of frame lifting and moving the boxes. Bees are also difficult and many years disappointing, so a break from that is welcome. I hope to try again in 2024.
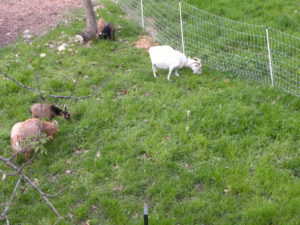
Animals: Goats and Pasture
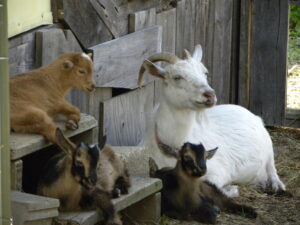
Lily with this year’s kids
Spring birthing went well for both Lily and Georgia, our two pregnant does for the year. Pasture management was more challenging in the drought but we did ok in keeping the land covered and green. We could use more land to rotate the goats through for better parasite prevention in the herd, but what we’re doing is working well enough for now.
The big goat news is the arrival of new boys! In order to avoid inbreeding, we need some amount of turnover in the buck population and it was time. We found a breeder who had similar practices, made arrangements when kids were born in the spring, and picked up a pair – a buckling for breeding and his wethered (neutered) brother as his forever friend. I don’t like to buy or sell just one animal. I think going alone to a new place where they are likely to be quarantined for weeks is far too stressful. Zac and Ike (named for characters from 800 Words, FYI) have since joined the other boys – Marley the buck and Pinky the wether. Zac already got to prove his worth this Fall, spending two afternoons with Diana, who will be giving birth in early April!
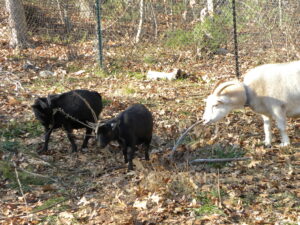
Zac, Ike and Pinky
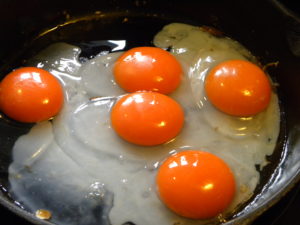
Animals: Poultry
This was an area we thought we’d pare back our plans to be sure of having enough good pasture. We hatched out 26 chickens and 2 ducklings. However, one of the hens had other ideas. Without our even noticing, she made a nest in the brushy field and successfully brooded 14 chicks! I only figured it out when I heard that loud, distinctive peeping and found her strutting around surrounded by little ones. So, whoops, suddenly we had 40 chickens in the works. We were impressed with and grateful to the mama, and embraced the abundance, even if it was a little overwhelming.
New Projects: Maple Syrup and Wheat
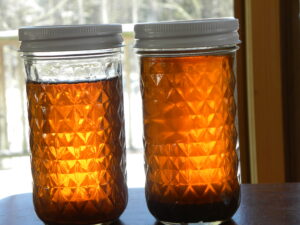
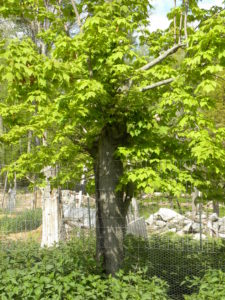
Our Own Maple Syrup
Given that we are having trouble with the bees, we decided it was time to try maple sugaring. We had done a batch about 10 years ago, tapping a few red maples on our property and boiling the sap indoors leading to a harvest of… a pint or so. Not impressive! This time we invested in equipment to more easily collect the sap and boil it outside. We also reached out to neighbors for permission to tap their trees, too, if they weren’t doing it themselves, including a few sugar maples. The extra investment and work improved our yield to about 2 gallons. It is significant work, but we appreciate that it comes at a time of year that is otherwise quiet for us. We plan to keep that going and do even more in the future.
Years ago at a NOFA Summer Conference, I attended a workshop on home-scale grain growing in the Northeast, something I hadn’t considered even possible. I was so excited, but also intimidated to try it myself. A few years ago I gave it a try but the harvest was eaten by birds, mostly goldfinches. This past year, I tried again, growing a test plot in a bed 3 feet by 8 feet. I am thrilled to report that it worked! We managed to bring it in before the songbirds ate it all, dried it, threshed and winnowed, ground the wheat berries… and made an amazing loaf of bread! Threshing was the hardest part and I hope we can refine that. But, I am convinced now that it’s possible and planted 4x as much in the fall for a 2023 harvest. The global wheat shortage is likely to only get worse, so I’m doing my part to help localize this crop. We’ve been buying wheat berries from Maine for years, and this was the first year they sold out of the variety we wanted.
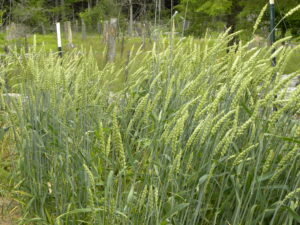
Growing Wheat
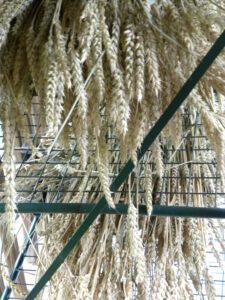
Drying Wheat
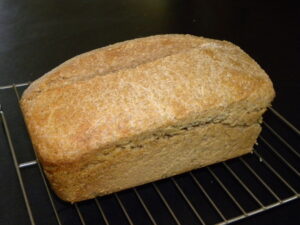
Bread from our own Wheat!
Harvest totals 2022
This accounts for what we brought into the house and remembered to weigh, which we mostly succeed in doing – except many overgrown cukes, kale, basil and zucchini were fed straight to the animals this year.
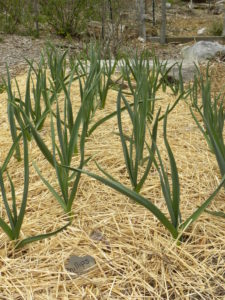
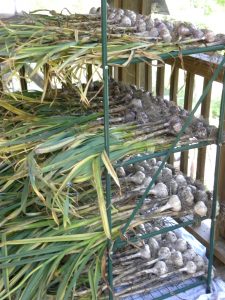
Alliums – garlic – 34.5 pounds (#) (185 heads); garlic tops – 180; leeks – 60.25#, perennial onions – 9.25#
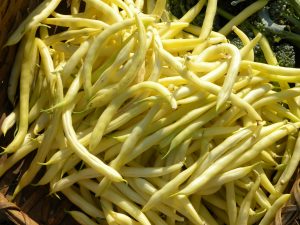
Beans and Peas – snap beans – 90.75#; dry beans – 10#; sugar snap peas – 7#
Brassicas – broccoli – 13.75#; brussels sprouts – 9#; kale/collard – 42.5#
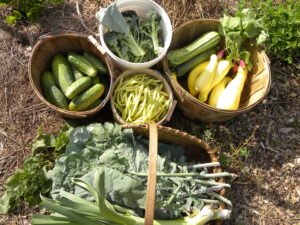
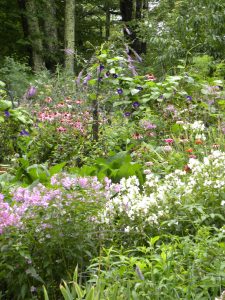
Harvest in July
Corn, popcorn – 7.25#
Cucumber – 128.5#
Eggplant – 13.5#
Greens – lettuce – 6.25#; nettles – 2.25#
Herbs – basil – 2.25#; dill – 1#
Mushrooms, winecap – 4.5#
Potatoes – 39#
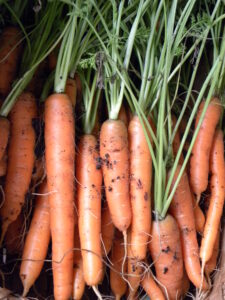
Roots – beets – 4.5#; carrots – 45.75#; parsnips – 16.25#; radishes – 196 (here’s where the voles were: potatoes, beets, carrots, parsnips!)
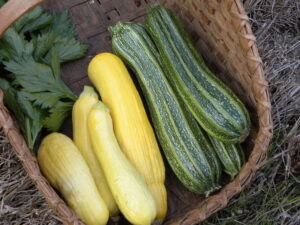
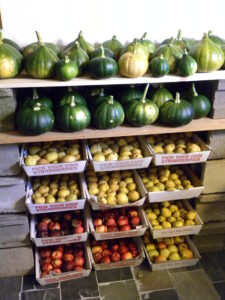
Summer Squash
Squash – summer – 244#; winter (butternut, delicata, long pie and Seminole) – 790.25# (it was a great squash year)
Tomato – slicing – 30.25#; cherry -11.5#
Wheat – 2#
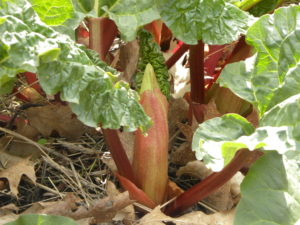
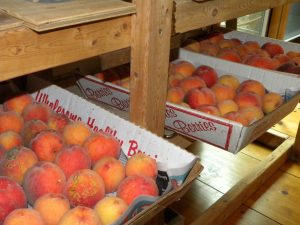
Fruit: azarole – 16.5; crabapples – 118.5#; currants, red and white -18#; elderberry – 5.75#; grapes – 40.5#; honeyberry – 2#; mulberry – 2.25#; peaches – 182.5# (from 4 trees); rhubarb – 12.5#
Maple syrup – 2 gallons
Sea salt – 3 quarts
We brought in 87.3 gallons of goat milk (from 3 goats); 83# goat meat; 10# goat lard
Our poultry harvest came to: 1,385 (115 dozen) chicken eggs from 12 hens; 710 (59 dozen) duck eggs from 7 ducks; chicken meat – 89.5#; duck meat – 6.5#
Stored Crops
Food Preserving
Preserving food for the off-season is necessary for us to eat from our land year-round. Here’s a summary of what I put up from the harvest I just detailed, plus some gleaned crops:
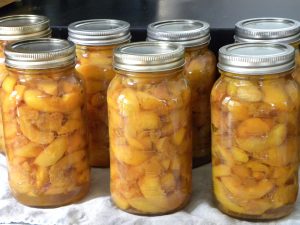
Canned: peaches -25 quarts; grape juice – 18 pints; grape jelly – 4 pints; clove currants – 13 pints; elderberry syrup – 4 pints; applesauce from gleaned apples – 6 pints; pears, gleaned – 29 pints; blueberries from berries picked at Tuckaway Farm – 15 pints; strawberries – 27 pints and strawberry juice – 11 pints from berries picked at East Wind Farm
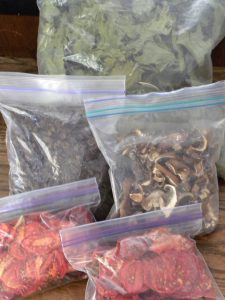
Dried: peaches – 5#; kale/collards – 8 gallon bags; tomatoes – 1# ; grapes (raisins) – 2.5#
Refrigerated: lactofermented cucumber pickles – 10 quarts
Frozen: blueberries from Tuckaway – 2 gallon bags; snap beans – 10#; eggplant – 5#; summer squash – 30#; basil/garlic pesto – 5 pints; chevre cheese – 10 pints; mozzarella cheese – 10#; and most of the meat.
We also store these crops that aren’t preserved exactly, just handled and stored properly: dried beans, popcorn, garlic, potatoes, carrots, beets, parsnips, winter squash, pears and apples.
Looking Ahead
So far, 2023 has been a tough year for me. Despite taking many precautions, I had my first bout of COVID starting in January and after two months I’m still not fully recovered. While not life-threatening, it was otherwise worse than I’d expected. The only upside was that it hit me in the quiet season on the farm. Meanwhile, my arm injury is still aggravated. I am therefore trying to allow for a less demanding workload coming up in an effort to fully heal. Taking a break from beekeeping is the major change I’ve made to that end. We also didn’t order very many trees for spring planting. Upkeep and getting the most out of what we have already going on will be the focus.
That will include a nice big garden, the expanded wheat trials, and more protective ways of growing root crops. We have goat kids coming in early April, and will raise more chickens.
I hope to keep writing, now that I have figured out how to use the speech recognition on the computer which saves my arm quite a bit of stress. Thanks for reading and I hope you had a good 2022 and your 2023 is going well so far!
Here’s my most interesting image from 2022:
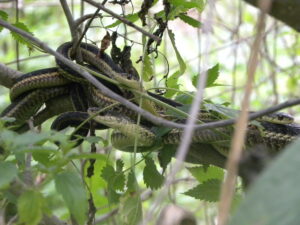
Snakes in our crabapple tree in the fall!