Tag Archives: garden

Food Preservation: Canning

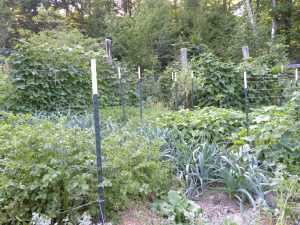
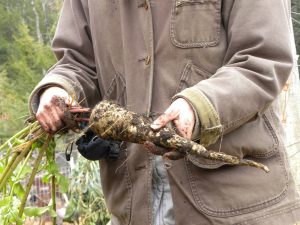
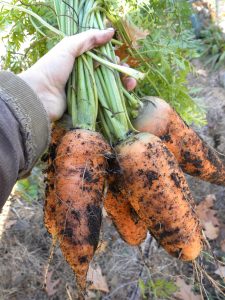
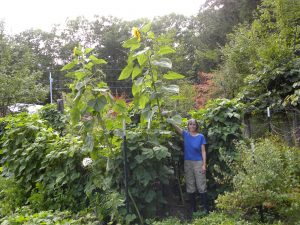
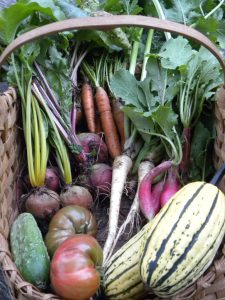
August is Harvest Time Here in NH

I found it challenging this month to write about food preservation in the midst of multiple, converging US and world crises. However, this is a truth we always live with: at the end of the day, while so many large scale happenings shape the world, we still have to eat, and how we do that further influences the larger whole. So… back to food preservation!

When I started canning, it was considered weird. I would go to my local hardware store to ask for supplies and they would laugh, goodnaturedly, and say: “aren’t you a little young, by, say, 50 years, to be canning?” (I was in my 20s). Then they would have to special order whatever I needed. Now, there are whole sections of stores dedicated to canning, even grocery stores have at least bands and lids. It really made a comeback!

Compared to drying as a preservation method, canning is a modern invention. It’s development was largely inspired by war-time needs in Europe and then the US beginning 200 years ago. More recently it has been a way to store food in uncertain times when supply chains might break down or when people want economical ways of eating (versus going out to eat). Along the way, it has also become a great way for homesteaders to stock up on food when it is abundant for leaner times and to allow for local eating year-round. Here, that means canning in the summer for consumption the rest of the year.

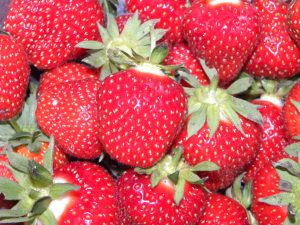
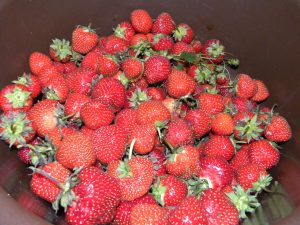
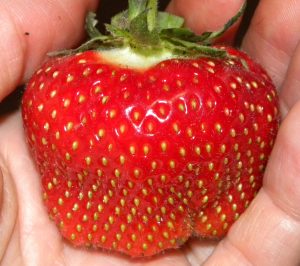
Strawberries, a High PH Food

I exclusively practice water bath canning which is simpler than pressure canning but can only be used with high-acid foods and recipes. That includes most fruits and tomatoes, plus veggies in vinegar solutions.

Botulism is the big concern when canning. Clostridium botulinum spores are all over the place causing us no problems, but when they grow a toxin is produced. Canning works by creating an environment without oxygen, which most microorganisms cannot live in. However, botulism actually needs to have low oxygen to thrive. The heat level in a water bath canner or by boiling the food ahead of time is not enough to kill the spores, so choosing food with enough acidity to stop spore growth is critical.  The high acidity (which means a low ph) doesn’t kill Clostridium botulinum but it stops it from growing, thus no toxin is produced.

There are also mixed reports about whether or not sugar helps prevent botulism. White sugar has a neutral ph, so that doesn’t help. I personally would not depend on sugar to stop botulism. I also don’t eat processed white sugar, so have only used honey when making jams and jellies that call for extra sweetener, following recipes from Pomona’s Pectin. Again, it’s choosing high acid foods that provides the check on botulism.

What’s tricky about botulism is that there isn’t an obvious bad smell or visual clue that it has grown. With all other methods of preserving, it’s obvious when it’s gone wrong. That inability to know through our own senses is kind of creepy and turns folks off from trying. To me, it just means that I take seriously the recommendations and recipes provided.

The USDA’s National Center for Home Food Preservation is a great resource for “research based” recipes and information so you can be sure you are canning safely.

Beyond safety, research continues to find that canning is a good way to keep nutrition and make it bio-available.

To get started there is some equipment needed. The investment is very much worth it if you like it and do it for years. You’ll need: a big pot to cook in, another big pot with a canning rack inserted to hold the jars, canning jars, lids and bands, a timer, plus a set of helpful tools that might not be necessary but are worth getting: wide-mouth funnel, ladle, jar lifter, magnetic lid lifter, and bubble popper/head space measurer.
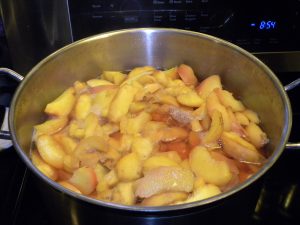
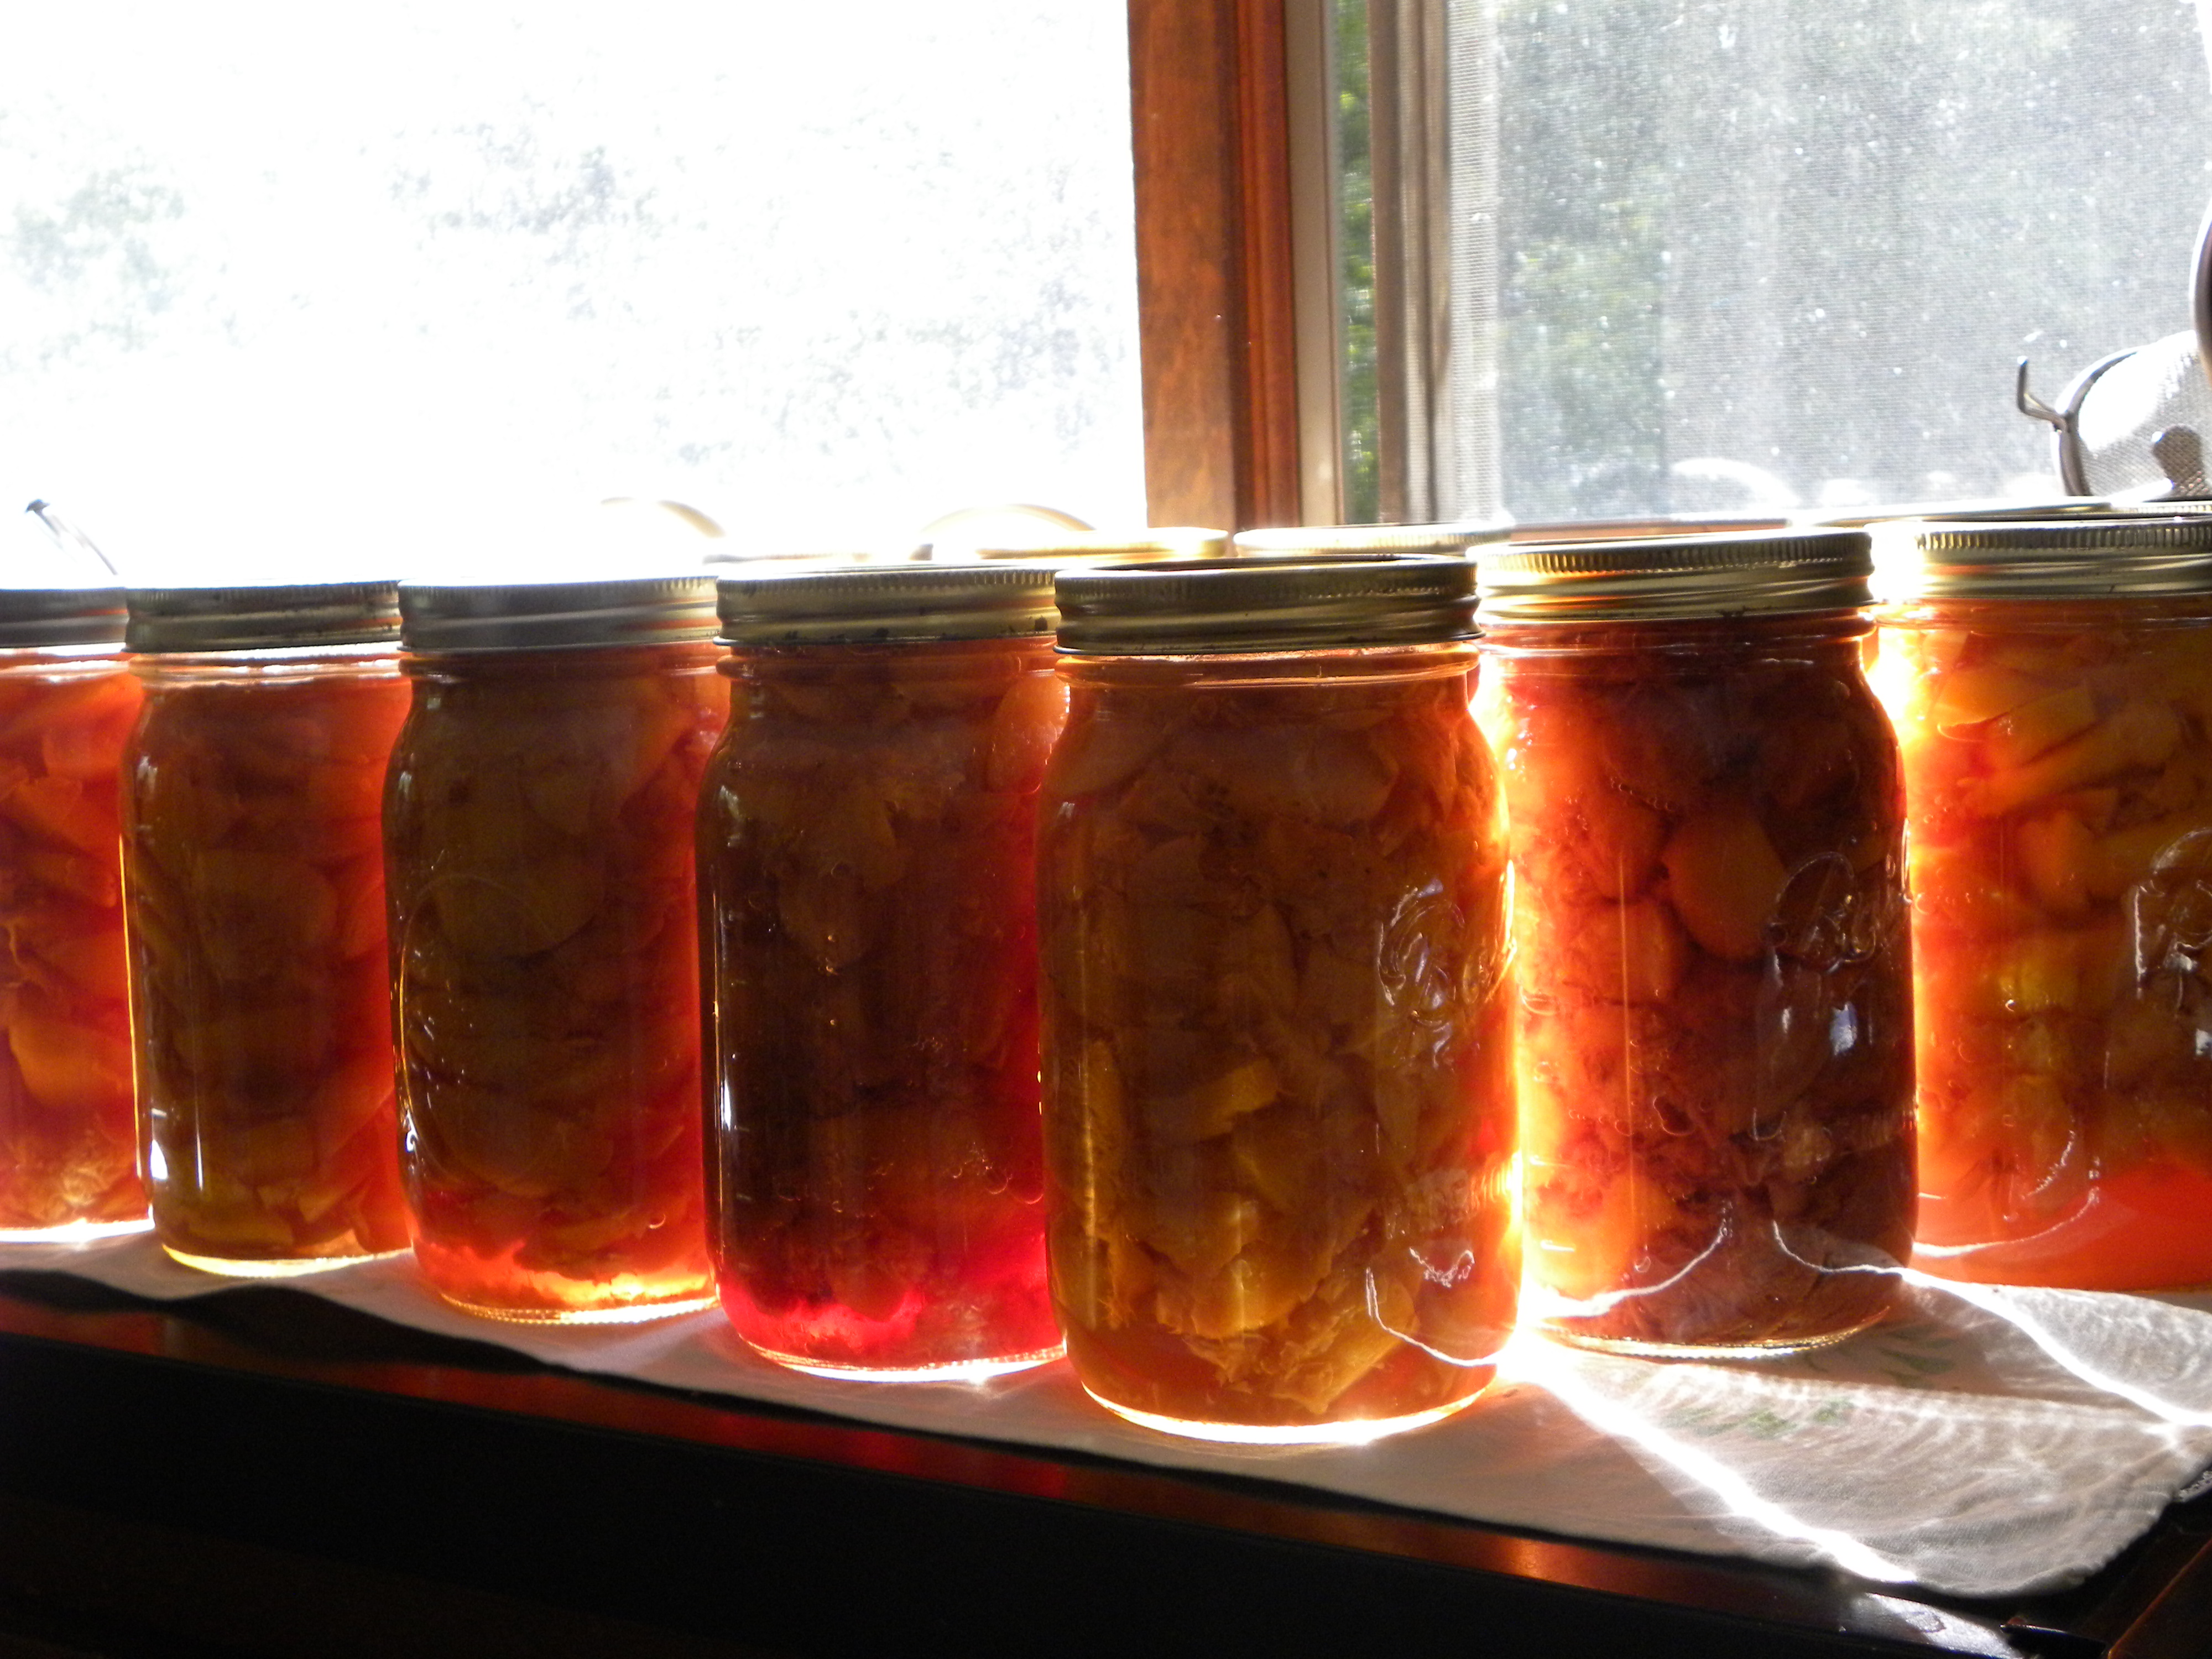
Cooking Peaches

For the bulk of my canning, I cook fruits like peaches, blueberries or strawberries in their own juices (I start with a little water to cover the bottom of the pot to keep it from burning initially) and can them from there. The peaches are sweet enough to eat straight from the can as one of my favorite winter-time desserts. I also add the peaches and berries to yogurt smoothies that I make and can add some honey then if I feel it needs it. I generally aim for 75 quarts of canned fruit a year. I often end up with extra juice after processing, so turn that into smaller jars of jelly. I make my jam and jelly with Pomona’s Pectin which has honey sweetened recipes included. 
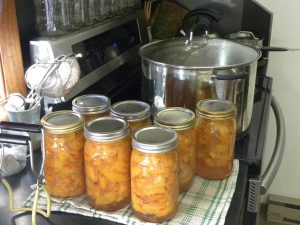
Canned Peaches

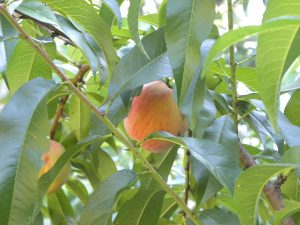
One of Our Peach Tress

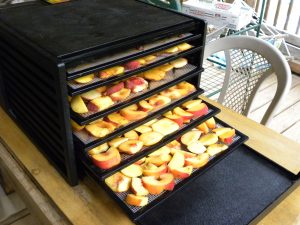
A few notes on peach canning, which I have done a lot of: I slice them but I do not bother to peel the peaches. If they are not organic, I do wash them in a baking soda solution. If you have any land, I highly recommend growing your own peaches. It’s very difficult to grow them to look good enough for market without a lot of chemical treatments, but you can grow them for yourself organically and you will not mind the cosmetic imperfections once you taste them! It has lately been shown that white peaches may not be acidic enough for safe canning, so stick to the orange varieties. I dry my white peaches instead – yum!

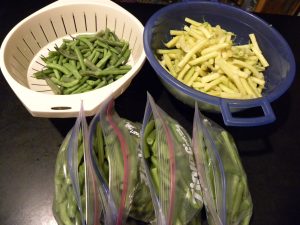
My biggest complaint with canning is that I am boiling a lot of water during the hot summertime making the house less comfortable. Some folks actually have outdoor kitchens for canning, but I have not gone that far. There are some items such as blueberries that I will freeze as I pick them, then wait until it cools down in the fall to process them.

The reason it is worth going through all the work is that you end up with a great, ready to use, shelf-stable for a year or more product which I don’t have to worry about in power outages. Plus, opening a can of peaches in January is like experiencing a little bit of summer when I really need it!

Canned Peaches

Canned Peaches, Full of Summer!

Leave a Comment

Filed under Food Preservation, Gardens, Uncategorized, Weather

2019 On the Homestead

Garden in July

We just finished up our most productive season on our homestead yet, a year that showed how abundant permacultural systems can be. The bounty also kept us very busy with picking, drying, freezing, canning, and root cellaring.

Winter in New England provides a natural space to review, reflect and plan ahead. During the rush of the growing season, it’s a struggle just to keep up with daily chores. I’m grateful for the down-time that lets me practice the first principle of permaculture: Observe and Interact and the fourth principle: Apply Self-Regulation and Accept Feedback. Some of what I note I can’t necessarily plan for – such as how much rain we get – but other information will change what I do – such as I planted too many bush beans for what we need or what my back feels good about.

I’ve begun to think of our years here less as numbers and more by conditions. Like, 2018 was the Year of Rodents & Clouds and 2016 was the Year of Drought. This year, 2019, stands out to me as the Year of Enough Rain, Weird Nectar Flows & Overabundant Veggies.

Last year’s review focused on the gardens. Here I will expand that to include our animals and other projects.

Let me begin again with speaking to problems, starting with the issues I identified in my 2018 Review and how I fixed them or saw them evolve.

Seedlings in April

Starting Seedlings

Having learned from my 2018 reflections on our seedling trouble, I did go back to a commercial blend. I found a company called Organic Mechanics that has peat-free seed starting mixes, so at least I was able to address that ethical issue arising with these mixes. It still came in a plastic bag. It worked well, though, so I got off to a good start with lots of healthy new plants.

Rodents, Pests and Diseases

Fewer Chipmunks Mean More Strawberries!

Rodent pressure was SO much less this year! It’s basic population dynamics – if a group grows beyond it’s ecological limits, it will crash. After 2018’s nearly unbelievable numbers, we had our easiest year yet dealing with chipmunks, squirrels, and voles, our usual competitors. I see this with insect pests and diseases often as well. It’s why I take my time and observe carefully before reacting, especially with any kind of drastic intervention.

We did have a groundhog appear mid-season, hanging out in our lower garden. We failed to figure out how it was getting in and out of the fenced area so we had some damage – it loved my broccoli and cauliflower plants and took bites out of many of our winter squash in that section. Honestly, for a groundhog, it was well-behaved to only make that much of an impact. It just kept me holding my breath for the day I’d go down to devastation! I’ve exhaled mostly by now.

Healthy Cucumber Vines in August

The cucumber disease that I and many others were affected by in 2018 was not a problem this year. In fact, I had way more cucumbers than I felt ready for! Luckily, the chickens and goats are fans of the overgrown ones. The only change I made from previous seasons was to space the vines far from each other around the garden, making it harder for disease to spread. I’m not sure that mattered, though, as so many others reported great yields from their cukes. I think it was a problem that came and went by factors larger than we control.

Pulling Parsnips

Roots

After a few years of germination problems with carrots I seem to have found the right combination for success. First, I planted later. Although carrots, beets and parsnips as “cool season crops” are happy to grow in cool weather, they don’t necessarily germinate well in cold soil. Especially since I am a committed mulcher, seeding carrots in March meant weeks before seeing them, and keeping them consistently moist that long was tough. So, I waited for some warmth and exercised patience, which I really needed given what a cold spring we had. It was May 26 when I finally seeded the root crops. I also put up a shade cloth over the carrots to keep them from drying out as the sun strengthened. It worked! In fact, my carrots came up

Carrots for the Root Cellar

thickly, and it had been years since I had needed to thin, so my first planting had it’s share of weird twisted, multi-legged roots from being crowded. I was on top of thinning the later plantings which gave me gorgeous results and 195# just of carrots to eat and pack in the root cellar.


Labor

The one big problem we experienced this year was a labor shortage. This should not have surprised me, as it is a very common problem on farms. When you are putting a lot of work into a product that is comparatively undervalued financially, there are going to be problems, even with the many labor-saving techniques used in permacultural systems. Steve needed to take more off-farm work this summer, leaving me to do more than I expected and than I was really up for. Any real solution to this needs to be addressed at a societal level, but, meanwhile, I am going to have to rethink some of my choices and be more realistic about my time. I am a great solar-powered, renewable resource, but have my energy limits!

Good Soil, Big Plants

Success in the Gardens

At this point we have about one acre out of our 7 in garden beds full of organic matter, built from the countless truckloads of reclaimed resources we have brought in since we moved here in 2008 (seaweed, coffee grounds, manure, hay and wood chips). The majority of the beds are planted in perennials such as rhubarb, asparagus, berries and fruit trees, most still too young to be very productive. Between the young trees, and in our 3,300 square foot sheet mulched main garden, we plant our annual crops.

Peaches!

With the regular rain, low rodent numbers, and the soil we’ve built, it was a great year for growing. The trees are also becoming mature enough to begin to bear and we had our first real harvest of peaches, 219#, juicy and delicious.

Here are the veggie and fruit numbers, hopefully presented in an useful way (feedback on that welcome!):

Alliums – garlic – 165 hds; garlic tops – 161; leeks – 96#

Beans & Peas – 96.75# snap beans; 17.5# dry beans; sugar snap peas – 11.5#

Brassicas – broccoli – 3.75#; brussels sprouts – 12.5#; cauliflower – 3#; kale/collard – 29#

Celery – 1.5 #

Corn, popcorn – 9#

Cucumber – 195.5# (ack!)

Eggplant – 70.25#

Greens – lettuce – 9#; nettles – 3#, beet greens – 1#

Herbs – basil – 6.25#; dill – 1#

Melon – 21.5#

Potatoes – 166.5# (from 22# seed potatoes, a solid 1 to 7.5 ratio)

Roots – beets – 30.25#; carrots – 195.25#; parsnips – 38#; radishes – 82

Squash – summer – 53.75#; winter = 686#

Tomato – 55.75#

Fruit:  beach plums – 1#; crabapples – 12#; currants, clove – 16.75#; currants, red & white – 21.5#; elderberry – 1#; grapes – 12#; honeyberry – 3 ½ cups; jostaberry – 3.25#, nanking cherry 1/4#; peaches – 219#; rhubarb – 15#; strawberry – 20.5#

This bounty kept us eating well and was preserved to last for months to come.

Bees Making Honey in June

Bees

My two hives from 2018 came through the winter strong, ready to take off in the spring. It was a slow start with the chilly weather, but once they had the opportunity they were wonderfully productive. Usually we have a dearth (lack of nectar) in July, but this year that did not happen. Instead, they just kept on filling their combs, to the point that we pulled honey in order to avoid towering hives toppling over, or late season swarms. I also split the overwintered hives to create two more, plus a small nucleus hive. Strangely, though, the fall nectar flow never came. I have no idea why. I gave them back some of the honey frames I’d pulled plus some sugar syrup and hope they were able to build up enough of a population to survive the winter.

We were able to take 165# of honey, so despite the weird season, I consider it a good one.

Goats

Goat Kids: Zan & Jayna

We had another year of healthy, happy goats, including two successful births in the spring. All four kids were sold to other homesteads with natural goatkeeping practices. We helped Gagnons Mountain Homestead start their herd with Luna’s little girl, Jayna, and her whethered brother to keep her company. We love helping others get started, especially folks we resonate with on animal keeping.

I have been milking three animals since the spring, this year’s moms, Cocoa and Luna, and 2018 mom, Lily. We brought in 107 gallons of milk over the course of the year, most of which I turned into yogurt, chevre cheese, and mozzarella.

Young Dominique Chickens

Poultry

All went smoothly with our Dominique chickens. From the incubator and one broody hen we raised 41 chicks, some of which we added to our own flock, some of which we sold, and some of which we harvested to eat. We added to our number of move-able chicken houses and yards to keep the growing birds protected but rotating pasture. It is tricky to make the structures strong enough to withstand predators but light enough to actually move.

Day Old Ducklings

Our Indian Runner duck flock had some turnover this year. We still had our “old grey duck” from the first batch we brought home back in 2012 but she was showing her age. Over the winter she had seemed arthritic, walking stiffly at times. I thought it kinder not to ask her to go through another cold season. We really liked her and her big blue eggs and wanted to keep those genetics in our flock. So, I put her and our drake together by themselves for a week, took her seven eggs, and put them in the incubator. We find duck eggs much harder to hatch successfully so were delighted when six of them hatched out 28 days later! And, in a poignant, bittersweet coincidence, Old Grey curled up in the pasture the following day and peacefully died, probably not – but maybe on some level – knowing that she had

Our Current Duck Flock

completed her basic biological imperative to pass on her genes to a new generation. Four of those ducklings did turn out to be female and are now part of the flock!

At that point, though, our drake became too related to everyone else in the flock to breed from, so we are ordering some spring ducklings from Sand Hill Preservation Center to add new genetics to our operation.

Our poultry harvest came to: 1,683 (140.25 dozen) chicken eggs; 593 (49.4 dozen) duck eggs; chicken meat about 100#; duck meat about 5#.

Other Homestead Projects

Packing Parsnips for the Root Cellar

The root cellar is up and running after about 7 years of intermittent work! This is a free-standing cellar since our house doesn’t have one. Lots of rock moving and masonry was involved, slow and heavy work. We also continued to expand the orchard and garden areas enough that I can order about 10 more trees for spring planting.

Looking Ahead

And now it’s time for me to do an inventory of our seeds and send in my order to Fedco, as well as orders for trees, bees, and ducklings. Now is also the season to find new and interesting ways to cook and bake all the food we have put up from this abundant year, and thus enjoy eating what’s still fresh and completely local. Watch for me to get back to the topic of food preservation in coming posts.

Happy 2020 – it’s a year of auspicious anniversaries including the 100th year of US Women’s Suffrage and the 50th anniversary of Earth Day… we’ll see what it brings for us all, on the homestead and beyond!

Leave a Comment

Filed under Chickens, Ducks, Gardens, Goats, Honey Bees, Permaculture principles, Poultry, Soil, Uncategorized, Weather

Eating Locally Year Round

At a sustainability gathering I attended this summer, someone asked: “How can we eat locally in New England when our growing season is so short here?”

It’s a good question – in August it’s easy but what about January?

There are also good answers!  The top two being: eat seasonally and preserve the harvest. Both of these were the norm for most of human history and make sense permaculturally. Permaculture principle 2 instructs us to Catch and Store Energy which is exactly what food preservation does. Principle 9 tells us to Use Small and Slow Solutions, such as eating what we have when we have it then turning to home or community-scale food saving.

A July Strawberry

Eat Seasonally

There is no reason we have to eat the same foods every day of the year. In fact, I think it’s boring to do so and can lead to taking things for granted. When a food comes in to season I am more excited for it because I haven’t tasted it for awhile. Salads are for spring and summer. Fresh strawberries in July. Leeks are for fall and winter. By March I am getting tired of roasted potatoes, but when I start digging for them in September my appetite for them has returned. Eating this way also reconnects me to the land and seasons of the place I am rooted with awareness and appreciation.

Preserve the Summer Harvest

Lucky for us, making it through the winter without relying on a vast distribution network was the only option until just recently. People had to develop the skills and technologies to do so or they didn’t survive. We can do these again: drying, canning, freezing, lacto-fermenting and root cellaring. There are also quite a few foods that come to us in a shelf-stable form, such as dry beans. I use all these techniques, finding different foods a good fit for each. Let me touch on each method here…

Drying

Drying Fruit

As soon as the stinging nettles are ready to harvest in the spring, I start drying some for winter use. Most leafy herbs just need a little heat, like a sunny window in the house or car. I put them in paper bags to protect them from the intense light and it just takes a few days. Then I move on to using my electric dehydrator for foods with more  substance.  I find greens such as kale dry well and reconstitute nicely in a soup, stew, or for pan-roasting with other veggies on the stove. I especially love making my own dried fruit: peaches, pears, hardy kiwis, and grapes (raisins) are so yummy!


Canned Peaches

Canning Peaches

Canning

I taught myself to can from a Ball Blue booklet back when I had to special order supplies at the hardware store. What a resurgence of interest since then!  I only water bath can so use high acid foods like fruits. This year I put up peaches, blueberries, strawberries, currants, and tried a new pickled beet recipe with vinegar to raise the ph.

Freezing

Freezing Beans

This a newer technology which needs a continuous electricity supply to work, so has vulnerabilities. However, it successfully stores many things that are tricky to do in other ways, such as meat and low-acid veggies which don’t dry well like broccoli and eggplant.

Lacto-fermenting

Lacto-fermenting not only preserves food, but the microbes that take up residence are so good for us. With all the new discoveries about the importance of our microbiome, especially in our digestive tracts, I aim to eat something fermented every day and it has improved my health. Lots of veggies can be prepared this way, cabbage and cucumbers being the most well-known as sauerkraut and pickles, and since we have dairy we also make yogurt and cheeses.

Root Cellaring

Carrots

Burying foods, especially ones that grew in the ground, is an ancient practice. The more modern walk-in root cellars date back a few hundred years. The idea is to take advantage of the cool temperatures, high humidity and darkness underground, like a refrigerator passively powered by the earth. Since we don’t have a basement in our house, we had to dig a big hole and spend a few years doing stonework and other construction. This is the first year we’ll use it. Carrots, beets, parsnips and celery root currently growing in the garden will soon be packed in sand for this trial run!

Long Keepers

Curing Garlic in July

Quite a few foods are happy to stick around a long time with just a little help from us. Grains, beans, nuts and honey are great examples. But quite a few veggies can last longer than you might think. “Curing” certain crops – which essentially means further drying them – helps them last much longer without a fridge or root cellar. Spending a couple of weeks after harvest somewhere dry and warmer than storage temps will give potatoes, garlic, winter squash, and onions a shelf life of many months and better flavor. Sunflower seeds, dried beans and popcorn are currently hanging in our living room near the wood stove as well.

Using these techniques it’s not hard to stretch this year’s bounty through to spring harvests, like people throughout history and around the world do as a matter of course.

In my next few posts, I’ll look deeper in to each of these technologies while I’m finishing up using them for our own local winter eating.

Corn Hung to Dry

2 Comments

Filed under Gardens, Permaculture principles, Weather