Tag Archives: preservation

Harvest In Charge

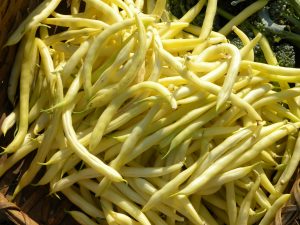
Gold Rush Beans

There is food to pick here as early as April, but true harvest season kicks in as August approaches. Our goal is to not only grow for eating in the summer, but to provide for ourselves year-round. That’s a lot of food for us to bring in and preserve in a short window of time. Thus, in August and September our harvest is my biggest focus – in fact, it really takes over my life! I have learned to plan for it, to free up much of my schedule otherwise and to let people in my life know that emails, calls and letters are not likely to be answered this time of year. I can chart out approximately when I’ll need to do what, but every season has variations so I have to be flexible and willing to change directions. It’s a good but uncomfortable exercise for a person who really likes to follow her list.
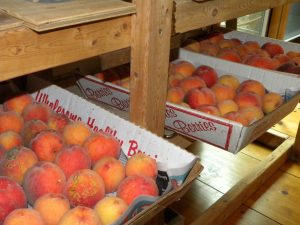
Peaches Waiting to be Canned

Peaches are particularly demanding – when they are ready, I preserve them or lose them. With the great success of that crop for us this year, days
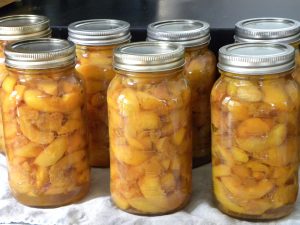
I canned 89 quarts of peaches this August, all from our own trees!

that I had planned to work on other projects turned into peach canning days. The peaches were simply in charge!


Some of our other big production crops aren’t quite so picky, they will give me days or even weeks of leeway. But being responsive has rewards. Pulling the garlic when the third leaf of the plant dies back, gives the bulbs the best storage life. I’ll still get great garlic after the fourth or fifth leaf withers, but it likely will not last as long. The root crops can sit in the ground until I’m ready to eat them or put them in the root cellar, but the voles will get a bigger and bigger
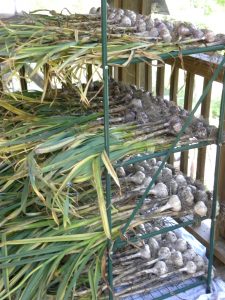
The garlic is pulled and put out to dry at the end of July.

share as time moves on. The winter squash in the field next to their dying vines are exposed for other critters to gnaw on, too. Our corn is a storage not fresh eating variety so is fine with a long season out there, but we have competition for them as well.


It’s true for our animals, too. Our heritage breed chickens take four months to reach their full size. By then, not only are they taking up space and food without gaining weight, but the roosters have been crowing loudly for about a month and it isn’t long until they will start fighting each other. They have many ways of telling us this is no longer a sustainable, safe situation.
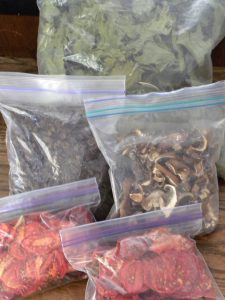
Dehydrated kale, mushrooms, tomatoes and raisins can last for years.

All of our charges – plants, animals, bees – have their own schedule and their own plans. For best results, we learn their rhythms and work to fit ourselves into their calendar, although of course our management decisions are important, too. This is all good practice for remembering our interconnected, cooperative place in the world and re-learning how humans are not in charge but are part of a complex, ongoing dance. Which brings me to a last, philosophical thought for this blog entry…

Just recently I learned, to my great surprise, that when Charles Darwin talked about “survival of the fittest” he meant that those best adjusted to and able to fit in to their environment were the ones that succeeded. His ideas and work were misinterpreted and co-opted to justify competitive, dominant and bullying behavior. In fact, the evidence that cooperation, compassion and flexibility are much more prevalent and useful tactics has become overwhelming.

Diversity Supports Health

By the way, he did not say that “fitting in” meant becoming like everything else – in fact, it is through diversification and specialization that competition is often avoided and much energy is saved.

All of this really blew my mind as it is so far from what I was taught earlier in my life. Exploring these ideas over the past few years has reshaped my view of the world, freeing and inspiring me. Permaculture has been a part of this journey with our principles of valuing diversity (#10), embracing relationship and cooperation (#7 & 8) and being willing to learn and change (#1, 4 & 12). I value these opportunities to see and practice such skills – even if they’re currently tiring me out!
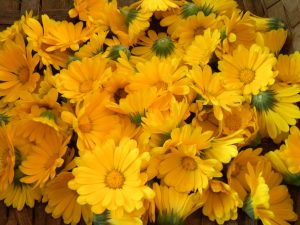
Don’t forget to preserve for medicine as well as food! Calendula can be dried for later salves and balms.

2 Comments

Filed under Chickens, Food Preservation, Gardens, Interdependence, Permaculture principles, Uncategorized

Making Salt: A Winter Yield

Making salt in the winter makes a lot of sense for us, living on the Seacoast and heating with wood. We already try to take advantage of that heated stove top. If nothing else, we put a steamer pot on it to help offset the dry winter air. But, even better is to use it to decrease other energy needs. We cook on it, heat water for tea, dish washing, and some for clothes washing. My daily herbal infusion warms up there. And, now, we’ve learned how to make our own sea salt on it.

Humans gathering salt has a long, fascinating history going back thousands of years that shaped the world we now live in. It’s importance in human health, food preservation and as a trading commodity influenced where cities appeared, the establishment of trade routes, and the outcomes of wars. Did you know that the English suffix “wichoften indicates it was once a source of salt, some of the first roads were associated with the salt trade, and that salt was the focus on Gandhi’s first civil disobedience campaign in India’s struggle for independence from Britain?

Below I will walk you through the process with pictures to best tell the story. First, for answers to common questions we get asked:

Q; Do you get enough salt to make it worth bothering with?

A: Two gallons of salt water create 1 cup of salt. I’m pretty impressed with that!

Q: Aren’t the oceans too polluted now for this to be safe?

A: This is a hard one and I can’t say for sure. But – we have to ingest salt to survive and I don’t know why I’d trust sea salt in the store more than what I make myself. (Most commercial table salts are currently hydraulically mined inland. My research indicates this might not be as bad as other types of mining, but there are consequences.) We have poisoned the whole planet that we are a part of, so it’s not reasonable to think we won’t ourselves be taking some of that in. Maybe if we better connect to how we need the ocean, we’ll be more motivated to keep it clean. Really, when the oceans get so polluted we can’t trust them at all, I think the least of our worries will be can we make salt from them. We forget how critical oceans are to maintaining life on the planet. So… you will have to decide for yourself, and it might depend on what beach you have access to if you think it is safe or not.

Q: What if I don’t have a wood stove?

A: You can use an electric or gas stove to make salt, it just means you are adding that extra energy. Also, solar salt evaporation is worth exploring. Solar dehydrating of food is tough in our climate since microorganisms usually become established before the food dries enough. However, salt is not perishable that way, so it can take much longer to be finished with not worry about it spoiling.

Q: Does it have a different taste or color or texture?

A: I find it to be a little saltier and more complex than what I’ve bought at the store. I read that sea salt shouldn’t be very white… but mine does turn out that way. My method makes a coarse end product. It can be put in a food processor for further refining.

Q: Is it healthier?

A: Sea salt is less processed than rock salts, allowing trace minerals to remain and not introducing additives, which I think is positive. But, both are still mostly sodium chloride, which is critical to have in appropriate amounts – not too little or too much – for good health.  Also, note that your own salt won’t have added iodine so be sure to find other ways to get iodine into your diet, such as seaweed or dairy products.

The Process

The start – and maybe hardest part – of the process begins with gathering the sea water. We recommend it not be completely low tide (unfortunately, since that’s best for getting seaweed!), wear your tallest waterproof boots, and have smaller containers that you can fill and bring to a larger container in your car. You don’t need to worry too much about sand and seaweed bits in the water – you’ll be straining it later. A tight lid for the ride home is helpful.

Once I get it home, here’s what I do…

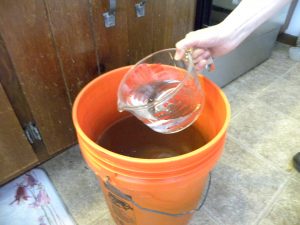
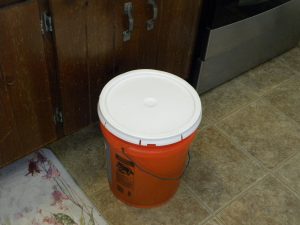
A five gallon bucket, filled to nearly the top, in the kitchen

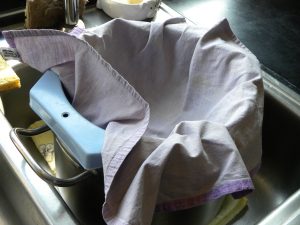
Straining through a tightly woven piece of cloth will catch sand, seaweed, etc.

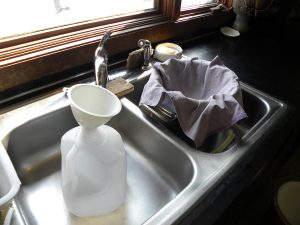
Set up in the sink – pot to strain it into, jug to transfer it to.

Take sea water from the bucket…

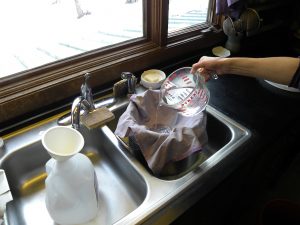
… and pour the sea water into the strainer.

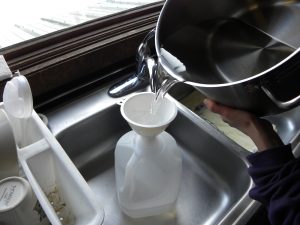
Pour the strained sea water into a non-metal container. Sea water will corrode metal quickly.

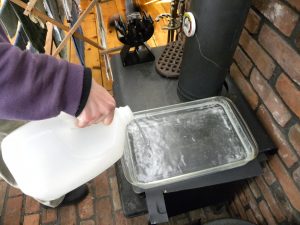
I put aside 2 gallon jugs and pour in what fits into the glass pan sitting on a trivet on wood stove. Top it off as the water level goes down.

Close to the end of 2 gallons, the water begins to look cloudy.

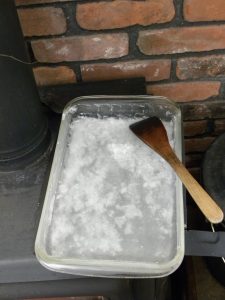
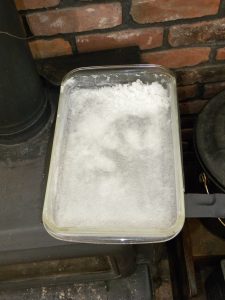
Salt starts to form!

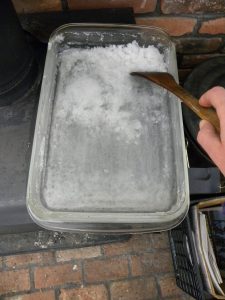
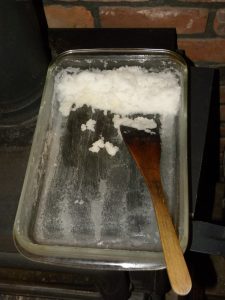
I find pushing the solids to the side facilitates continued drying. My original metal spatula for this showed signs of corrosion after just a few batches.

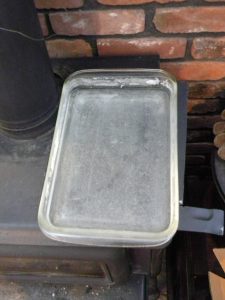
It’s getting close! Note that we don’t have this pan directly on the stove, but on a large, low trivet that Steve created from an old computer case side.

Pushing it to the slightly higher side lets it dry a lot. Then, letting it sit near but not on the stove in an open container for another day lets it really dry out.

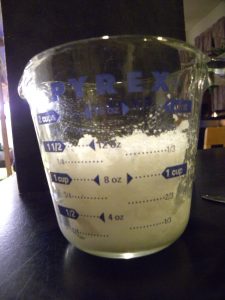
From the 2 gallon jugs, more than a cup of salt.

Store the salt in a tight container to keep it from absorbing moisture. Since you aren’t adding an anti-caking agent, it will be prone to do so and to clump. If that does happen, you can re-dry it near a wood stove or in an oven. It doesn’t go bad, just gets hard to deal with!

Leave a Comment

Filed under Food Preservation, Interdependence, Uncategorized

Food Preservation: Lacto-fermenting

My last entry on the important art of food preservation focuses on lacto-fermentation, which is especially timely in this current moment of extreme cleanliness.

First, let’s define it. Lacto-fermentation harnesses Lactobacillus bacteria’s ability to turn sugars into lactic acid, a natural preservative that inhibits the growth of harmful bacteria. Along with extending shelf life, this process adds interesting flavors, makes plants safer to eat and easier to digest, and helps to boost the population of our microbiome when we ingest these foods.

Foods preserved this way still need to be stored in a cold, dark location and won’t last as long as canned, dried or frozen items.  It is the added taste and health benefits that most recommend this method. They are also traditionally often used as condiments, eaten regularly but in small amounts.

History, Including 2020

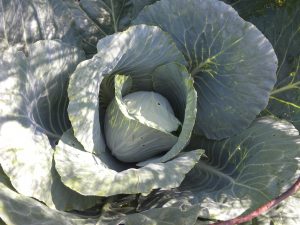
Cabbage for Sauerkraut

Lacto-fermentation has thousands of years of history all over the globe. Some foods you might recognize using this process are: sauerkraut, kimchi, and yogurt.

In the recent past of 2020, disinfecting and cleanliness became even more of a way of life for people – for good reason (although some are taking it too far – drinking bleach being a good example of that). During a pandemic, extra attention to appropriate anti-germ measures is a smart preventative measure. However, we don’t want to forget all that we’ve learned about the microbiome and the positive role it plays in our health (the happy news about mask wearing is that it prevents disease spread without harming your microbiome).

The truth is, keeping ourselves well populated with microbes helps us stay healthy. This is true for plants as well. In disease suppressive soilsit’s the presence of soil microbes that allow for plants to stay healthy or fight disease.

The vast majority of microbes do not cause disease and many actively help their hosts thrive. Which makes sense, right? Why would any creature want to harm what it depends on to live? It’s a lesson every species learns or eventually dies trying to.

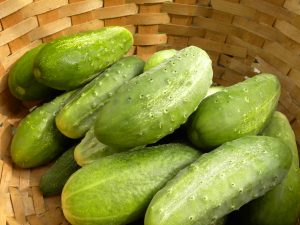
Cucumbers for Pickles

So, especially while we are in the midst of an epidemic of cleaning and have a dangerous new disease in our midst, nourishing our microbiome is especially important.


Personally…

I started incorporating fermented foods into my diet when I was in my 20s and having trouble with my digestive health. I had many tests, went on limiting, exclusionary diets, and even tried pharmaceuticals. All of which made me feel worse. Then, I went to a workshop with Susun Weed who sang the praises of fermented foods to keep our guts healthy. The next day, I threw out the pills and went shopping for yogurt and sauerkraut plus miso and tamari (which are fermented but not lacto-fermented to be precise). I made sure to eat one of those every single day and within a month I felt better than ever

Continuing to ingest these “friends” on a

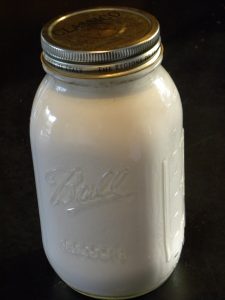
Homemade Yogurt

regular basis has been my practice for the nearly 30 years since then and seems to have served me well.  I do also eat a diet that otherwise feeds my microbiome and I avoid factors that harm it as much as possible (there include anti-microbials like: chlorine, food preservatives, cleaning supplies, antibiotics and essential oils).

The Process

Some people get super excited about lacto-fermenting, trying it with all kinds of veggies, and creating new recipes. While very committed to having these foods in my diet, I have been less adventurous simply because I don’t always love the taste. In my repertoire are: yogurt, cultured soft cheese, sauerkraut, cucumber dill pickles and a few experimental jars. Each has a slightly different process to allow the bacteria to get established and do it’s work before microbes that would cause food spoilage get a foothold.

The milk products need a starter culture to be most successful. I buy cultures for the soft cheese but find a spoonful from my current batch of yogurt gets the next one going. I invested in a good thermometer for cheese-making and am careful to heat and cool as the recipe calls

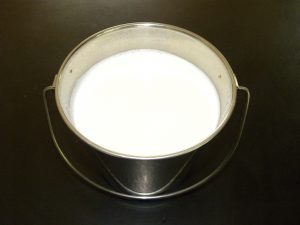
Nigerian Dwarf Goat Milk

for and allow it to remain warm for the appropriate amount of time. Soft cheese is strained, but I don’t need to do that with the yogurt which is thick and creamy because my Nigerian Dwarf goats make such rich milk.


The veggies all come with enough lactobacillus that none need to be added, the environment just needs to be set up to favor them. Usually this is accomplished by adding salt to the water covering the veggies. 

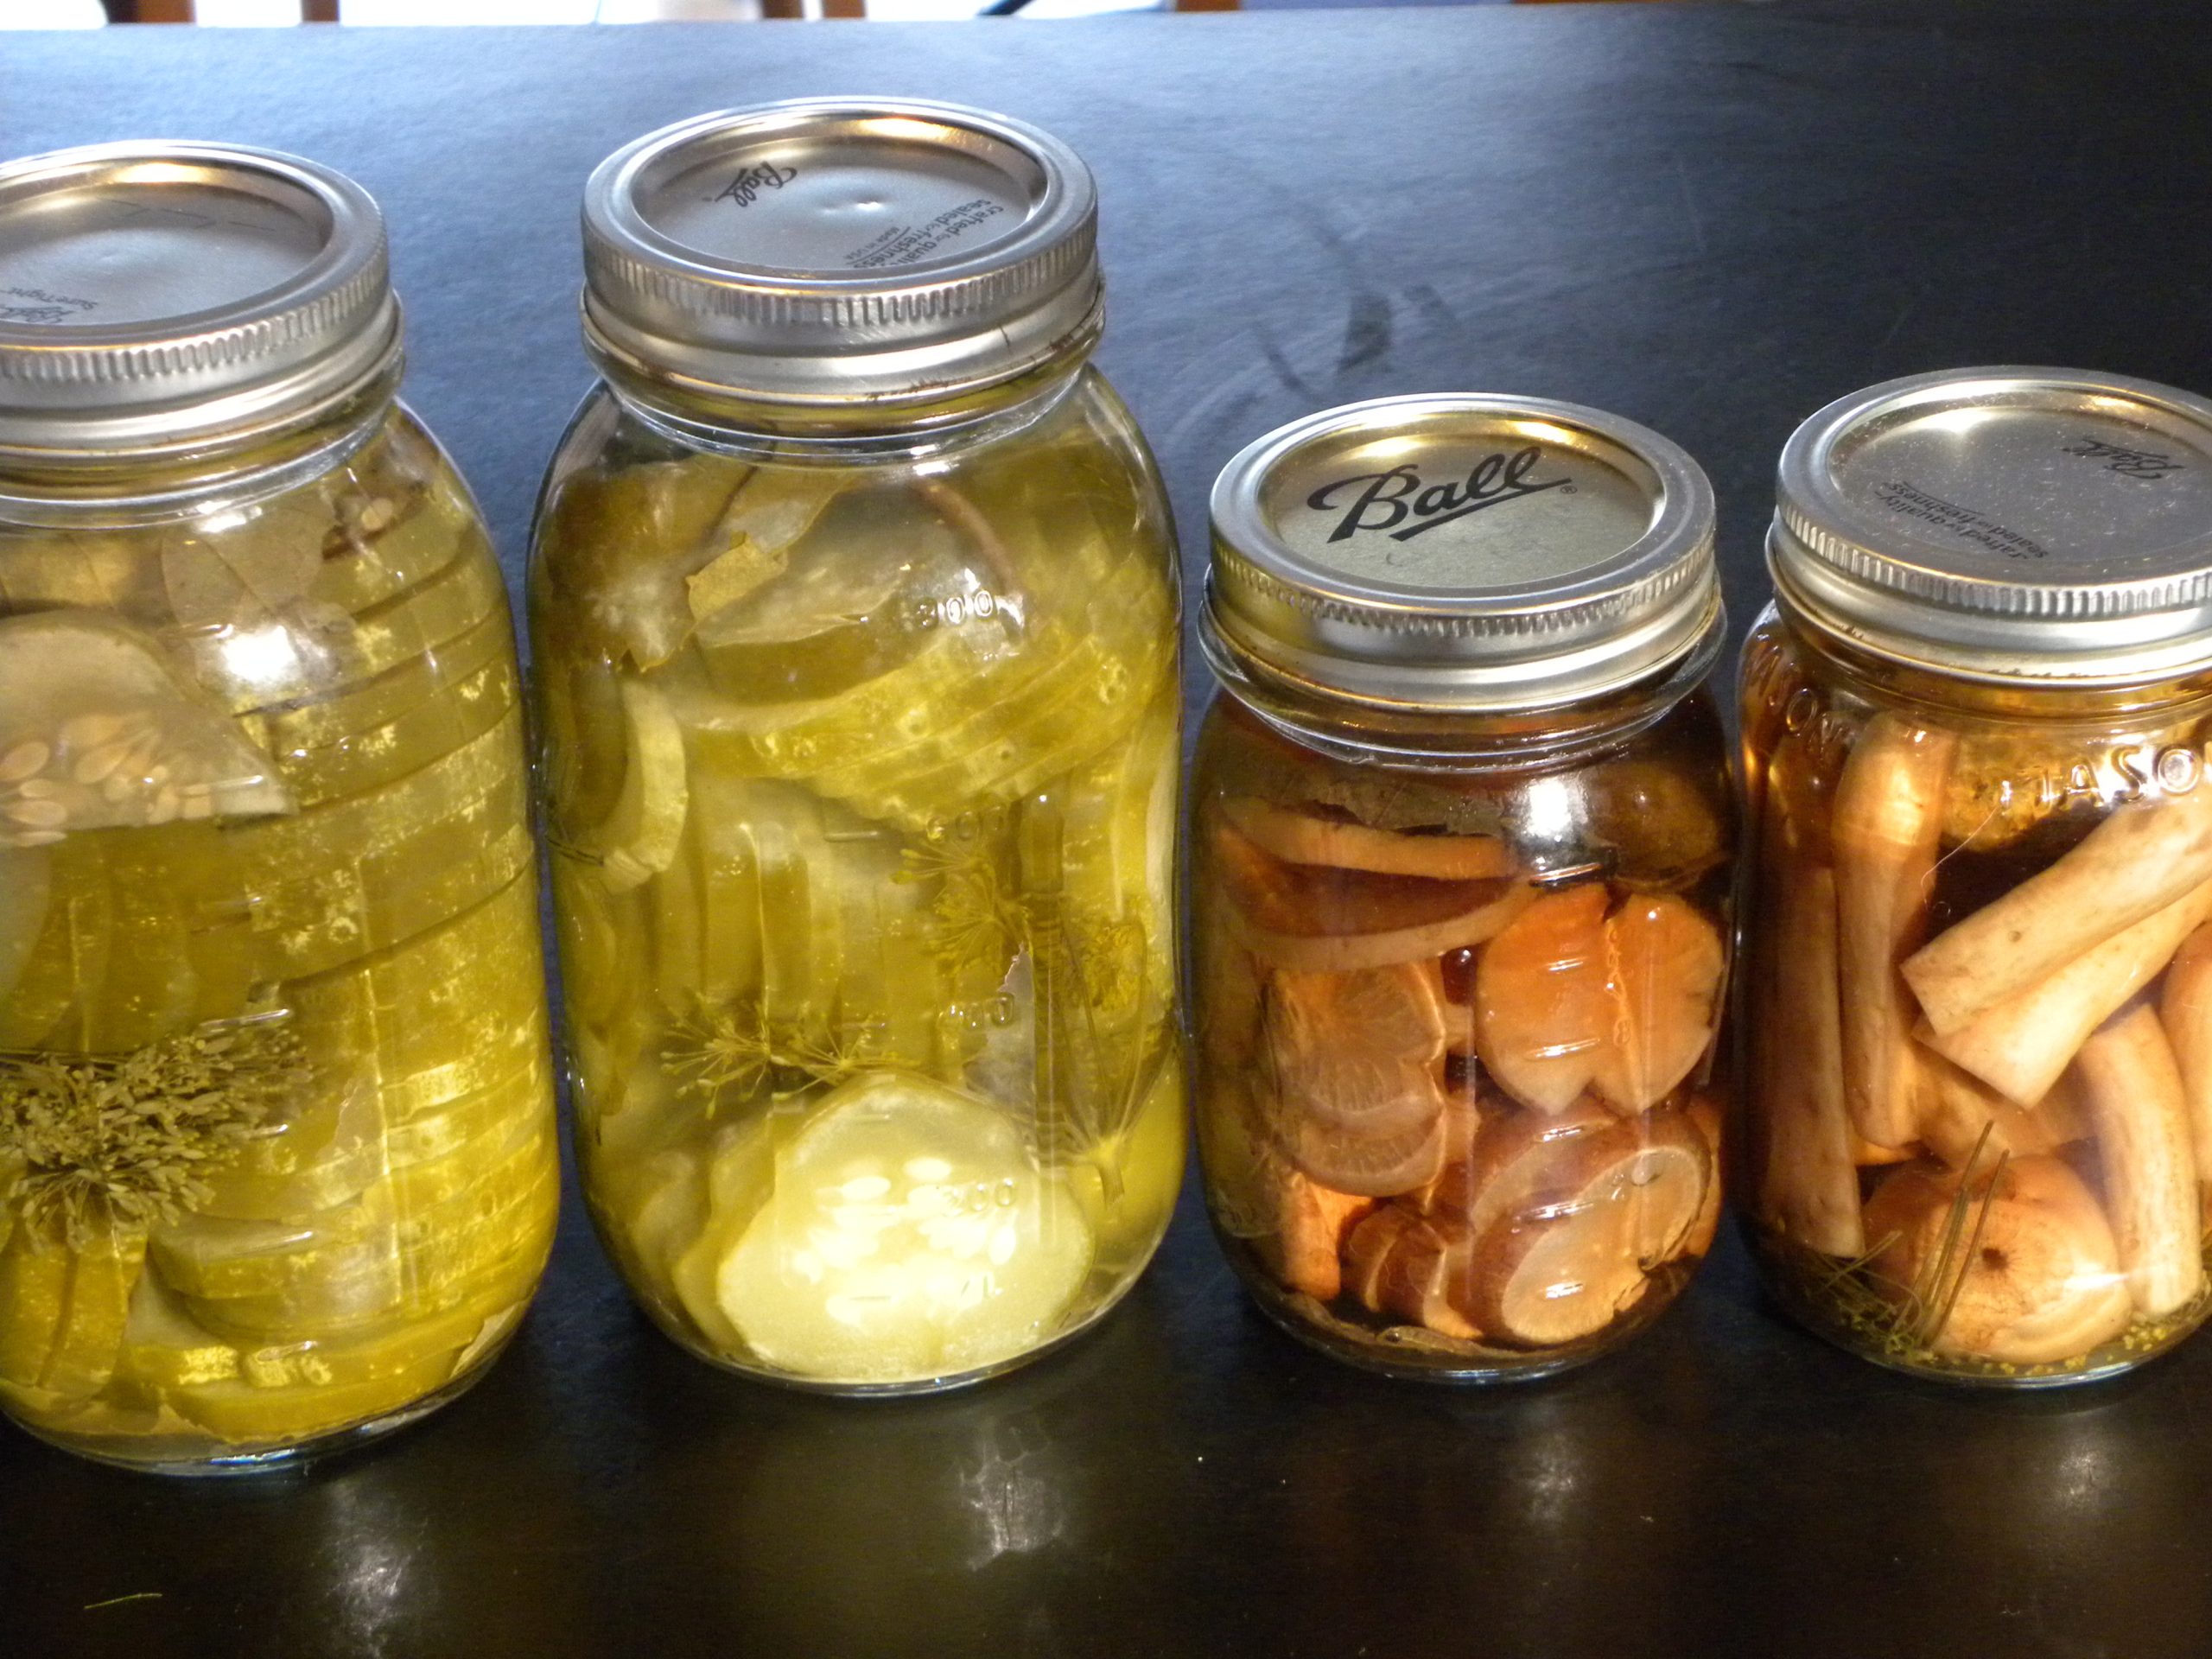
Lacto-fermented Veggies: Cukes, Radishes, Beans

I usually also add dill and garlic for taste and a grape leaf which has tannins that help the veggies stay crisp. Keeping the veggies under the water rather than having them float up is tricky. You can buy glass rounds to weigh them down from the top.


All these dishes can easily be made at home with minimal investment in equipment. I make them in or transfer them to canning jars for storage – in the fridge chevre cheese lasts a week, yogurt 4-6 weeks, a veggie recipe up to a year, although some will get weird sooner.

A big plus of this method is that food safety is not hard to achieve. The environment in one of these preparations will be acidic, filled with bacteria and often salty, all conditions not conducive to Clostridium botulinum, the bacteria that causes botulism. If some other rogue bacteria or yeast does take over your ferment, it will be clear – smell, taste, or texture will not be appealing. Your own senses will warn you, just listen to them.

If you are interested in more deeply exploring and trying lacto-fermentation I refer you to Sandor Ellis Katz’s books, online writings and classes.

Wrapping Up My Food Preservation Series

I’ve spent more than a year discussing how to preserve food with you all as a way to continue to eat locally in the north year-round. These are critical skills that have been developed over human history and that we can now dust off and use again. It’s a great way to build community resilience, so let’s keep the practices alive!

Lacto-fermented Pickles

Leave a Comment

Filed under Food Preservation, Gardens, Goats, Uncategorized, Weather